This website contains affiliate links. Some products are gifted by the brand to test. As an Amazon Associate, I earn from qualifying purchases. The content on this website was created with the help of AI.
Baking Mixes That Make You Look Like You Planned Ahead
Layer five pantry-staple mixes into jars once, and every pancake breakfast, cookie craving, and last-minute gift is a five-minute job from here on out.
Shop my baking mix jar supplies →Affiliate links · As an Amazon Associate I earn from qualifying purchases.

Your pantry is already full of flour, sugar, and baking powder, but somehow you still end up standing in the store on a Saturday morning because you’re out of pancake mix. Homemade baking mixes fix that for good: pre-measure the dry ingredients once, store them in a jar, and every future bake is just “add wet ingredients and go.” Here is exactly how to build five mixes worth keeping on your shelf, plus how to store, label, and gift them so they actually get used.
Why bother making your own mixes
Ready in minutes
Just add wet ingredients and you’re baking — prep time is cut in half.
Fully customizable
Make mixes gluten-free, sugar-free, or vegan by swapping what goes in the jar.
Budget-friendly
Buying staples in bulk beats paying box-mix prices every time.
Gift-ready
A labeled jar with instructions is a genuinely thoughtful, inexpensive gift.
Picture this: it’s a rushed weekday morning, someone asks for pancakes, and instead of digging through three different bags of flour and sugar, you grab one labeled jar and a carton of milk.
The pantry basics behind every mix
Core ingredients every mix starts with
- Flour: all-purpose works for most recipes; swap in whole wheat, almond, or gluten-free flour if you need to.
- Leavening: baking powder and/or baking soda are what make everything rise.
- Salt: balances the sweetness and sharpens the flavor.
- Sweeteners (optional): granulated, brown, or powdered sugar — or leave it out for a sugar-free jar.

5 essential tips before you fill a single jar
- Use fresh ingredients: old baking powder, soda, or flour will flatten your results.
- Label every jar: date, recipe name, and the wet ingredients it needs.
- Store it properly: airtight containers keep most mixes fresh for up to three months.
- Add spices and flavorings: cinnamon in the pancake jar, vanilla powder in the cookie jar.
- Write the full directions on the jar: wet ingredients, bake time, and temperature, every time.
Picture this: a shelf of five labeled jars, each one telling you exactly what to add and how long to bake it — no recipe card hunt required.
Grab the jar supplies in one place
Wide-mouth mason jars, kraft labels, and ribbon turn these five mixes into ready-to-bake kits or ready-to-gift jars.
Shop the full jar supply list →Mixes 1-3: breakfast and cookies covered
Pancake mix that’s ready before the griddle heats up

Dry mix: 4 cups all-purpose flour, 3 tbsp sugar, 2 tbsp baking powder, 1 tbsp baking soda, 1 tsp salt.
To bake: whisk 1 cup milk, 1 egg, and 2 tbsp melted butter into 1 cup of the dry mix, then cook on a hot griddle. Stir in cinnamon, vanilla powder, or chocolate chips for a twist.
💡 Tip: measure the dry mix into the jar with a funnel, then shake to combine before labeling.
Chocolate chip cookie mix that bakes in under 10 minutes
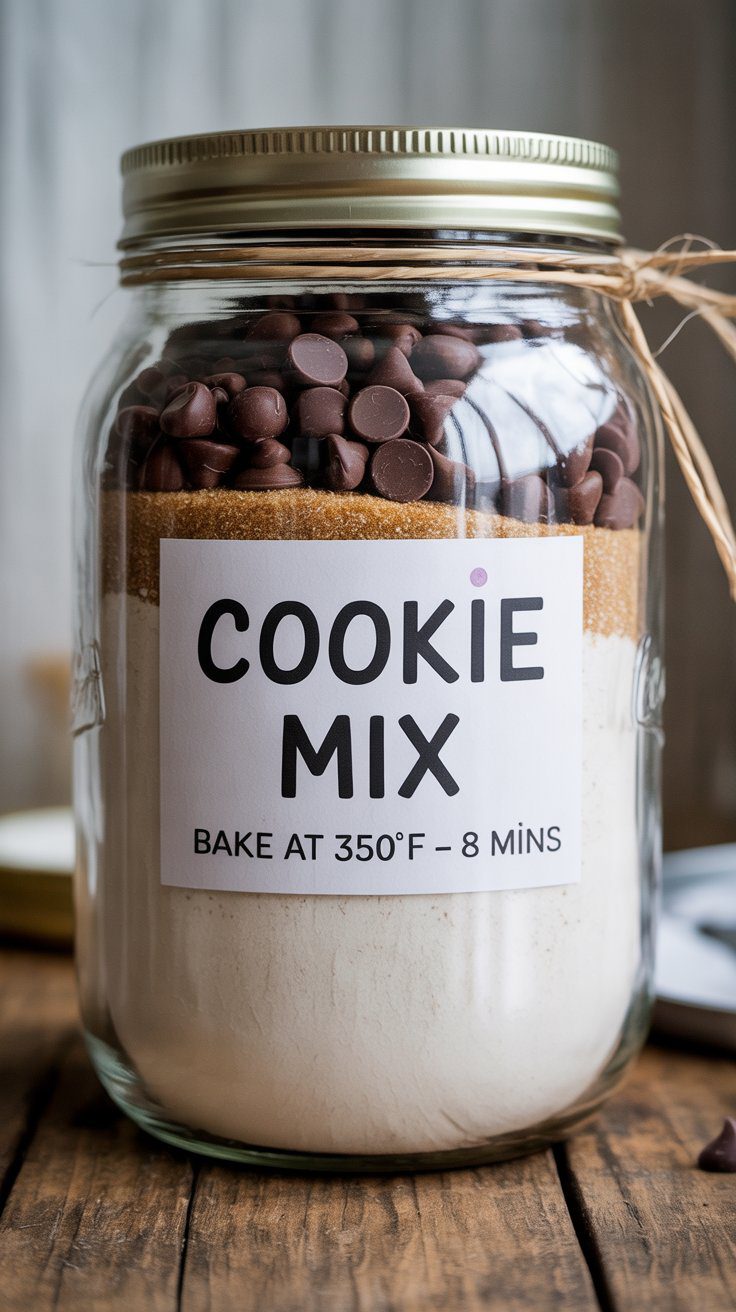
Dry mix: 2¼ cups all-purpose flour, 1 tsp baking soda, ½ tsp salt, 1 cup chocolate chips, and optionally 1 cup brown sugar if you want the sugar layered in.
To bake: cream 1 cup softened butter with ½ cup sugar (skip if it’s already in the jar), beat in 2 eggs and 1 tsp vanilla, then fold in the dry mix. Bake at 350°F for 8-10 minutes.
💡 Tip: layer the chocolate chips against the glass first — it’s what makes the jar look gift-shop pretty.
Muffin mix for busy mornings and last-minute add-ins
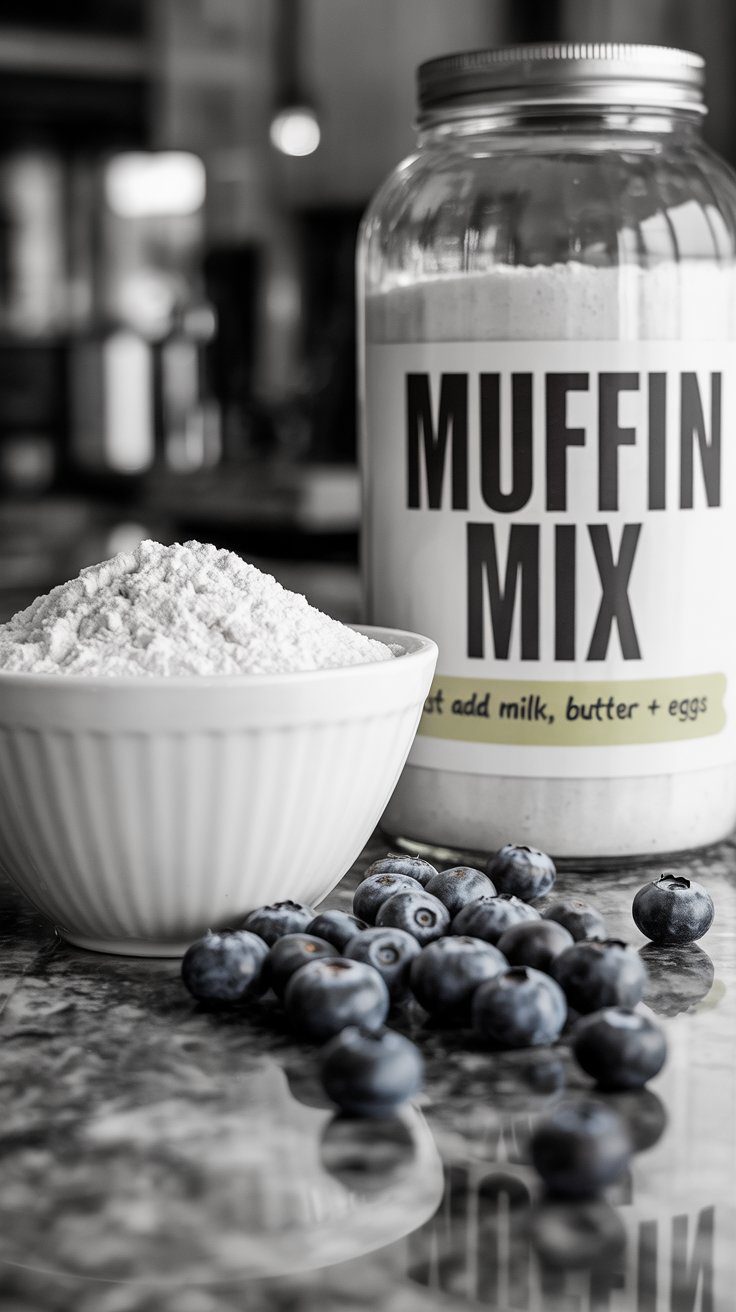
Dry mix: 4 cups all-purpose flour, 1 cup sugar, 1 tbsp baking powder, 1 tsp salt.
To bake: stir in 1 cup milk, ½ cup melted butter, and 2 eggs, then fold in blueberries, chocolate chips, or nuts. Bake at 375°F for 20-25 minutes.
💡 Tip: keep the mix-ins (fruit, nuts, chips) in a separate small bag inside the jar so the dry mix itself stays shelf-stable longer.
Picture this: Sunday breakfast is pancakes, Tuesday’s lunchbox has a cookie, and Thursday morning’s muffins came from three jars you filled once, weeks ago.
Mixes 4-5: bread and brownies, covered too
Bread mix for when you want it from scratch, without the guesswork
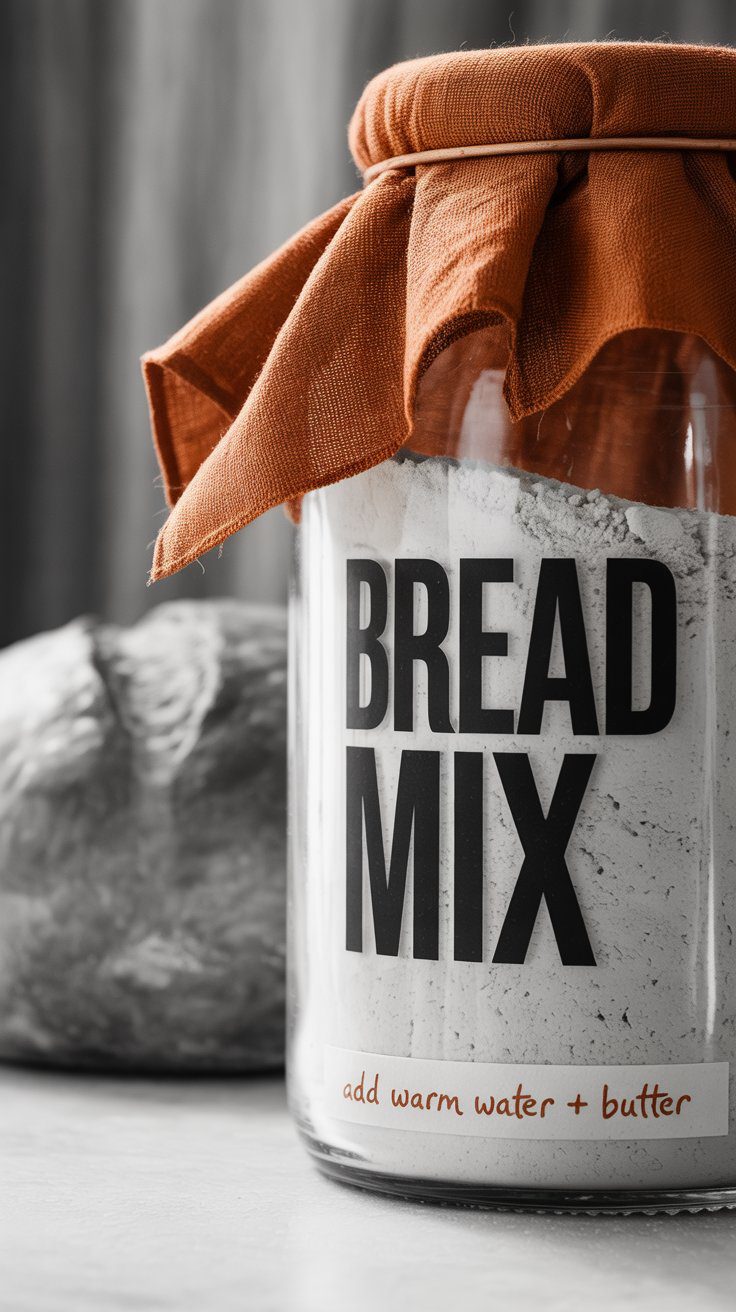
Dry mix: 5 cups all-purpose flour, 2 tbsp sugar, 1 tbsp salt, and 2 tbsp active dry yeast — store the yeast in its own small packet inside the jar rather than mixed in, since it loses potency fastest.
To bake: dissolve the yeast in 1½ cups warm water, then work in the flour mix and ¼ cup melted butter. Knead, let it rise, and bake at 350°F for 30-35 minutes.
💡 Tip: tuck the yeast packet in a small resealable bag so it doesn’t touch the salt sitting right next to it in the jar.
Brownie mix for chocolate emergencies

Dry mix: 1 cup flour, 2 cups sugar, ½ cup cocoa powder, 1 tsp baking powder, ½ tsp salt.
To bake: beat in ½ cup melted butter, 2 eggs, and 1 tsp vanilla extract, then bake at 350°F for 25-30 minutes for fudgy, rich brownies.
💡 Tip: this is the jar to keep on hand for a chocolate emergency — it needs nothing but butter, eggs, and vanilla.
Picture this: a friend mentions she’s craving brownies, and twenty minutes later you’re handing her a warm pan — because the hardest part was already done weeks ago.
4 ways to change up any mix
Make any mix gluten-free
Swap the all-purpose flour for a 1:1 gluten-free baking blend in any of the five recipes above — the leavening and salt amounts stay the same.
💡 Takeaway: label gluten-free jars clearly if you’re storing them next to the regular versions.
Make any mix sugar-free
Leave the sugar out of the dry mix and add it (or a sugar substitute) with the wet ingredients instead, so you can adjust it recipe by recipe.
💡 Takeaway: this works cleanest on the pancake and muffin mixes, where sugar is a smaller share of the dry ingredients.
Dress any jar up as a gift
Add a label with the name, ingredients, and full baking directions, top the lid with fabric or ribbon, and suggest a mix-in (nuts, dried fruit, extra chocolate chips) the recipient can add themselves.
💡 Takeaway: a labeled jar with directions attached is what makes it feel like a real gift instead of just a bag of flour.
What these mixes can’t do
Dry mixes aren’t forever-shelf-stable — plan to use them within about three months for the best rise and flavor, and always keep the bread mix’s yeast in its own separate packet rather than blended into the flour, since it loses potency the fastest of any ingredient here.
💡 Takeaway: when in doubt, write the fill date on the label — it’s the easiest way to know when a jar needs to be used or refreshed.

Picture this: the same five recipes, quietly adjusted jar by jar for the gluten-free niece, the sugar-watching neighbor, and the friend who just wants a pretty gift.
Loved this? Pin it.
Hover or tap the image and hit Save to keep this guide on your Pinterest board.
Fill your first jar this weekend
Pick one mix, measure it once, and you’ll have a ready-to-bake shortcut on the shelf for months.
Shop my baking mix jar supplies →This website contains affiliate links. Some products are gifted by the brand to test. As an Amazon Associate, I earn from qualifying purchases. The content on this website was created with the help of AI.
This website contains affiliate links. Some products are gifted by the brand to test. As an Amazon Associate, I earn from qualifying purchases. The content on this website was created with the help of AI.
