This website contains affiliate links. Some products are gifted by the brand to test. As an Amazon Associate, I earn from qualifying purchases. The content on this website was created with the help of AI.
IKEA furniture is basically a blank canvas. The prices are low, the bones are good, and with a little creativity, you can turn almost any piece into something that looks like it cost three times as much. These 10 hacks run the gamut from weekend warrior projects to genuinely five-minute upgrades — all of them budget-friendly, all of them worth it.
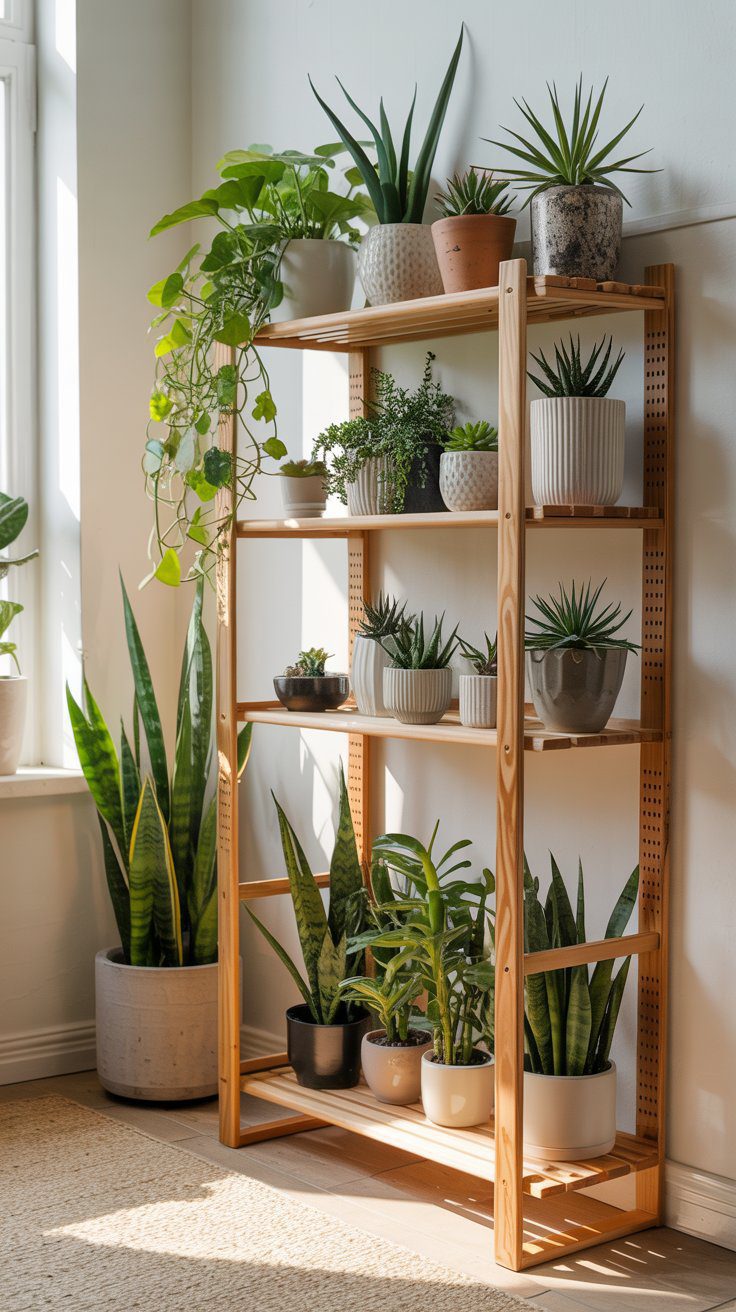
1. Radiant Bookcase Plant Stand
Difficulty: Easy | Estimated Cost: $60–$80
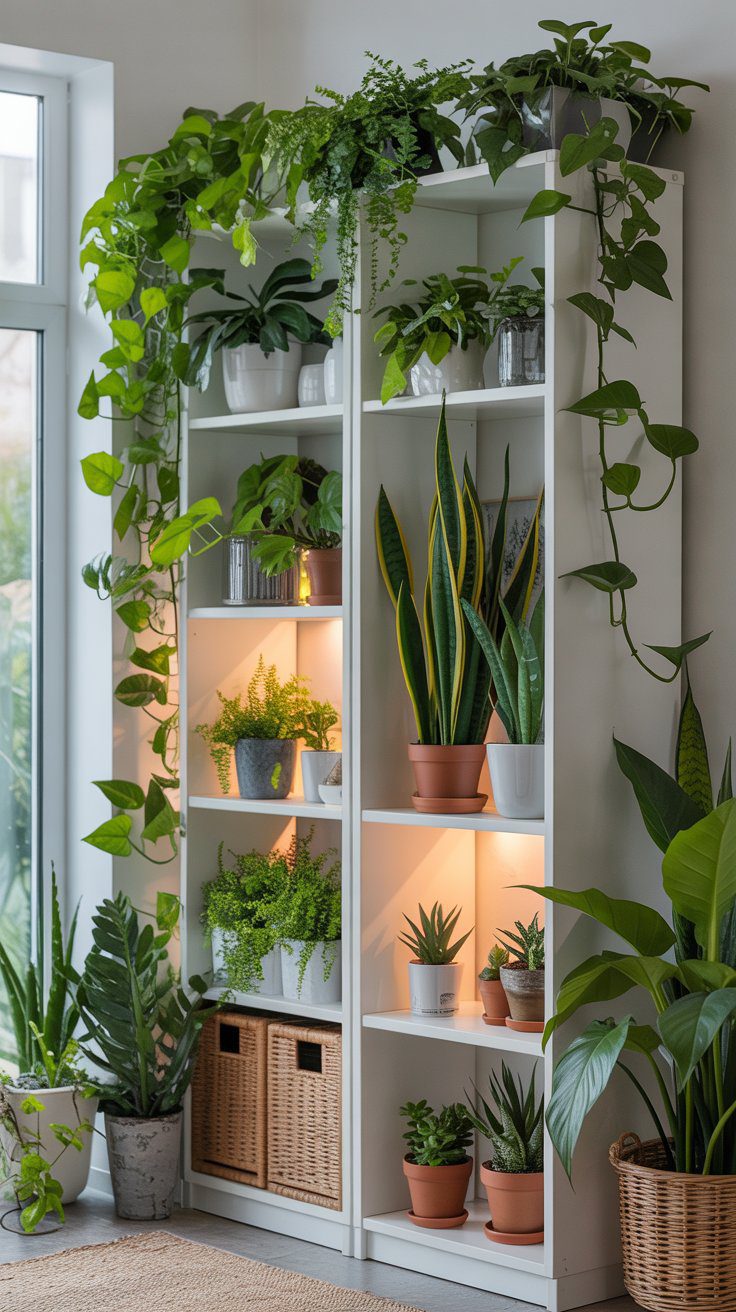
The BILLY bookcase is probably the most hacked piece of furniture on the planet — and for good reason. It’s cheap, sturdy, and a blank slate. With a single can of spray paint and a trip to your local plant shop, you can transform it into a botanical statement piece that looks like it belongs in an interior design account. The shelves become your layers, and the greenery does the rest.
What You’ll Need
- BILLY bookcase
- Spray paint in your accent color
- Assorted plants or succulents — trailing ones look especially good
How to Do It
- Assemble the bookcase fully before painting.
- Apply two thin coats of spray paint and let each dry completely between coats.
- Arrange plants shelf by shelf — vary the heights and textures for the most visual impact.
The result: A lush, layered plant display that anchors a corner and makes any room feel alive. The painted backdrop makes the greens pop in a way a plain white bookcase never would.
2. Bohemian Macramé Chair
Difficulty: Intermediate | Estimated Cost: $40–$60
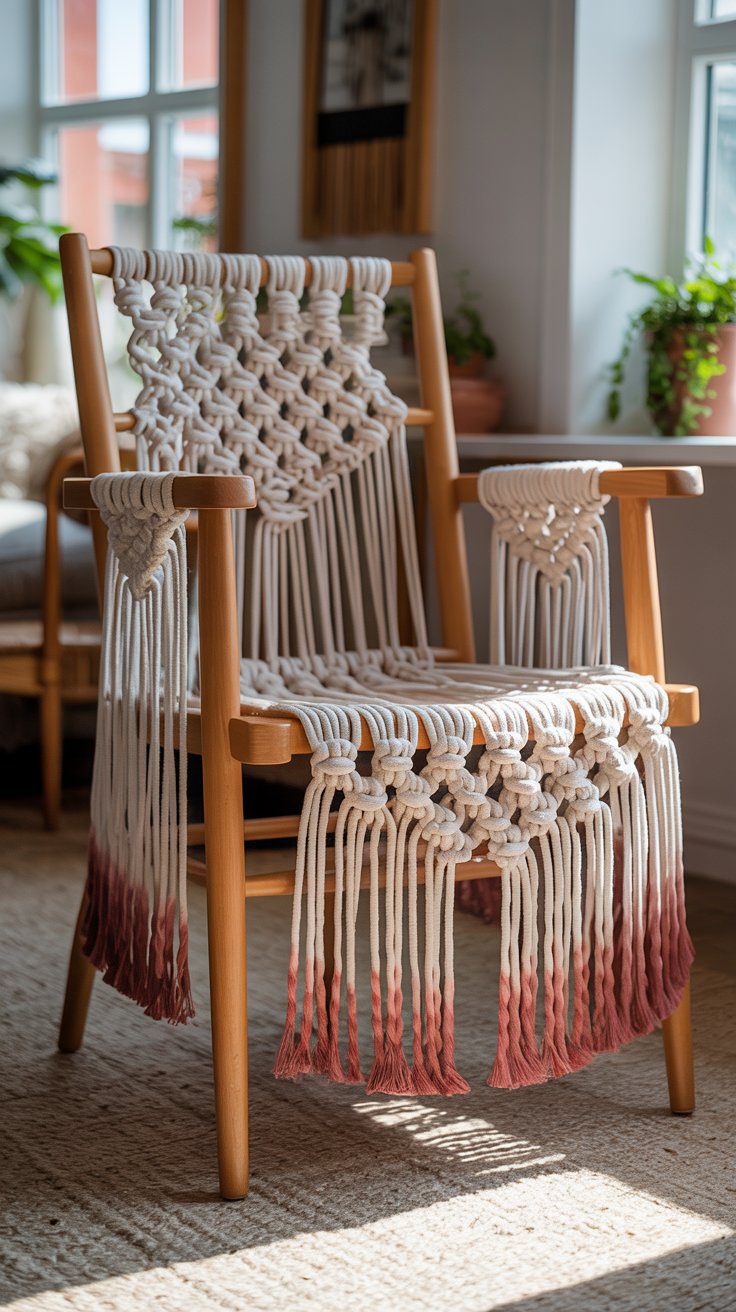
This one looks like it came from a boutique. Take a simple IKEA wooden chair, remove the seat, and replace it with a macramé weave made from cotton rope. The result is bohemian, textured, and completely one-of-a-kind. If you want to take it up a notch, dip-dye the rope ends in earthy tones before you start knotting.
What You’ll Need
- IKEA wooden chair
- Cotton rope (3mm works great for chairs)
- Scissors
- Fabric dye — optional but makes a big difference
How to Do It
- Remove the chair seat entirely.
- Measure and cut your rope lengths — plan for about 4x the finished length per strand.
- Tie the rope onto the frame working top to bottom, using square knots to build your pattern.
- Optional: Dip the fringe ends in dye and let dry before hanging.
The result: A chair that stops people mid-tour of your house. The knotted texture adds warmth and visual interest that a plain wooden seat never could, and the fringe gives it that relaxed, lived-in boho vibe.

3. Multi-Purpose Coffee Table
Difficulty: Easy | Estimated Cost: $25–$50
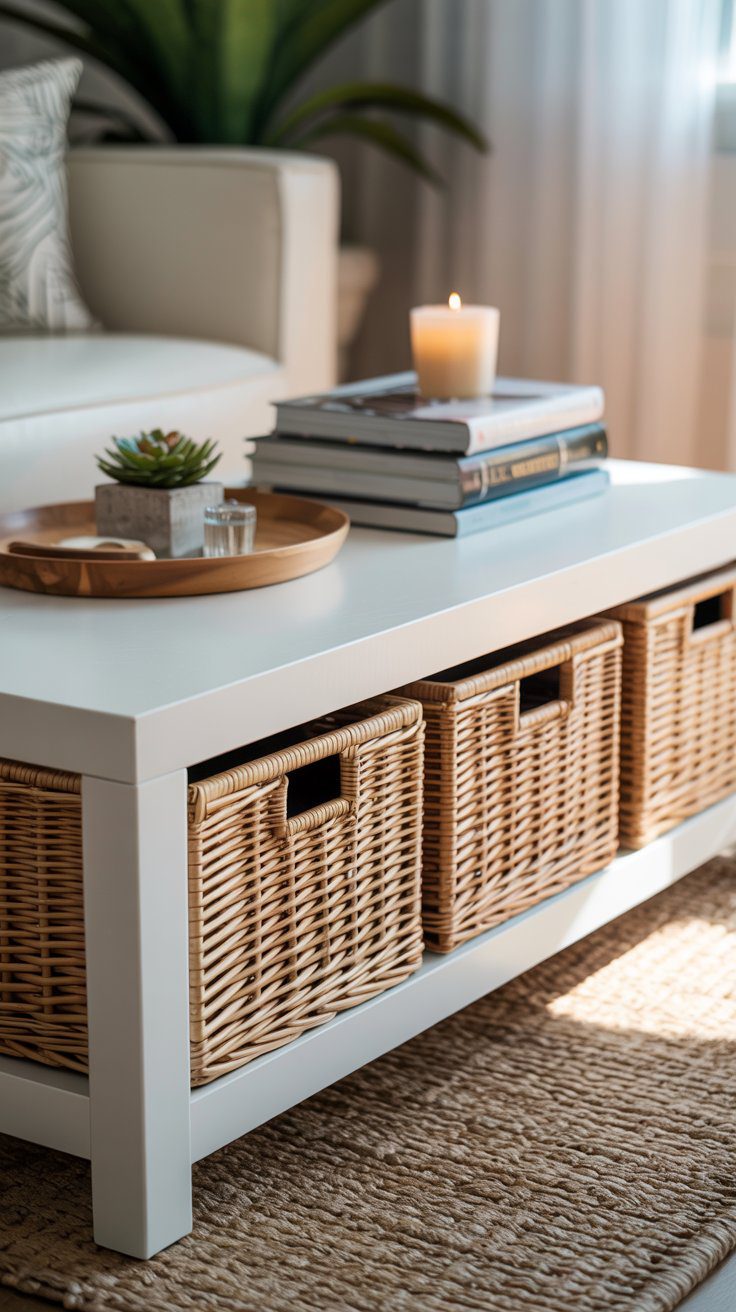
The LACK coffee table is $30 and looks it — until you add storage underneath. A pair of wicker baskets mounted to the underside transforms it into a piece that’s genuinely functional and a little bit beautiful. Blankets, remotes, kids’ toys — anything you’d normally leave out in the open disappears into the baskets and suddenly your living room looks intentional.
What You’ll Need
- LACK coffee table
- Wicker baskets sized to fit the table width
- Mounting hardware or heavy-duty adhesive strips
How to Do It
- Assemble the LACK table and flip it upside down.
- Measure and space the baskets evenly along the underside.
- Secure with mounting hardware or strong adhesive. Let cure before flipping back over.
The result: A coffee table that actually works for your life. The wicker texture adds warmth and the hidden storage means your living room can look pulled-together even on the messy days.
4. Chic Wall-Mounted Desk
Difficulty: Intermediate | Estimated Cost: $50–$80

If you’re working from home with zero dedicated office space, this hack is for you. The EKBY ALEX wall shelf already comes with a drawer unit — mount it at desk height and you’ve got a floating workspace that disappears into the wall when you’re done. No bulk, no clunky desk legs, no room taken over by an office that doesn’t fit your space.
What You’ll Need
- EKBY ALEX wall shelf
- Stud finder and level
- Mounting hardware (included with shelf)
- Paint or stain if you want to customize the finish
How to Do It
- Find your studs and mark the wall at desk height (typically 28–30 inches from the floor).
- Mount the shelf unit securely into the studs using the included hardware.
- Use a level to make sure it’s straight before fully tightening.
- Style with your laptop, a small lamp, and minimal decor — keep it clean.
The result: A sleek, floating desk that looks intentional and custom. Guests will ask where you got it. The answer is IKEA and a Saturday afternoon.
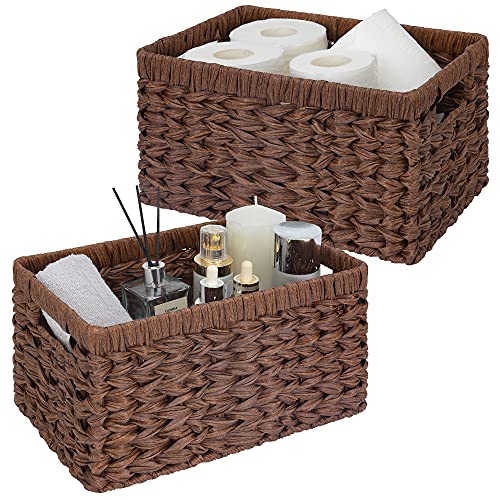
5. Upcycled Storage Bins
Difficulty: Easy | Estimated Cost: $15–$30
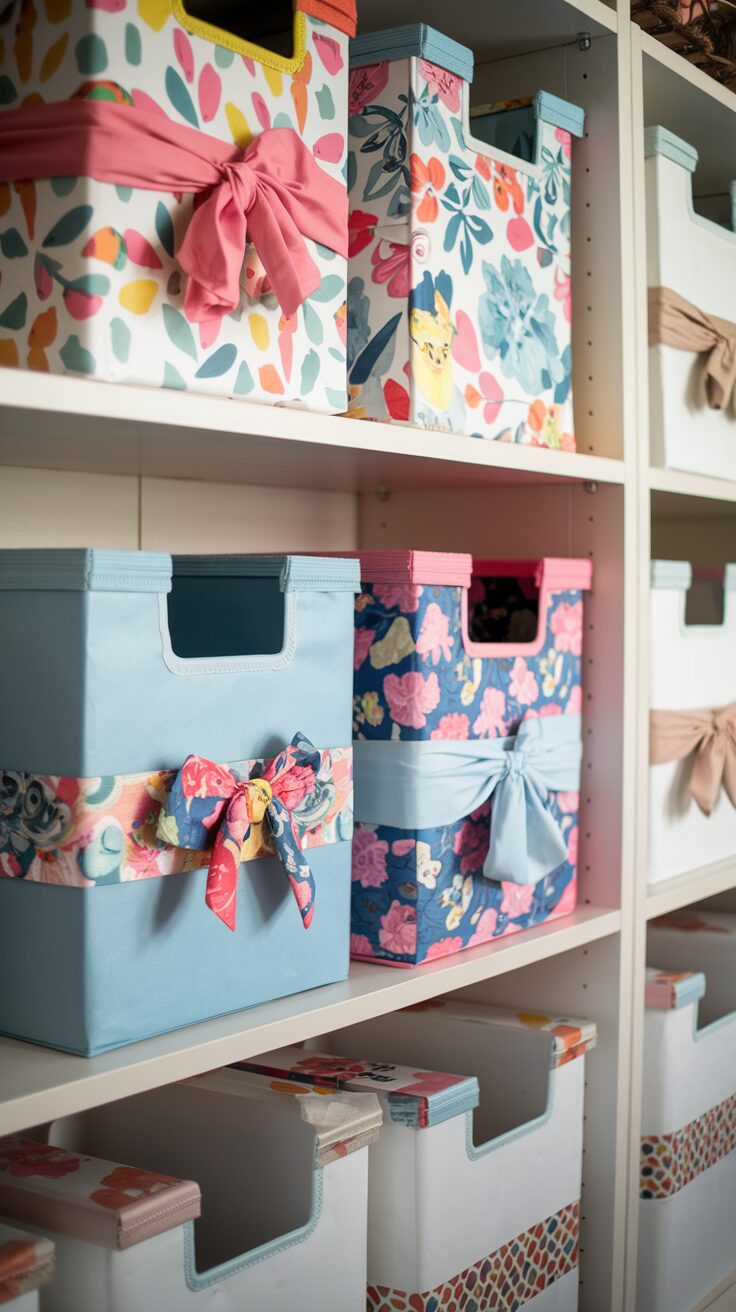
Plain IKEA storage bins are functional but forgettable. Wrap them in fabric or decorative paper and they become part of your decor instead of something you’re trying to hide. This is one of those hacks you can do while watching TV — low effort, high impact, and completely reversible if you change your mind.
What You’ll Need
- IKEA storage bins (DRONA or KALLAX inserts work perfectly)
- Fabric or decorative paper in your color palette
- Fabric adhesive or hot glue
How to Do It
- Cut your fabric or paper to size, leaving a little extra on the edges to fold over.
- Apply adhesive and wrap the bin smoothly, pressing out any bubbles as you go.
- Fold and glue the edges neatly and let dry completely before use.
The result: Storage that actually matches your room. Whether you go for a linen texture, a bold print, or something seasonal, these bins pull the whole shelf together instead of just filling space.
6. Statement Mirror Frame
Difficulty: Intermediate | Estimated Cost: $20–$50
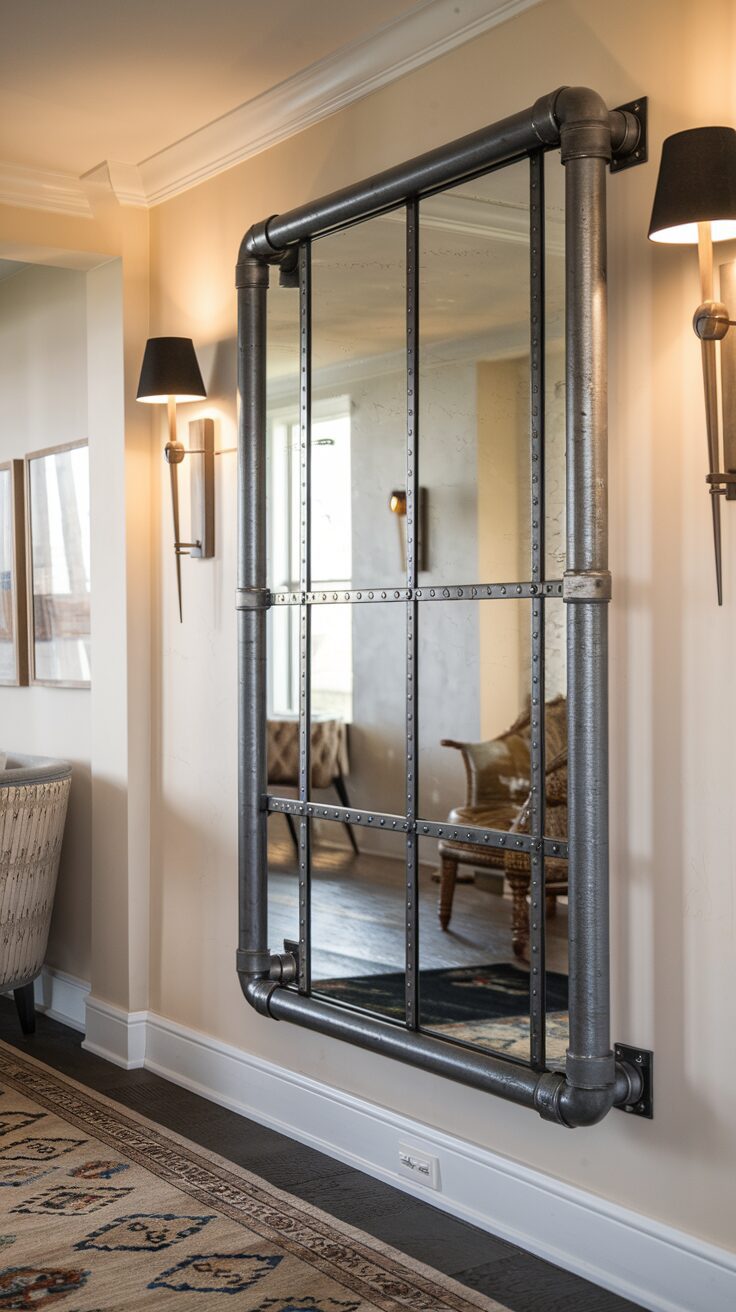
A plain IKEA mirror is fine. A plain IKEA mirror with a custom frame is a focal point. Adding wood trim, metal piping, or even rope around the outside costs almost nothing and turns a $20 mirror into something that looks like a designer find. This is one of the best returns-on-effort hacks on this whole list.
What You’ll Need
- Any IKEA frameless mirror (LOTS or HOVET are great bases)
- Wood trim, metal strips, or thick rope for framing
- Strong adhesive or finish nails
- Paint or stain to match your space — optional but recommended
How to Do It
- Measure the mirror’s perimeter and cut your framing material to length at 45-degree angles for clean corners.
- Paint or stain the frame material and let dry completely.
- Attach the frame to the mirror edges using strong adhesive. Clamp or tape while it cures.
- Hang and style.
The result: A mirror that anchors the wall instead of just hanging on it. Whether you go rustic wood, matte black metal, or chunky rope, the frame makes it a piece — not just a mirror.
7. Floating Nightstands
Difficulty: Easy | Estimated Cost: $30–$60 for the pair
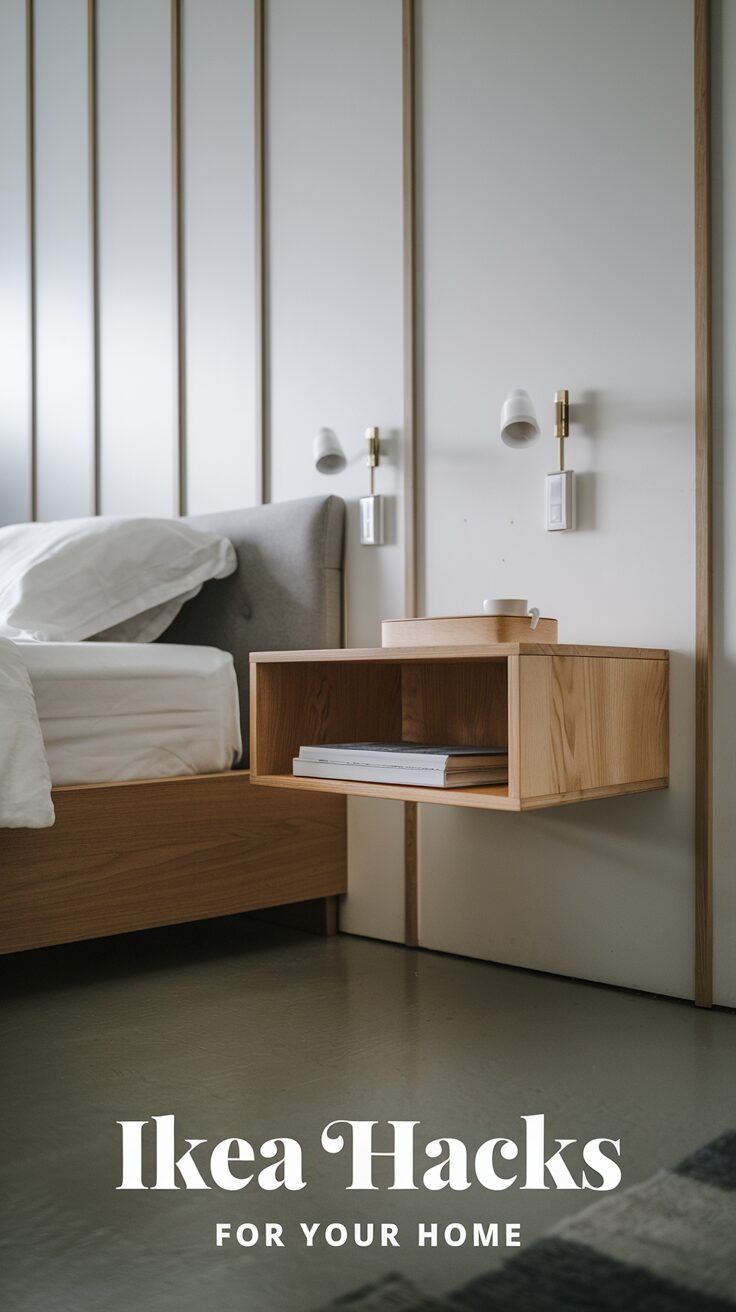
Bulky nightstands eat up floor space and make a bedroom feel cramped. Floating shelves mounted bedside give you everything a nightstand offers — lamp, book, water glass, phone charger — without the visual weight. The floor stays visible and the room instantly feels larger. IKEA’s EKBY series is the go-to for this hack because the shelves are solid, affordable, and come in sizes that work perfectly.
What You’ll Need
- Two IKEA EKBY shelves (or similar floating shelf)
- Stud finder and level
- Mounting hardware
- Small lamp, tray, and your bedside essentials for styling
How to Do It
- Decide on your height — typically 24–26 inches from the floor, or level with the top of your mattress.
- Locate studs and mark your mounting points on both sides of the bed.
- Mount shelves level and secure. Double-check with a level before fully tightening.
- Style simply — a small lamp, a book, a plant. Less is more here.
The result: A bedroom that looks airy and intentional. Floating nightstands are one of those design moves that feel luxurious but cost almost nothing to pull off.
8. IKEA Cabinet Turned Bar Cart
Difficulty: Easy | Estimated Cost: $80–$120
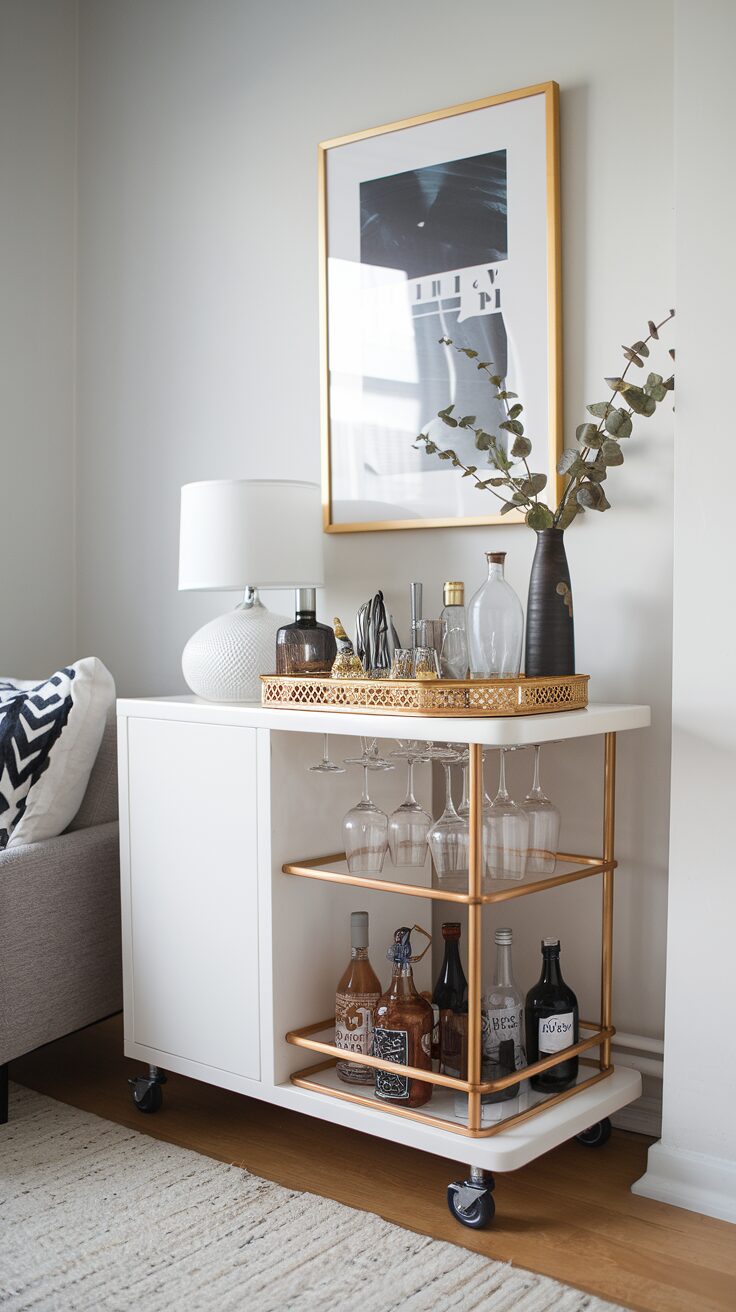
A bar cart is one of those pieces that makes a living room look like a grown-up lives there — but the nice ones are expensive. The HEMNES cabinet from IKEA gives you the bones: good storage, clean lines, solid construction. Add four casters to the bottom and you’ve got a rolling bar cabinet that looks intentional and costs a fraction of what you’d pay at a home goods store.
What You’ll Need
- IKEA HEMNES cabinet or similar
- Four locking caster wheels (make sure the weight rating works for a full cabinet)
- Screwdriver or drill
- Glassware, a tray, and a few bottles to style the top
How to Do It
- Assemble the cabinet fully.
- Flip it carefully and attach casters at each corner, making sure they’re flush and secure.
- Flip back upright and test the rolling and locking mechanisms.
- Style the top with a tray, glassware, a small plant, and a candle.
The result: A bar cart that actually has storage. The cabinet doors hide anything you don’t want on display, the top becomes your styled surface, and the wheels mean you can roll it wherever entertaining calls for it.

9. Customized Entryway Bench
Difficulty: Easy | Estimated Cost: $50–$90
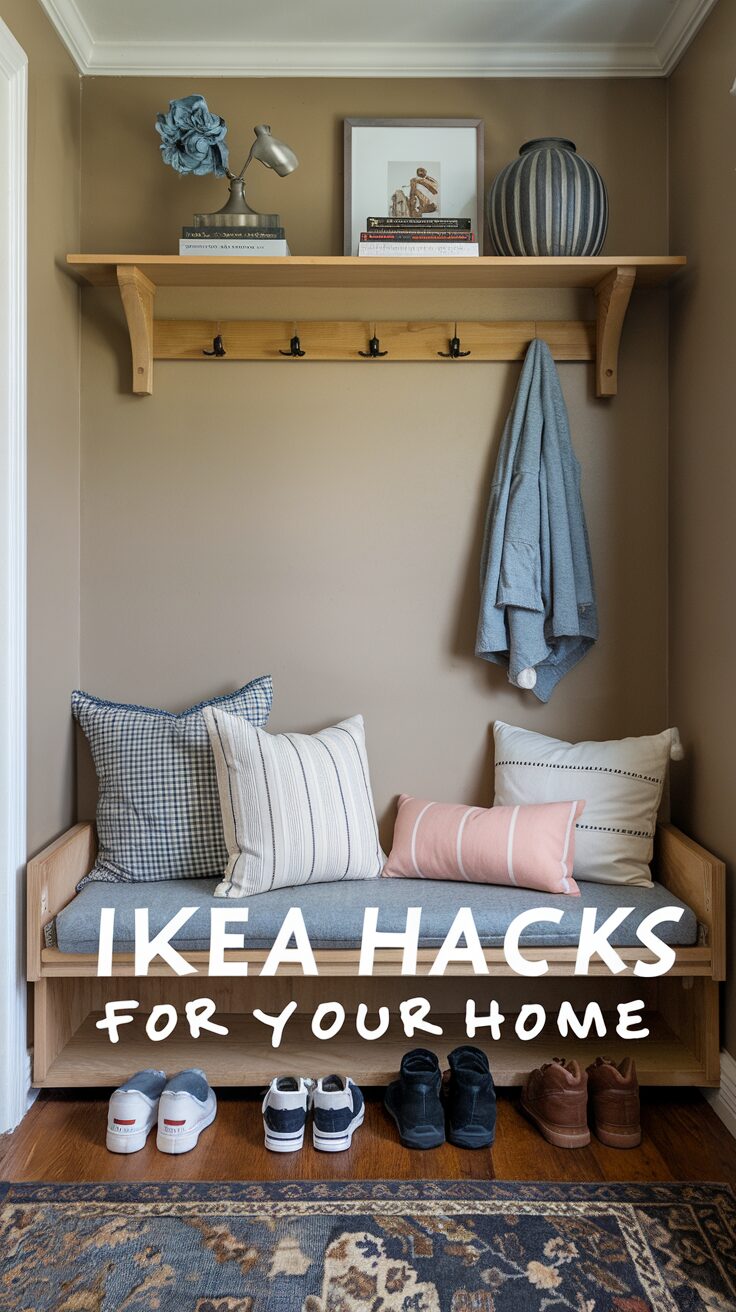
Your entryway is the first thing people see, and a well-done bench makes the whole space feel more put-together. An IKEA bench is a great starting point — it’s solid, the right height, and usually comes in neutral finishes that are easy to customize. Add cushions, change the stain, hang hooks above it, and suddenly your entryway feels like it was designed on purpose.
What You’ll Need
- IKEA bench (LIDHULT or SKOGSTA are solid picks)
- A bench cushion or foam cut to size and covered in fabric of your choice
- Wood stain or paint — optional, but transformative
- Wall hooks to mount above for a full entryway look
How to Do It
- Assemble the bench and stain or paint if desired. Let dry fully before adding soft goods.
- Add your cushion — either a pre-made bench cushion or foam wrapped in fabric and secured underneath with staples.
- Mount hooks on the wall above at varying heights for coats, bags, and keys.
- Add a small tray for mail or a basket below for shoes.
The result: An entryway that actually functions. You have somewhere to sit, somewhere to hang things, somewhere to drop your stuff — and it all looks like it belongs together.

10. Vertical Plant Tower
Difficulty: Easy | Estimated Cost: $40–$70
If you love plants but don’t have a lot of floor space, going vertical is the answer. Stack an IKEA storage unit upright, fill each shelf with pots of varying sizes, and you’ve got a living wall moment in a corner of your living room or bedroom. It’s one of the easiest hacks on this list and one of the most dramatic when it’s done well.
What You’ll Need
- IKEA KALLAX or similar open-shelf storage unit
- Pots and plants — mix trailing, upright, and compact varieties
- Paint or wood stain to customize the finish — optional
- Wall anchor for safety if the unit is tall
How to Do It
- Assemble the unit and paint or stain if desired.
- Anchor to the wall with a furniture strap — especially important for taller units.
- Arrange plants from largest at the bottom to smallest or trailing at the top.
- Water with a tray underneath or remove pots to water and drain separately.
The result: A lush, floor-to-ceiling plant moment that makes your space feel like a greenhouse in the best possible way. This is the kind of corner people photograph when they visit your home.

The best part about IKEA hacks? You’re not locked in. If you paint something and hate it, paint it again. If the plant tower ends up in the wrong corner, move it. These pieces are made to be experimented with — which is exactly what makes them such a good starting point for making your home actually feel like yours.
This post contains affiliate links. As an Amazon Associate, I earn from qualifying purchases.
This website contains affiliate links. Some products are gifted by the brand to test. As an Amazon Associate, I earn from qualifying purchases. The content on this website was created with the help of AI.