This website contains affiliate links. Some products are gifted by the brand to test. As an Amazon Associate, I earn from qualifying purchases. The content on this website was created with the help of AI.
Are you dreaming of a captivating Christmas village display? Look no further than creating your own DIY Christmas village platform! This custom-built base can transform your miniature houses, shops, and figurines into a winter wonderland. But where do you start? Prepare to unlock the secrets to designing and building a one-of-a-kind DIY Christmas village platform.
What is a DIY Christmas Village Platform?

A DIY Christmas village platform is a custom base for your holiday display. It gives a solid and even surface for your diy christmas village platform, accessories, and landscaping. Making your own christmas village base lets you choose the size, shape, and features you need.
Step-by-Step Guide to Creating Your DIY Christmas Village Platform
Materials Needed:
Wooden Slice Base
For the base of your DIY Christmas village platform, the size of the wooden slice or wood slab you choose will largely depend on the layout and scale of the village you want to create.

Here are some common size recommendations for the wooden base:
- Small Display: If you’re creating a small village setup, a wooden slice with a 12 to 18 inches diameter might be sufficient.
- Medium Display: For a medium-sized village, consider a wooden slice that is approximately 24 inches in diameter.
- Large Display: For a more expansive display that includes multiple houses, trees, and perhaps a train setup, look for a wooden slice that’s about 30 to 36 inches in diameter.
These sizes are just guidelines. The specific dimensions should be based on the number of miniature houses, trees, and additional decorations you plan to include. Always ensure there’s ample space for all elements without overcrowding, allowing each piece to stand out and contribute to the overall aesthetic of your Christmas village.
Miniature Houses

You’ll need about 4-5 small, wooden or ceramic miniature houses. Look for rustic or Nordic-style mini houses with a Christmas theme, often found at craft stores or online.
Miniature Trees
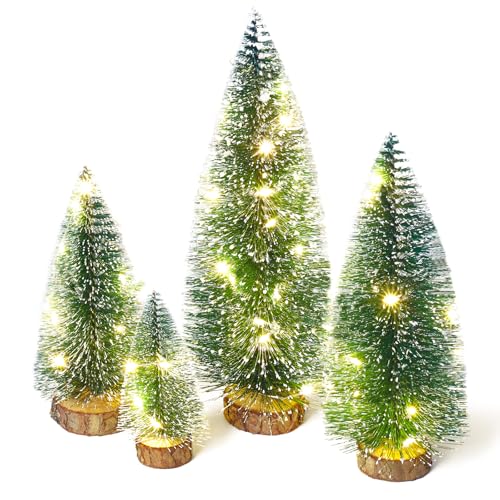
Use a variety of bottlebrush trees in different sizes (typically in green with some frosted tips). Try to have at least 5-7 trees to give a fuller look.
Artificial Snow

For the snow effect, use artificial snow or batting. Some people also use powdered snow that they sprinkle around for a more realistic effect.
Miniature Train

As shown in the image, a miniature train or trolley with bright red cars is perfect. You can find these as part of miniature village train sets.
Miniature Train Tracks
A set of train tracks for the train to sit on. Make sure it fits the round shape of the wooden slice.
Hot Glue Gun (optional)
A hot glue gun will help secure the items if you plan to make the display permanent.
Step-by-Step Assembly:
1. Prepare the Base
- Place your wooden slice base on a stable surface where you’ll be displaying it. If you’re concerned about any wobbling, consider adding felt pads underneath for stability.
2. Lay Down the Artificial Snow
- Cover the entire surface of the wooden slice with artificial snow or batting. Arrange it to create a soft, even layer across the base.
3. Position the Houses
- Place the miniature houses in the center area, arranging them to form a cozy village layout. Leave enough space around the edges for trees and the train.
- For a cohesive look, alternate the house sizes and colors to make the village look varied and realistic.
4. Arrange the Trees
- Place the bottlebrush trees around the houses and along the outer edge of the wooden slice. Vary the sizes to create a natural look.
- Position the larger trees toward the back and smaller ones closer to the front to add depth to the display.
5. Set Up the Train and Tracks
- Arrange the miniature train tracks around the edge of the wooden slice to create a circular path.
- Place the train on the tracks. For a pop of color, position the red train cars prominently in the front.
6. Add Final Touches
- Adjust the artificial snow around the houses, trees, and train tracks to cover any gaps and make the scene feel unified.
- If you want the pieces to stay in place permanently, use a hot glue gun to secure each item to the wooden base. Just be mindful that hot glue can sometimes damage delicate items.
7. Optional: Add Lighting or More Detail
- To make the display even cozier, consider adding battery-powered mini string lights around the village or tiny LED lights inside the houses if they’re hollow.
Tips for Styling:
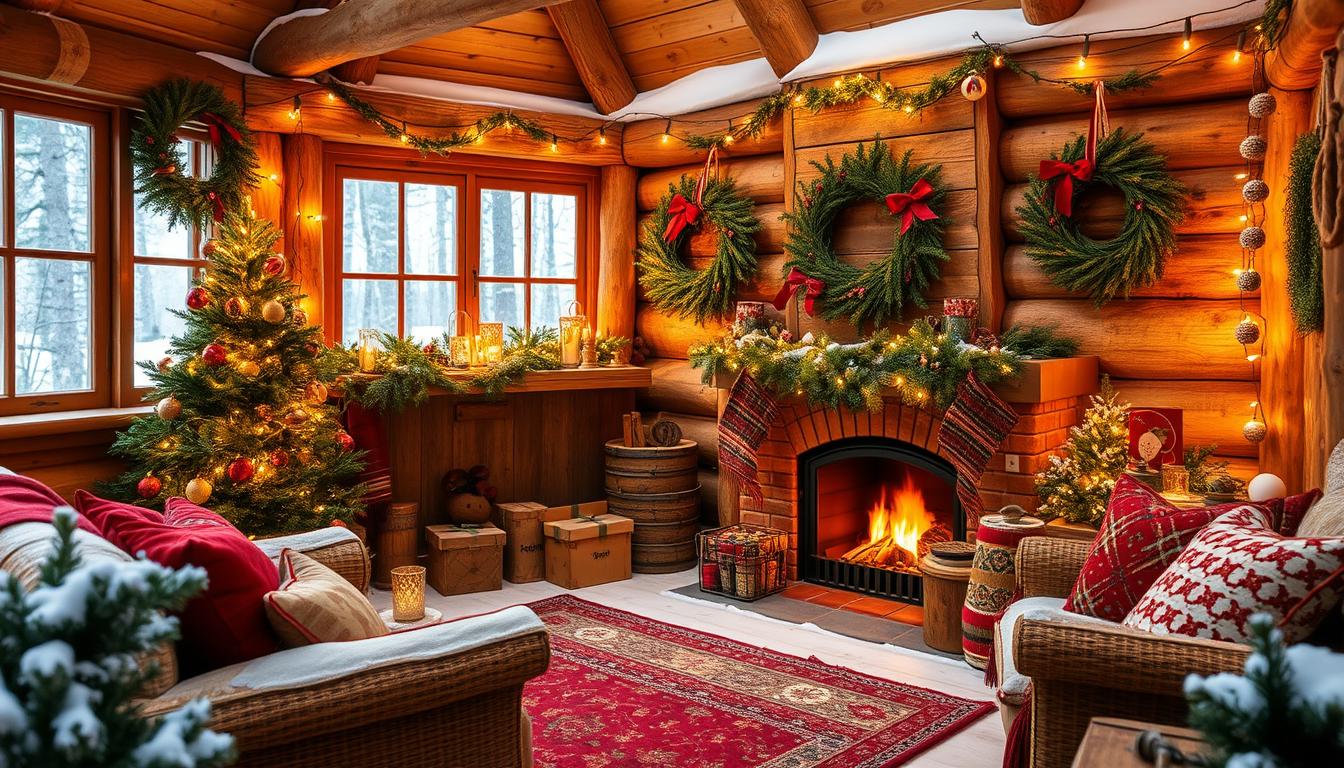
- Place it Near Warm Lighting: Setting up the village near a fireplace or a dim light source can enhance its cozy look.
- Add Texture Around It: Consider adding additional decor elements around the display, like pine cones, more bottlebrush trees, or holiday figurines, to expand the scene.
Enjoy creating your winter village! It’s sure to bring a warm, festive touch to your home.
This website contains affiliate links. Some products are gifted by the brand to test. As an Amazon Associate, I earn from qualifying purchases. The content on this website was created with the help of AI.