
This website contains affiliate links. Some products are gifted by the brand to test. As an Amazon Associate, I earn from qualifying purchases. The content on this website was created with the help of AI.
Are you someone who loves both reading and nature? Ever dream of setting down your novel only to pick up a garden of petals as your bookmark? If you just nodded a yes, then you’ll absolutely love what we have for you today! We’re sharing a brilliant way to transform your well-thumbed paperbacks into vibrant floral paradises – Pressed Flower Bookmarks!
Pressed Flower Bookmarks are a unique, fresh spin on the traditional bookmark. They not only serve their purpose, and impress anyone who catches a glimpse of them, but allow you to collect and preserve the natural beauty you encounter in your daily life.
Let your bookmark tell both literary stories and stories of your own personal journeys with each flower you press.
Step 1: Gather Your Materials
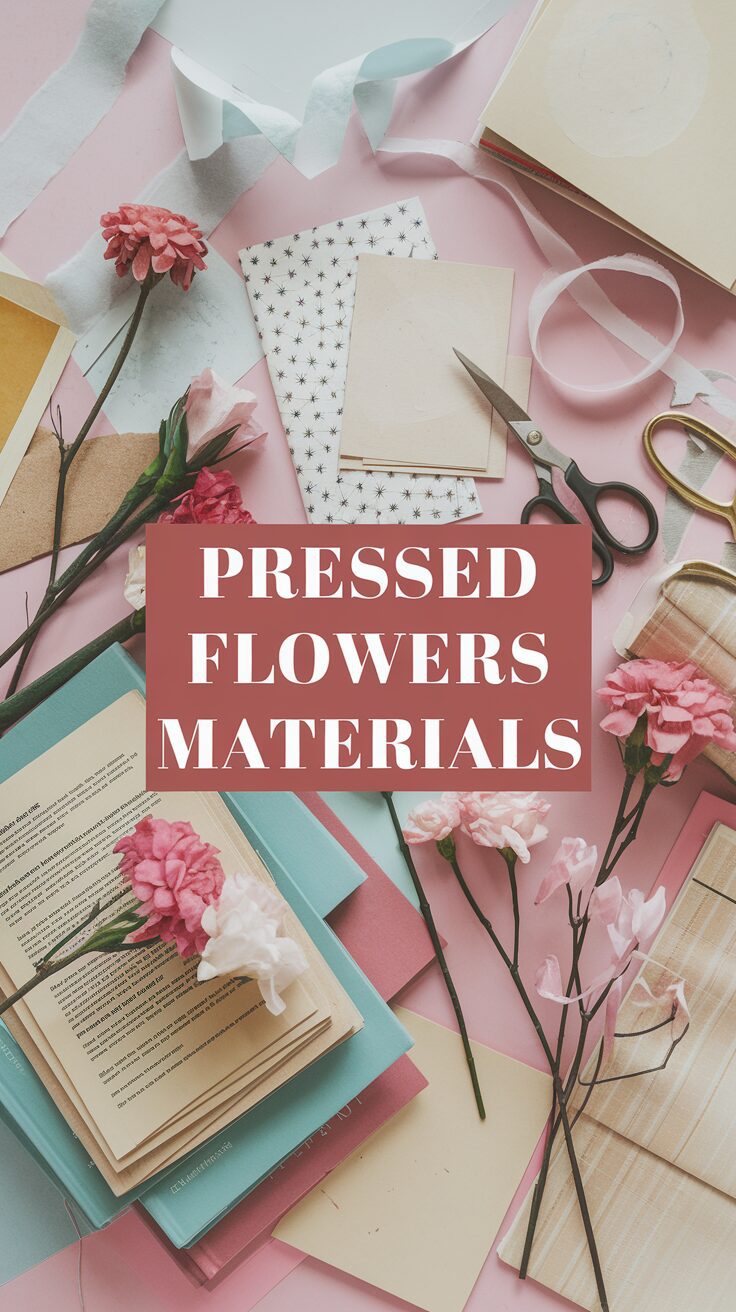
Here’s a list of everything you’ll need to create your own:
- Assorted fresh flowers and leaves – pick a few from your garden or local flower shop
- Paper (cardstock or any heavier paper)
- Wax paper
- Heavy books (for pressing)
- Laminator or clear packing tape
- Scissors and hole punch
- Ribbon, twine or string for tassels
For instance, you may choose roses for their exquisite beauty, daisies for their unpretentious charm or even ferns to add a touch of whimsy.
Step 2: Press Your Flowers

Place your blooms between two sheets of wax paper. Slide them into the center of a heavy book. Be patient as they need about 1-2 weeks to completely dry out.
Pro-tip: To speed up the process, you can use a microwave flower press or an iron. But remember, the slower you go, the better the outcome!
Step 3: Design Your Bookmark

After your flowers are dried and flattened, it’s time to turn them into bookmarks! Arrange your flowers onto the paper, let your creativity bloom!
Caution: Handle with care! Pressed flowers are delicate.
Step 4: Laminating

To protect your creation, slip your bookmark into a laminating pouch, then run it through your laminator. If you don’t own a laminator, clear packing tape will work just as well. Round the corners to ensure that they don’t poke you or scratch your book pages.
Step 5: Add Finishing Touches
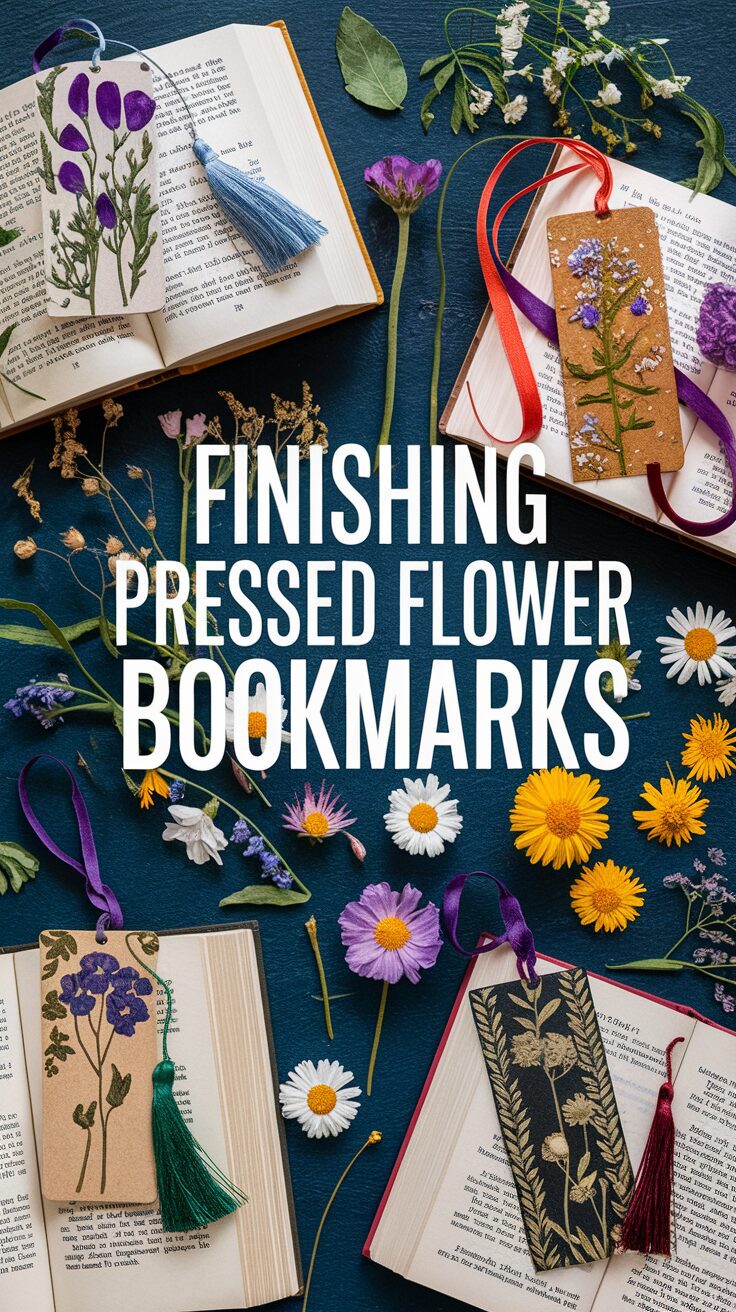
Punch a hole at the top of your bookmark and thread your string or ribbon through. You now have a durable, charming, homemade Pressed Flower Bookmark!
Inspiration: Consider adding a handwritten quote about nature or flowers for extra personalization.
There you have it – a simple and fun project to create personalized Pressed Flower Bookmarks. These could just be what you need to hold your own little keepsake garden close, or even sharing the love for reading and nature with others!
Remember, there are no rules when it comes to art. Go wild, pick, press, and preserve the most beautiful flowers from each season to take you on heartwarming journeys as you dive into your books. Happy reading and crafting, ladies!
This website contains affiliate links. Some products are gifted by the brand to test. As an Amazon Associate, I earn from qualifying purchases. The content on this website was created with the help of AI.
