This website contains affiliate links. Some products are gifted by the brand to test. As an Amazon Associate, I earn from qualifying purchases. The content on this website was created with the help of AI.
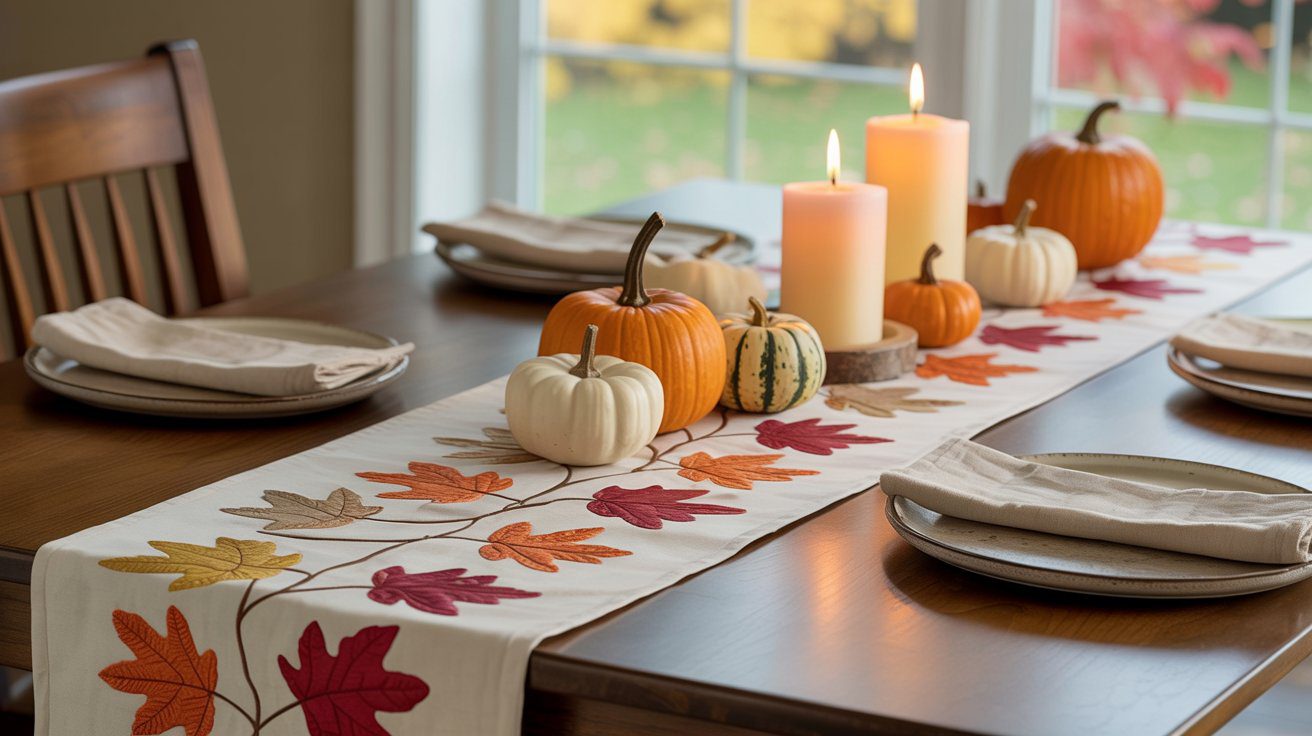
Every fall, I swap out my table décor for something cozy and seasonal. A handmade table runner instantly transforms the dining space, and this Autumn Leaves version brings all the warmth of fall indoors. Here’s the step-by-step tutorial so you can make your own.

Materials Needed
- Autumn-themed fabric fat quarters in oranges, reds, and golds
- Cream or tan background fabric (½–1 yard)
- Backing fabric (½–1 yard)
- Batting (crib or craft size)
- Paper-backed fusible web
- Thread set in fall colors
- Rotary cutter and mat
- Fabric scissors
- Pins or clips
- Sewing machine
Step-by-Step Instructions
Step 1: Cut the Background
Decide on the finished size of your runner (14″ × 72″ is a standard). Using a rotary cutter and mat, measure and cut your cream or tan fabric to 14½” × 72½” to include a ½” seam allowance. Press flat with an iron.
Step 2: Make Leaf Templates
Print or hand-draw leaf shapes like maple and oak about 4–6 inches tall. Use cardstock so the templates don’t bend when tracing. Cut them out with paper scissors.
Step 3: Fuse Fabric
Place the rough side of the fusible web against the wrong side of your autumn fabrics. Press with a hot iron for 5–8 seconds, moving slowly so it bonds evenly. Let the fabric cool completely before cutting.
Step 4: Cut Leaves
Flip fabric to the paper side. Trace 25–35 leaf shapes with a pencil. Cut each shape out with sharp fabric scissors, following the lines exactly. Peel off the paper backing to reveal the adhesive.
Step 5: Arrange & Fuse
Lay the cream background fabric on a large flat surface. Arrange the leaves in a scattered, drifting pattern as if they’ve fallen across the runner, overlapping some for depth. Keep them ½ inch inside the edges. Once happy with the layout, press each leaf with the iron for 3–5 seconds to fuse in place.
Step 6: Stitch the Leaves
Thread your sewing machine with fall-colored thread. Use a zigzag or blanket stitch around every leaf, sewing slowly around curves. This not only secures them but adds a decorative outline.
Step 7: Layer the Runner
On a large surface, lay your backing fabric right side down. Place batting on top, smoothing it flat. Center your leaf top right side up. Pin or clip through all three layers to baste.
Step 8: Quilt the Design
Attach a walking foot to your machine. Stitch around the edges of each leaf, or sew diagonal lines across the runner for a modern touch. Keep stitches even and consistent.
Step 9: Trim & Square
Use a rotary cutter and ruler to trim the excess batting and backing. Make sure all edges are straight and square.
Step 10: Bind the Runner
Cut 2½-inch-wide strips of fabric for binding. Join strips together end-to-end. Fold in half lengthwise, wrong sides together, and press. Sew the binding to the front of the runner with a ¼” seam, mitering corners as you go. Fold to the back and hand-stitch or machine-stitch in place.
Step 11: Finish & Press
Press the entire runner with steam to flatten seams. Clip stray threads with scissors. Place on your dining table and style with candles, pumpkins, or rustic tableware for a finished autumn look.
This project takes a weekend but the payoff is huge—your dining table will look like it belongs in a fall magazine spread. Want to make it extra festive? Pair it with candles, mini pumpkins, and rustic dinnerware.
This website contains affiliate links. Some products are gifted by the brand to test. As an Amazon Associate, I earn from qualifying purchases. The content on this website was created with the help of AI.