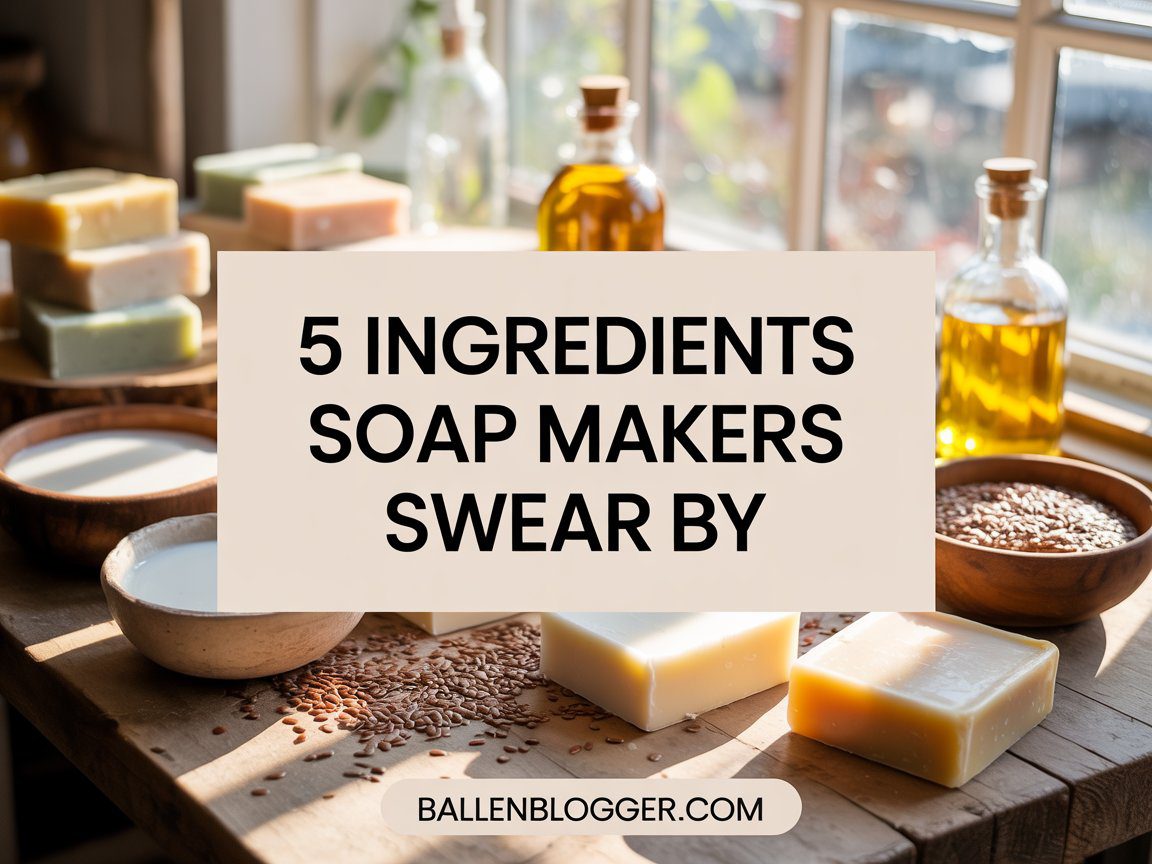
This website contains affiliate links. Some products are gifted by the brand to test. As an Amazon Associate, I earn from qualifying purchases. The content on this website was created with the help of AI.
Do you know that feeling? You’re in the craft store, holding a tiny, plastic-wrapped block of air-dry clay, staring at the price tag. For something you know your kids will demolish in a single afternoon, it feels ridiculous. That exact moment of sticker shock sent me on a mission. I was convinced there had to be a better, cheaper way to get an endless supply of crafting material without wincing at the checkout counter every time.
Tired of shelling out for store-bought clay, I went to work perfecting a simple, no-bake recipe using just three ingredients you definitely have in your kitchen right now. And when I say perfected, I mean I’ve seen it all. The sticky batches, the crumbly disasters, the clay that refused to dry. But this recipe… this one is the holy grail. It’s smooth, brilliantly white, and an absolute dream to work with—all for pennies a batch. In this guide, I’m not just showing you how to make it; I’m sharing every tip and trick I learned, so you can skip the fails and get straight to creating.
The “Why” – The Magic of Homemade Clay
Before we grab a single ingredient, let’s talk about why this is such a game-changer. For me, it started with the cost, but I quickly realized the benefits run so much deeper.
First, let’s talk numbers. A small half-pound package of brand-name clay can easily cost five to ten dollars, sometimes more. Doing a large project or crafting with the whole family means you could burn through several of those. It adds up FAST. Now, consider our ingredients: baking soda, cornstarch, and water. A box of baking soda and cornstarch will cost you a few dollars combined and make pounds of this stuff.
You can whip up a huge batch for less than the price of one tiny store-bought block. This isn’t just about being frugal; it’s about freedom. The freedom to experiment, to make mistakes, to create big, ambitious things without that nagging voice tallying up the cost. The freedom to hand your kid a giant ball of it to play with and feel nothing but joy. That, right there, is priceless.
Next up: accessibility. This is a huge one. Let’s be real, “pottery” can be an intimidating word. It brings up images of expensive potter’s wheels and kilns that get hotter than the sun. That’s a major barrier for anyone who just wants to make a cute ornament in their kitchen. This recipe smashes those barriers. No special equipment. No kiln. No potter’s wheel. You don’t even need an oven if you don’t want to use one. It’s a simple stovetop recipe that air-dries to a hard, beautiful finish. This means anyone, in any home, on any budget, can experience the joy of making three-dimensional art. It brings the craft back home.
Then there’s the peace of mind. If you’ve got kids or pets, you’re a full-time ingredient detective. Commercial craft supplies can have long, unpronounceable chemical lists. Because this recipe uses pantry staples, you know exactly what’s in it. You put it there! You can let your toddler squish it between their fingers without a second thought. Of course, it’s for crafting, not for snacking, but if the dog nabs a piece off the floor, it’s not a code-red panic. This lets you relax and focus on the fun, not the fear.
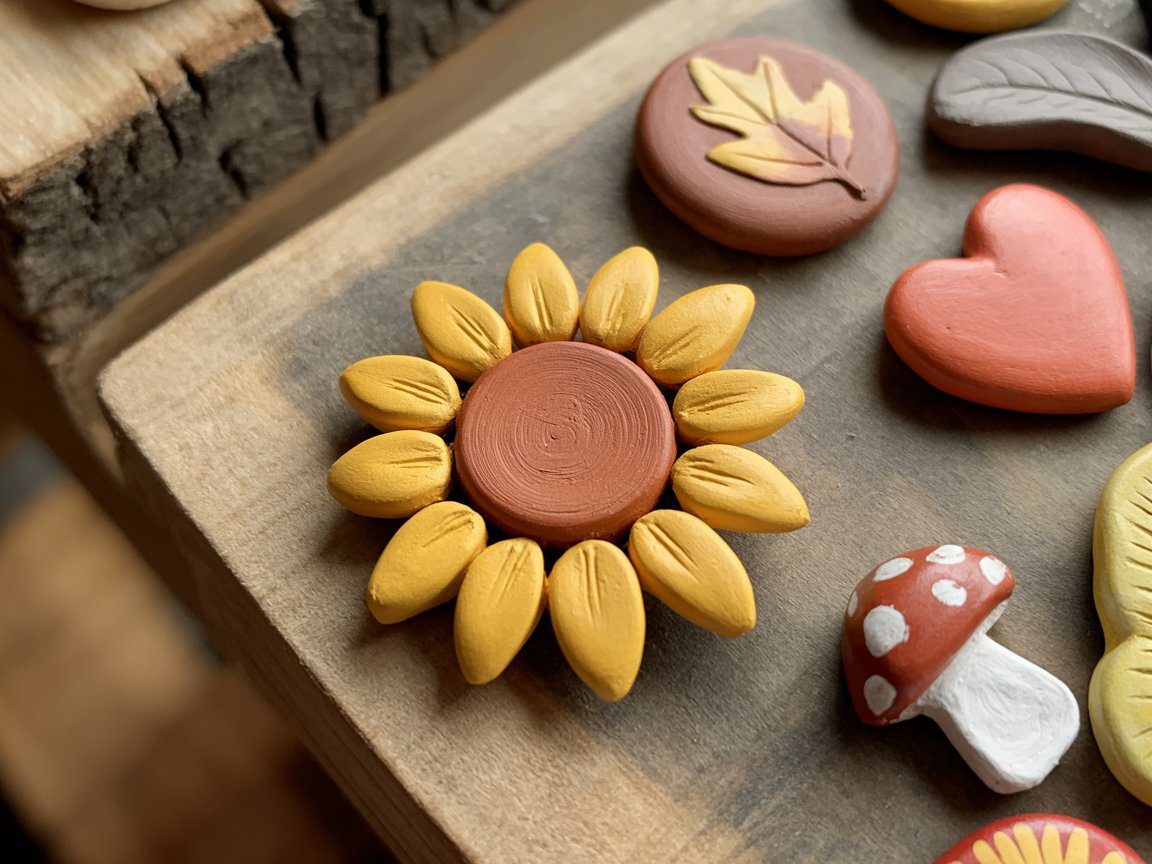
Finally, let’s talk about how incredibly versatile this clay is. The first time you make it, you’ll be shocked by the smooth, pliable, professional-feeling texture. This is not just a kid’s play dough. You can roll it thin for delicate ornaments, sculpt detailed figurines, press it into silicone molds, or shape it into trinket dishes and magnets. And because it dries a crisp, brilliant white, it’s the perfect blank canvas. It takes paint so beautifully that your finished projects can look incredibly polished. This isn’t just a substitute for store-bought clay; in many ways, it’s a serious upgrade.
The “What” – Ingredient & Tool Roundup

Alright, let’s get down to the essentials. The beauty of this recipe is its simplicity — you only need a few basics to make perfect homemade clay.
Baking Soda – You’ll need two cups. This gives the clay its smooth body and beautiful white color.
Shop Baking Soda on Amazon
Cornstarch (Cornflour) – One cup. This is what gives your clay its elasticity and soft, workable texture.
Shop Cornstarch on Amazon
Water – About one to one and a quarter cups of cold water. Cold water keeps the mixture smooth and lump-free.
Now for the tools:
Non-Stick Saucepan – A good one makes all the difference when you’re heating the clay mixture.
Shop Non-Stick Saucepan on Amazon
Silicone Spatula – Flexible, easy to clean, and perfect for scraping the pot as the clay thickens.
Shop Silicone Spatula on Amazon
Measuring Cups – Because precision matters when it comes to ratios.
Shop Measuring Cups on Amazon
Optional level-up ingredients for added creativity:
White PVA Glue – Add a tablespoon for extra durability.
Shop Elmer’s Glue on Amazon
Essential Oils – Try lavender or cinnamon for scented clay ornaments.
Shop Essential Oils on Amazon
Acrylic Paints – Mix into the batch or use them to paint your finished pieces.
Shop Acrylic Paints on Amazon
So, to recap: baking soda, cornstarch, water, a pot, and a spatula — that’s all that stands between you and an endless supply of silky, high-quality homemade clay.
Affiliate Disclosure: As an Amazon Associate, I earn from qualifying purchases at no additional cost to you.
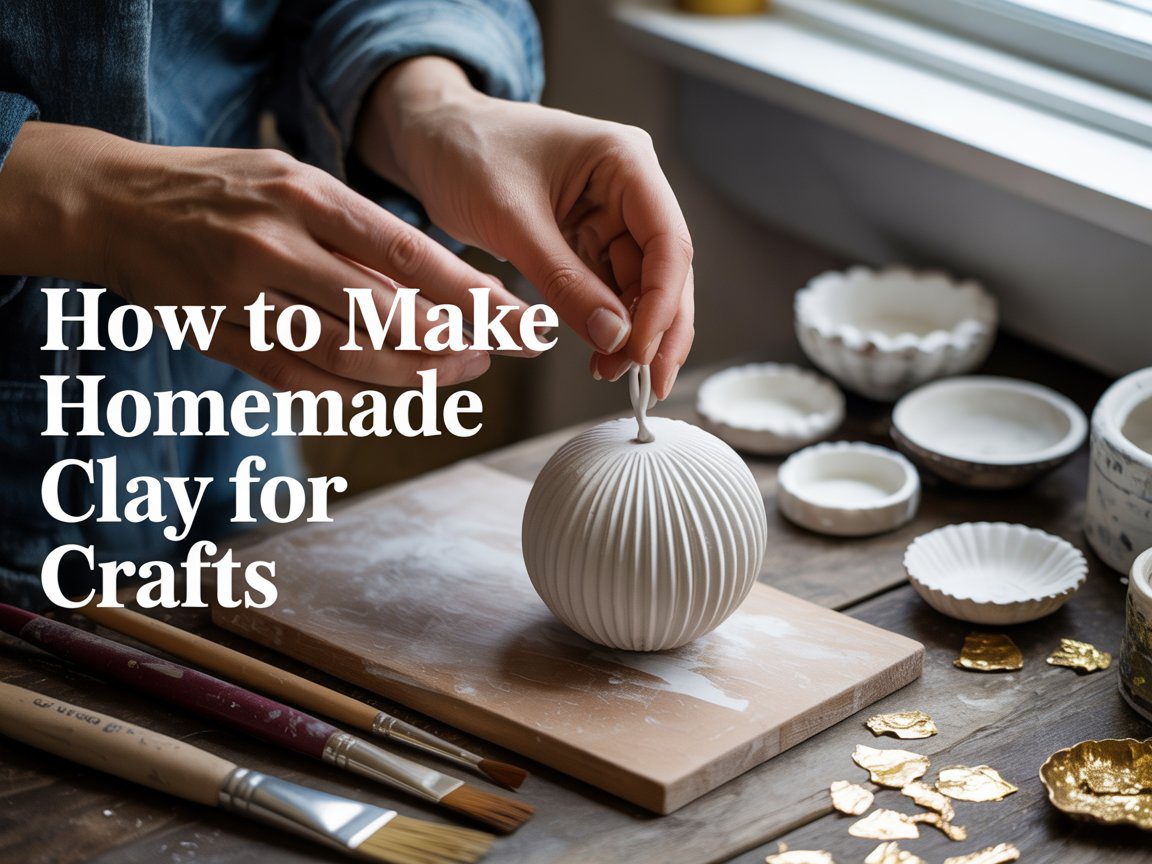
The “How” – Step-by-Step Tutorial

This is where the magic happens. Follow these steps closely, pay attention to the textures, and trust the process. Do that, and you’ll nail it on your first try.
Step 1: Combine the Dry Ingredients
First, grab your pot—your non-stick best friend—and put it on the counter, not the stove. We start everything cold.
Measure out your two cups of baking soda and add it to the pot. Then, measure your one cup of cornstarch and add that in. Now, take a whisk or your spatula and give them a really good mix. You want to break up any clumps and get them fully combined. This step is more important than it seems! It prevents lumps later, which means a much smoother clay. I learned this the hard way, trying to mash little rubbery bits of cornstarch against the side of a hot pot. Trust me, take 30 seconds and mix them now.
Step 2: Add the Water
With your powders mixed, it’s time for the water. We’re using one to one and a quarter cups of cold water. I always start with just one cup; you can add a splash more if it feels too thick.
Slowly pour the cold water in while stirring with your spatula. Your goal is a smooth, liquid slurry. Keep stirring, scraping the bottom and sides, until every bit of powder is dissolved. It should look like thin pancake batter. You’ll probably think, “There’s no way this turns into clay.” Have faith! This is exactly right.
Step 3: The Cooking Process – The Transformation
Okay, this is the most active part, but it’s also super quick. From this point on, do not walk away from the stove.
Place the pot on medium heat and start stirring. Constantly. For the first few minutes, you’ll just be stirring warm milk. Keep going.
After about five minutes, you’ll feel it. A little drag on your spatula as the bottom starts to thicken. This is the signal! The change is beginning. Keep stirring and scraping the bottom.
Then, it happens fast. The liquid will go from slightly thick to very thick in about a minute. It will start to pull away from the sides of the pot as you stir. You’re looking for the consistency of thick, creamy mashed potatoes. When the whole thing starts to move together as one lump, you’re done.
The biggest mistake is overcooking. If it gets too dry and crumbly in the pot, it’s impossible to knead. You want it soft. The second it looks like a soft ball of mashed-potato-dough, pull it off the heat. Don’t be tempted to cook it “just a little longer.”
Step 4: Cooling and Kneading – The Moment of Truth
You should now have a pot with a very hot, soft ball of dough. Carefully plop it onto a cool surface—a silicone mat, parchment paper, or even a clean countertop is perfect.
And now, we wait. It’s incredibly hot, so don’t touch it yet! Let it sit for 10-15 minutes, or until it’s just warm enough to handle. It’s normal for a slight crust to form as it cools.
Once it’s warm, not hot, it’s time to knead. This is what turns it from a cooked lump into silky-smooth clay.
Lightly dust your hands and surface with a little cornstarch to prevent sticking. Now, knead it like bread dough. Fold, press, turn, repeat. At first, the texture might feel a little lumpy or weird. Don’t worry. Keep kneading. You’ll literally feel it transforming under your hands, becoming smoother, more elastic, and less sticky. If it feels too tacky, add another tiny sprinkle of cornstarch, but don’t overdo it.
After five to eight minutes of kneading, you’ll have it: a perfectly smooth, soft, pliable ball of clay. It should feel like satin. This is that satisfying “aha!” moment. You did it.
Storage – Keeping Your Clay Fresh
You’ve made this beautiful ball of clay, but you might not use it all at once. Proper storage is crucial. Air-dry clay’s main goal in life is to dry out, and our job is to stop it.
The method is simple: airtight. Wrap your clay tightly in plastic wrap. Press the wrap right against the surface to squeeze out every bit of air. Air is the enemy. I like to wrap it twice.
Then, put the wrapped bundle into an airtight container or a resealable Ziploc-style bag. Squeeze all the extra air out before you seal it. For best results, store your wrapped clay in the fridge. The cold helps it stay fresh for much longer. Stored this way, it can easily last for a week, sometimes even two.
When you’re ready to use it again, let it come to room temperature for a bit, as it might feel stiff right out of the cold. A quick knead for a minute or two will bring back that perfect, soft texture. If you find your clay has dried just a little, you can try kneading it with slightly damp hands—a few drops of water is all it takes. Just be careful not to add too much, or you’ll have a sticky mess on your hands.
The “Proof of Quality” – Demonstration & Project Ideas

It’s one thing to talk about how great this clay is, but the proof is in the making. The ball of clay you just made should have a beautiful texture—smooth, soft, and ready to go. To see how easy it is to work with, try making a quick craft.
Roll a piece of clay into a ball and, on a lightly dusted surface, roll it out to about a quarter-inch thick. Notice how smoothly it rolls, without cracking or sticking. Now, take a simple star cookie cutter and press it in. Peel away the excess, and you’ll have a perfect, clean-cut shape with sharp, neat edges. Use your finger to gently smooth the edges, then poke a little hole in the top with the end of a paintbrush so you can hang it later. A simple, beautiful ornament in less than a minute. That’s the proof of quality this recipe delivers. This clay just performs.
Now, let your imagination run wild. Here are just a few ideas:
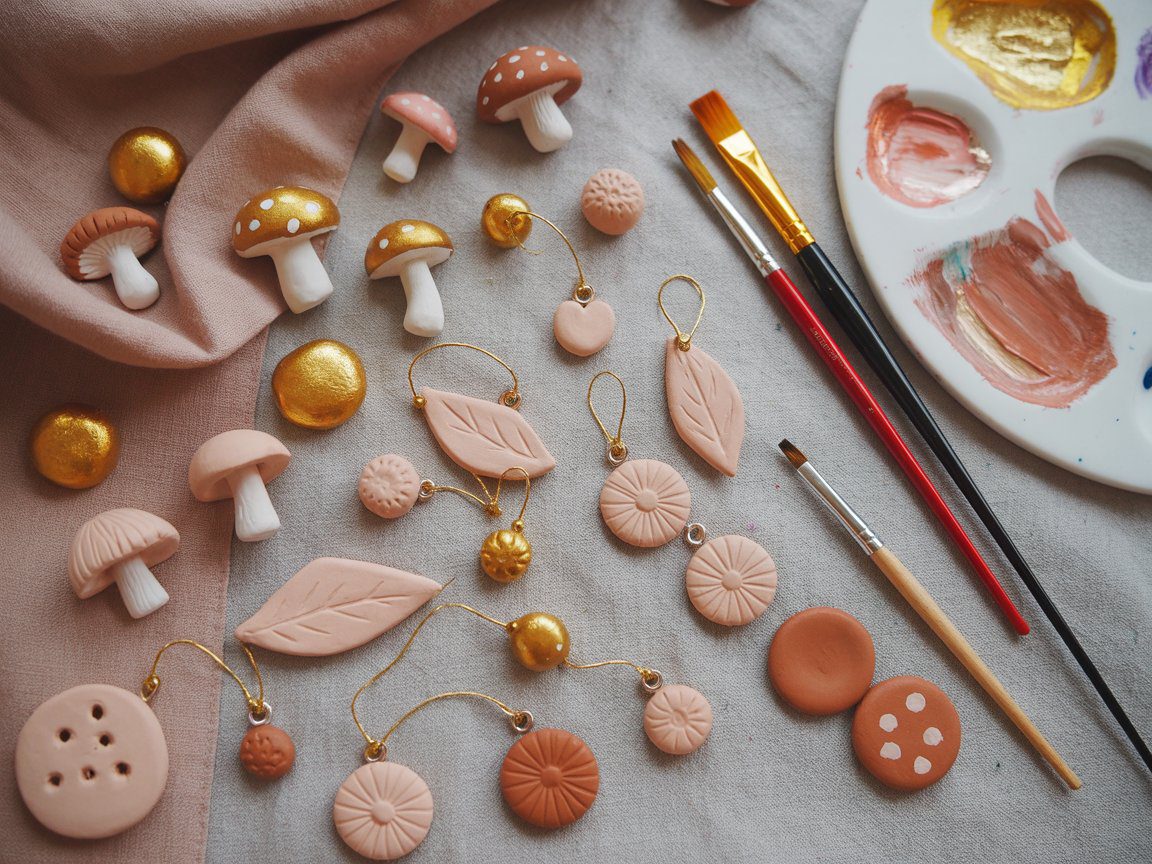
- Holiday Ornaments: We just made a star, but think snowflakes for Christmas, eggs for Easter, or little ghosts for Halloween. They’re so lightweight and cheap to make, you can create entire sets as gifts.
- Home Decor: Make minimalist wall hangings by stringing shapes together on twine. Or, craft a small pinch pot or trinket dish to hold your rings. A word of caution here: the clay is for decorative use only. It is not food-safe or waterproof, so don’t make a cup you plan to drink from!
- Jewelry: This clay is perfect for making pendants, beads, and earrings. Once dried and sealed, they’re surprisingly durable and incredibly lightweight.
- Personalized Gifts: Create custom gift tags with stamped initials. Sculpt a tiny figurine that represents an inside joke with a friend. A handmade gift always means more.
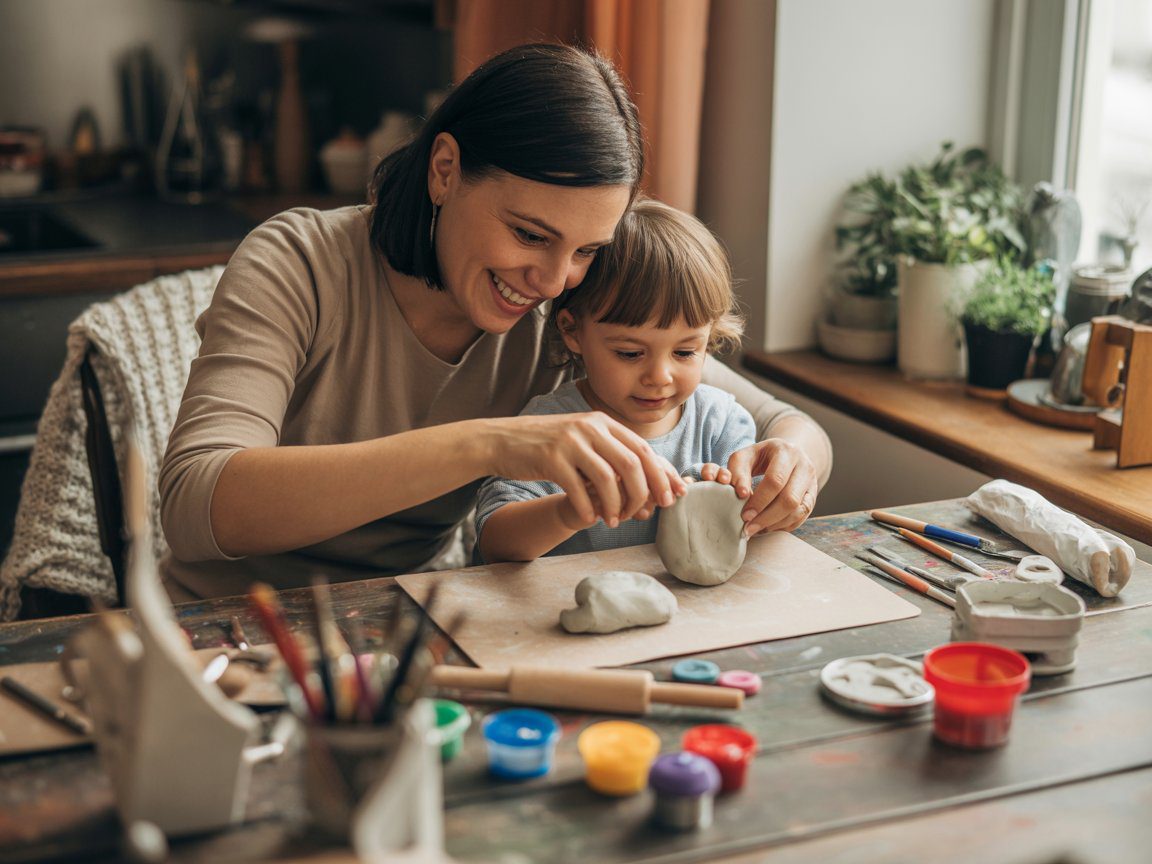
- Kid’s Crafts: This is a sensory dream for little hands. Let them make figurines, pretend food, or just enjoy squishing and shaping. Because it’s non-toxic and easy to clean, it’s a stress-free activity for everyone.
So, what will you make with this recipe? Let me know in the comments! I love hearing about your creative ideas.
The Finish Line – Drying & Finishing
Creating your piece is half the journey. The final steps—drying and finishing—are what turn your soft creation into a permanent piece of art.
The main method is simple air drying. Place your pieces on a flat, non-stick surface, like a baking sheet with parchment paper or a wire cooling rack. Leave them in a well-ventilated spot away from direct sun.
Now, be patient. Drying takes about three to five days, depending on the thickness. To prevent warping, it’s a good idea to carefully flip your pieces once a day. You’ll know they’re fully dry when they feel hard and cool and are no longer flexible at all.
If you’re impatient, you can use the oven. Set your oven to its lowest setting, around 200°F or 93°C. Bake your pieces for about an hour to an hour and a half, flipping them halfway. Watch them carefully! If the oven is too hot, they can crack or puff up. I prefer the slow-and-steady air-dry method, but the oven works in a pinch.
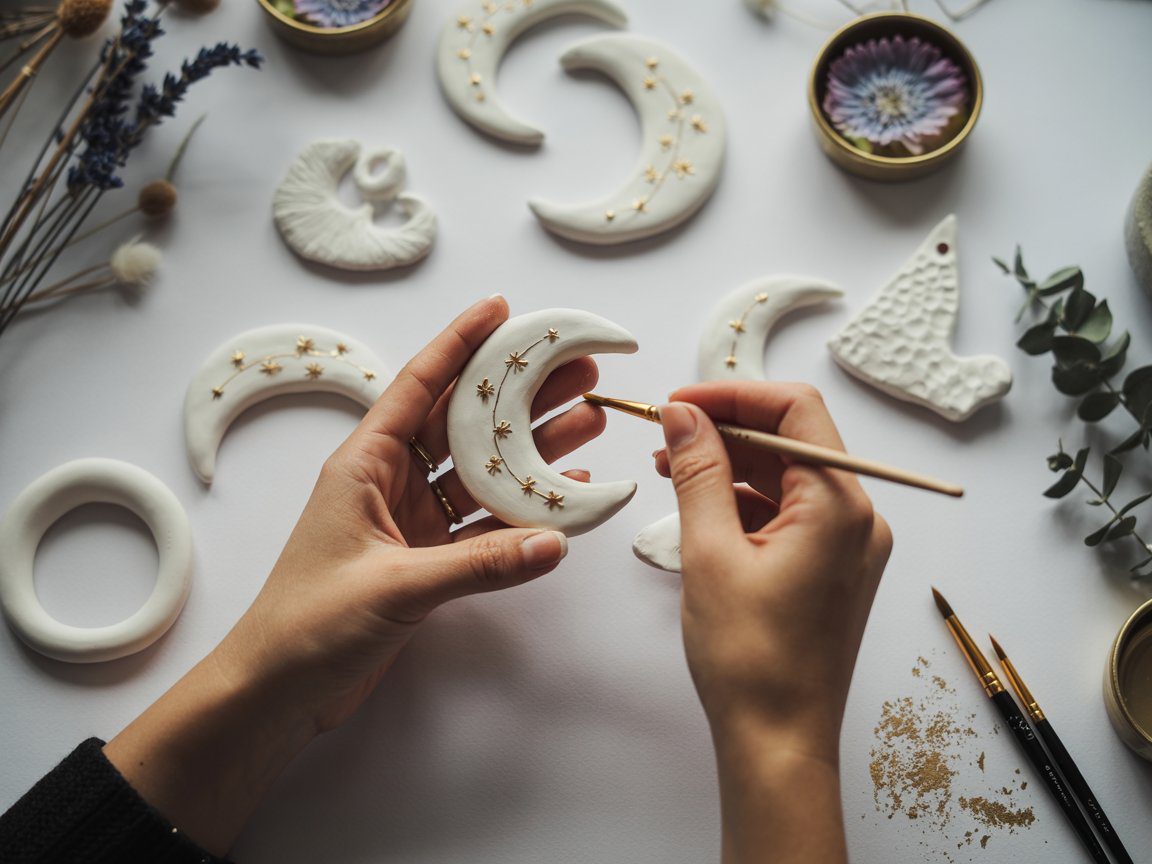
Once your pieces are bone dry, it’s time for the really fun part: painting! Acrylic paints work best. The dried clay has a beautiful, matte white finish that makes colors pop.
After the paint is dry, I highly recommend sealing your project. A crucial reminder: this clay is water-based and not waterproof. If it gets wet, it can soften. Sealing makes it water-resistant and much more durable. You can use a clear spray sealant, a brush-on varnish (gloss or matte), or Mod Podge. This final step protects your hard work and gives your project a professional look that will last.
Conclusion
So there you have it. From three simple kitchen ingredients, you can create an endless supply of high-quality, beautiful crafting clay. It’s cheap, it’s easy, it’s non-toxic, and the possibilities are limited only by your imagination.
I truly hope this guide has inspired you to give it a try. There’s something magical about turning pantry staples into a piece of art with your own two hands.
Now, back to that important question: what will you create? Are you dreaming up holiday ornaments, a new piece of jewelry, or a fun project with your kids? Drop your ideas in the comments below. I love reading about what you’re inspired to make.
Thank you so much for reading. Happy crafting
This website contains affiliate links. Some products are gifted by the brand to test. As an Amazon Associate, I earn from qualifying purchases. The content on this website was created with the help of AI.