This website contains affiliate links. Some products are gifted by the brand to test. As an Amazon Associate, I earn from qualifying purchases. The content on this website was created with the help of AI.
The 5 Secret Ingredients Pro Soap Makers Never Tell You
If your homemade bars clean fine but never quite deliver that thick, creamy, boutique-level lather, it isn’t your recipe that’s broken — it’s what you’re leaving out.
Shop the soap-making secret stash →Affiliate links · As an Amazon Associate I earn from qualifying purchases.
Imagine a bar of soap that produces an insane, creamy, conditioning, bubbly lather — the kind that feels like a true luxury, not a craft-fair afterthought. If your bars feel a little flat, it’s not your fault. It’s because nobody let you in on the five ingredients pro soap makers use to take a perfectly fine bar and turn it into something people obsess over. Here is exactly how to use every one of them, step by step, plus the full boutique lather bar recipe that ties them all together.
⚠️ Before You Begin: A Crucial Note on Safety
Before we dive into the secrets, let’s address the single most important factor that separates amateurs from pros: safety. When making soap from scratch, you’re working with sodium hydroxide, or lye — a caustic chemical that demands your full respect. That means no distractions (no kids or pets wandering into your workspace), and you must always wear your personal protective equipment: long sleeves, closed-toe shoes, chemical-resistant gloves, and splash-proof safety goggles. Your eyesight is non-negotiable.
Remember these two fundamental rules:
- Always add your lye to your liquid — never the other way around. Adding liquid to lye can cause a hot, caustic volcano-like reaction.
- Work in a well-ventilated area. The fumes from mixing lye are not something you want to inhale.
If you’re brand new to soap making, find and watch a dedicated lye safety video before you begin. Safety is the foundation of beautiful soap — now let’s get to the good stuff.
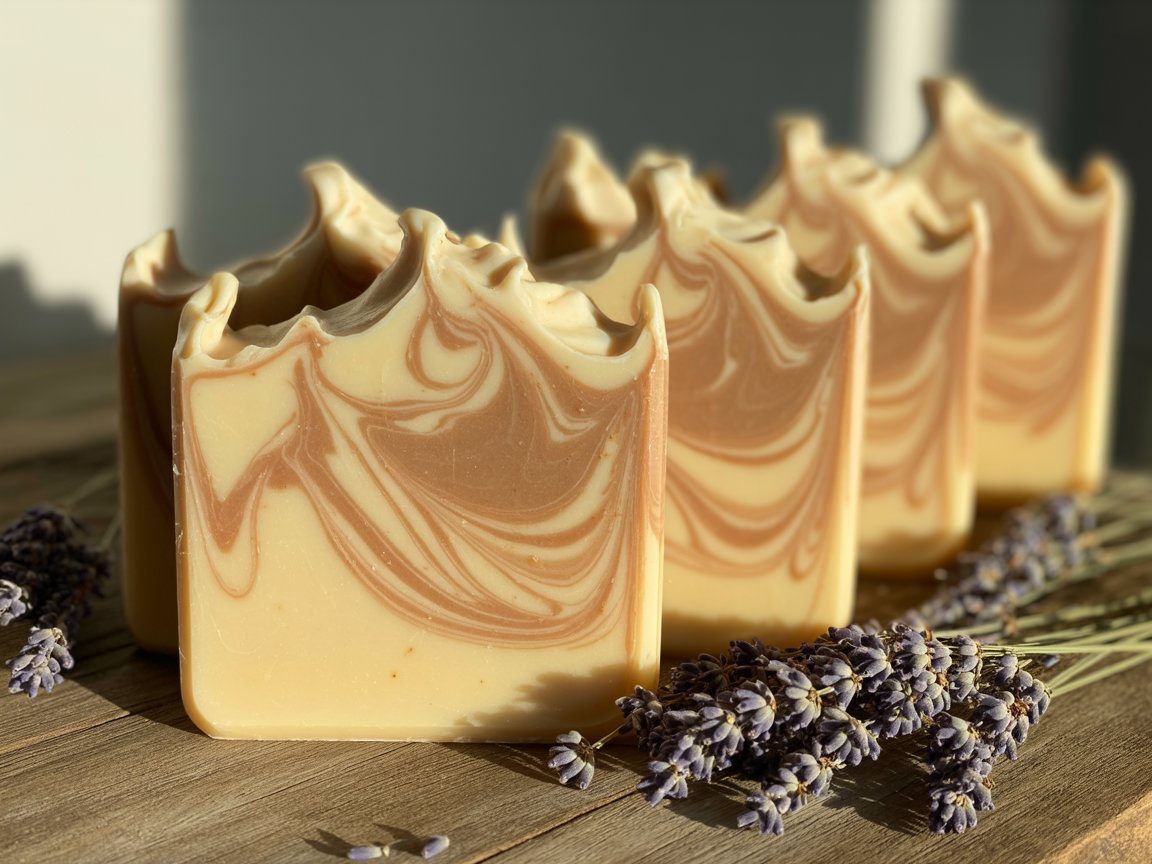
Five secrets, four categories
Creamy liquid bases
Swap water for goat milk (or coconut milk, buttermilk, aloe juice) for a lather that’s naturally thick and conditioning.
Chemistry boosters
Citric acid fights soap scum and rancidity; sodium lactate hardens the bar so it lasts longer in the shower.
Lather science
Castor oil at 5–10% of your oil weight builds dense, stable, shaving-cream-like bubbles that stick around.
Silky finishing touches
Flaxseed gel folded in at trace gives the bar that final, high-end “slip” that makes people ask what’s in it.
Exactly how the recipe comes together
Freeze your milk before you touch the lye
Prep: Freeze your goat milk into cubes to prevent scorching. This is the trick that keeps the lye reaction from turning your milk orange and stinky.
🧊 Picture this: a tray of frozen milk cubes waiting by the bowl, so the second the lye hits, the heat melts right into cool, creamy white — no scorching, no smell.
Dissolve citric acid, then lye, in an ice bath
Lye: Dissolve the citric acid into the milk, then slowly add lye while stirring in an ice bath.
💡 Tip: keep the bowl sitting in a basin of ice water the whole time you’re stirring — extra insurance against a scorched, smelly batch.
Stir in sodium lactate for a harder cure
Mix: Add sodium lactate to the cooled lye-milk, then pour into your melted oil blend.
💡 Tip: about 1 teaspoon per pound of oils is the sweet spot — more than that and the bar can turn brittle instead of just firm.
Blend to trace, then fold in flaxseed gel
Trace: Stick blend to a light trace, fold in the flaxseed gel and essential oils, and pour into your mold.
💡 Tip: “light trace” means the batter thickens just enough to leave a faint trail on the surface when you drizzle it — don’t wait for a heavy trace or the gel won’t fold in evenly.
Unmold, then let it cure for 4 to 6 weeks
Cure: Unmold after 24–48 hours and allow the bars to cure for 4–6 weeks.
🖼️ Picture this: a shelf lined with fresh-cut bars, quietly hardening for weeks, while the water evaporates out and the lather gets milder, longer-lasting, and more luxurious every day.
Grab the whole secret-ingredient stash in one place
Goat milk, citric acid, sodium lactate, castor oil, flaxseed — every ingredient in this post, ready to add to your cart.
Shop the full ingredient list →Secrets #1–3: liquid, acid & lactate
Alternative liquids for a creamy base
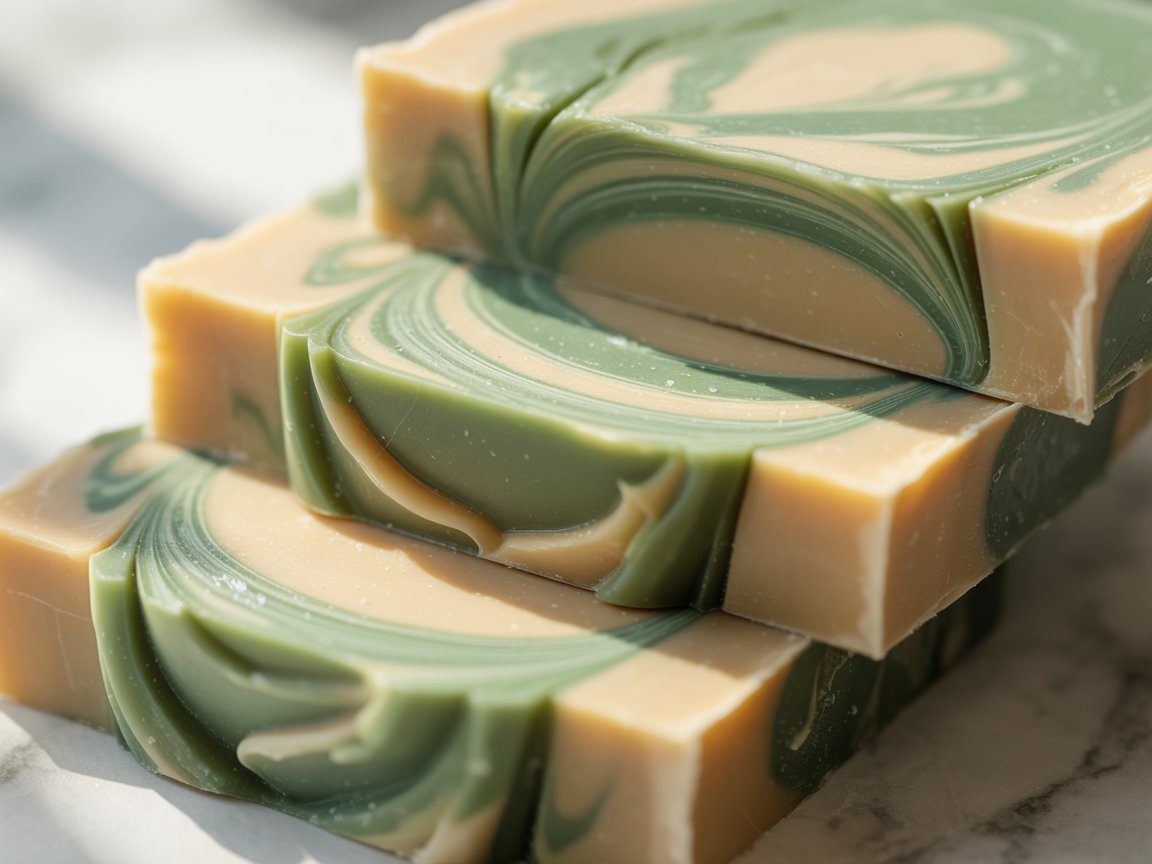
Every great soap recipe starts with the liquid. While most beginners use distilled water — and that’s perfectly fine — pros know the liquid phase is the first and best opportunity to sneak luxury into the bar. This recipe uses full-fat goat milk. Other excellent options include coconut milk, buttermilk, or even aloe vera juice. These liquids are loaded with sugars, fats, and proteins that boost the lather into a thick, stable foam while adding a creamy, conditioning quality water simply can’t match.
Pro Tip: Working with milk requires a specific trick. The sugars in milk can scorch when the lye heats them up, turning the mixture orange and creating an unpleasant smell. To avoid this, everything must be kept ice cold — freeze your milk into cubes beforehand, then add the lye slowly, stirring gently in a basin of ice water, until it’s fully dissolved. The result is a cool, creamy lye-milk solution ready to create a next-level bar.
🥛 Picture this: swapping plain water for frozen goat milk cubes and watching your lye solution turn into a cool, creamy, ivory base instead of a thin, watery one.
Citric acid to combat soap scum
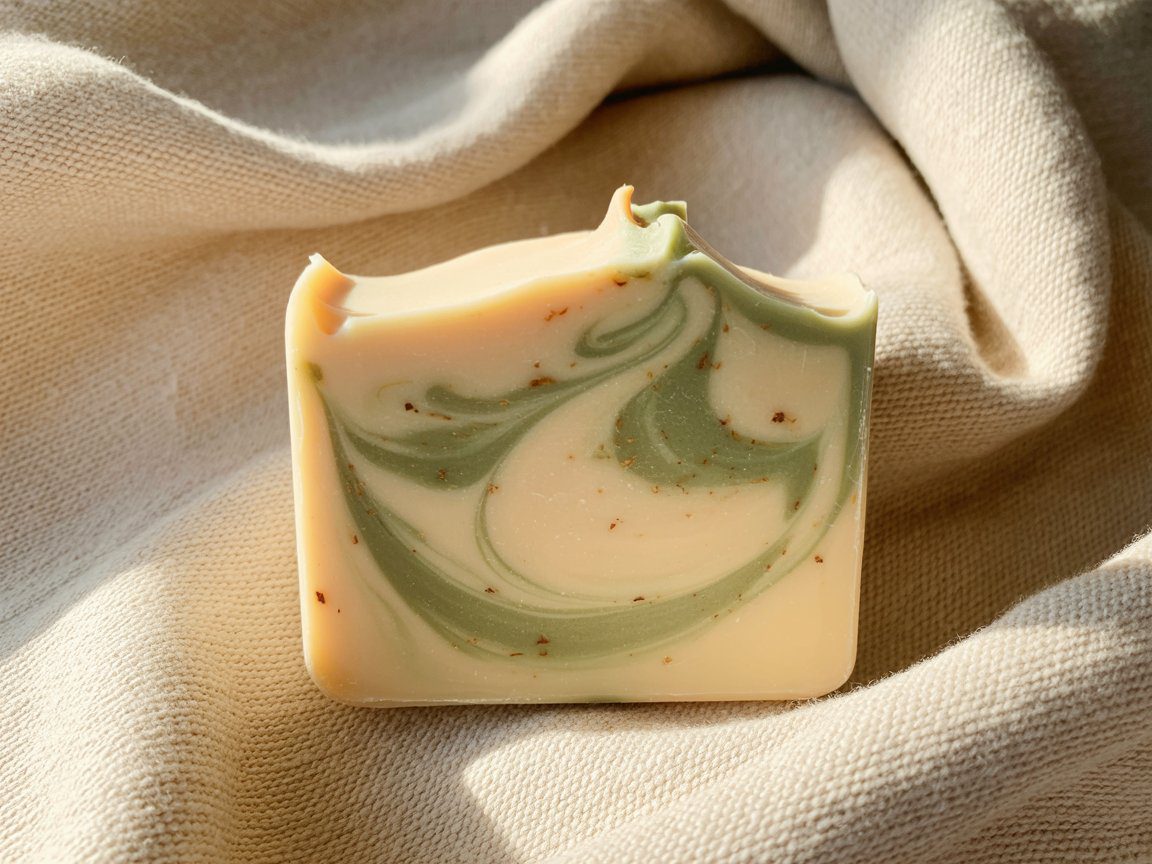
Ever used a beautiful handmade soap only to find a grimy film left in your sink? That’s soap scum, caused by minerals in hard water. Citric acid is the solution. As a natural chelator, it prevents this buildup. When about 1% of your total oil weight is added to your liquids before the lye, it transforms into sodium citrate — which binds to the metal ions in hard water so they can’t form soap scum. As a bonus, it can also help prevent dreaded orange spots (DOS), which signal rancidity, extending the shelf life of your bars.
Note: Citric acid neutralizes a small amount of lye, so you’ll need a little extra lye in your recipe — use a soap calculator with a specific input for citric acid to do the math for you.
✨ Picture this: rinsing your sink after a shower and finding it clean, not filmed over with that gritty soap-scum residue everyone assumes is just part of using real bar soap.
Sodium lactate for a harder, longer-lasting bar
Sodium lactate is a liquid salt derived from the fermentation of sugars. Pros use it for one huge reason: it helps create a much harder bar of soap that lasts noticeably longer in the shower. If you’ve ever had a homemade soap turn to mush after just a few washes, this is your fix. Sodium lactate accelerates the hardening process, letting you unmold the soap sooner — sometimes a full day or two earlier — for a cleaner release with sharp, professional-looking edges. Simply add it to your cooled lye solution at a rate of about 1 teaspoon per pound of oils; any more can make the bar brittle.
💡 Picture this: unmolding a loaf a full day earlier than usual, with crisp, clean edges instead of a soft, dented one that sticks to the mold.
Secrets #4–5: lather & slip
Castor oil for a rich, stable lather

With the lye solution ready, let’s talk about the soul of the soap: the oils. Your oil blend determines everything from hardness to conditioning, but most importantly, it dictates the lather. If you want big, stable, show-stopping bubbles, castor oil is non-negotiable. Its uniqueness comes from a high concentration of ricinoleic acid, a fatty acid that acts as a humectant, drawing moisture to the skin. Its real magic in soap, though, is its power to create and stabilize lather. While an oil like coconut gives you big, flashy bubbles that can disappear quickly, castor oil builds a dense, creamy, almost shaving-cream-like foam and makes those big bubbles stick around.
You don’t need much; too much can make your bar feel sticky. The sweet spot is between 5% and 10% of your total oil weight. In our recipe — a blend of nourishing olive oil, cleansing coconut oil, and creamy shea butter — castor oil at 8% is the magic ingredient. For a smooth process, make sure both your oils and your lye solution are at a similar, cool temperature — around 85 to 95 degrees Fahrenheit — before combining them.


🫧 Picture this: working up a lather that holds like whipped shaving cream instead of collapsing into thin, flat bubbles ten seconds after you rinse.
Flaxseed gel for a luxurious, silky slip
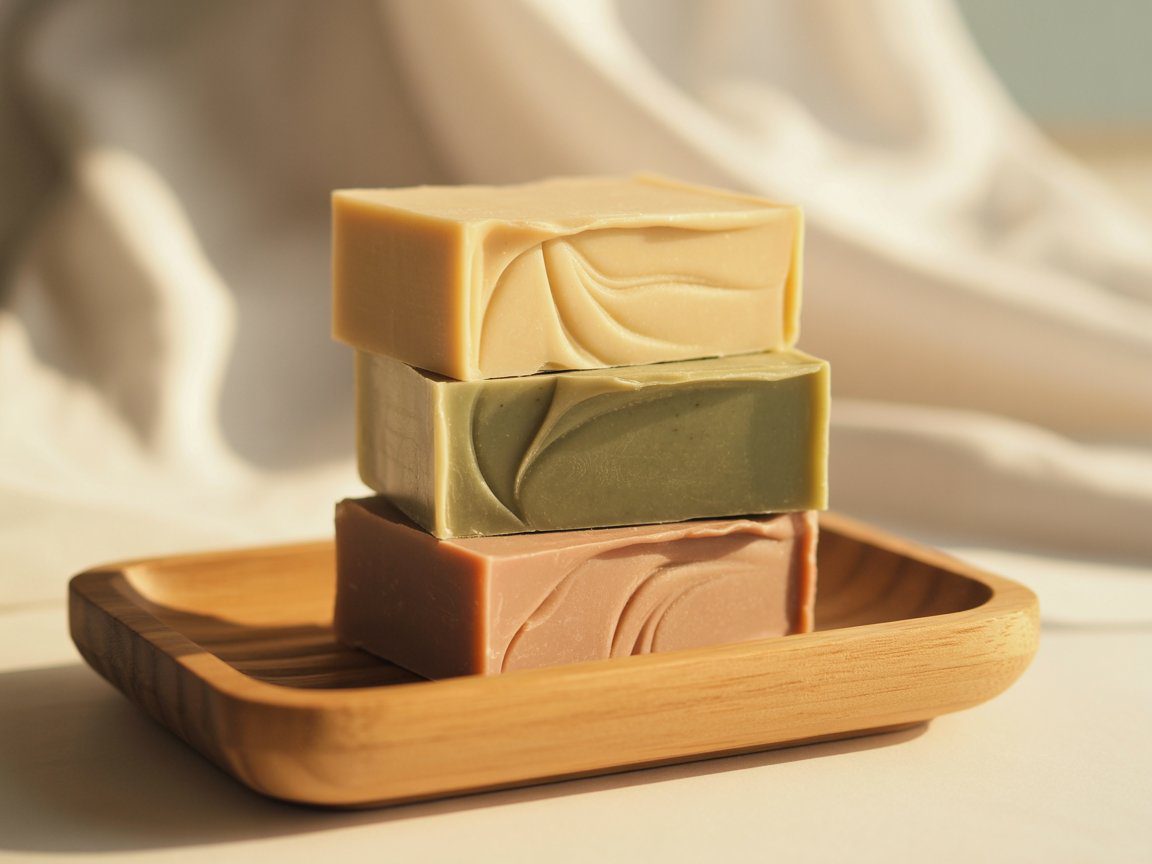
Once the lye solution and oils are combined and stick blended to a light trace, it’s time for the final, most “bougie” secret ingredient. This is a creative additive loved by artisan soapers for the incredible, silky skin-feel it creates. Making it is simple: boil flaxseeds in water until the water becomes a thick, slippery gel, then strain out the seeds.
Add about one tablespoon of this gel per pound of oils to your soap batter right at trace, just before pouring it into the mold. It gives the soap what soapers call “slip” — the lather feels slick and smooth, almost like a high-end lotion. It’s that final touch that makes someone use your soap and immediately ask, “What is in this?” After blending it in, pour the batter into a loaf mold, add any desired texture to the top, and insulate the loaf for 24 hours to let it go through the gel phase, where saponification truly happens.
✨ Picture this: someone lathering up with your soap for the first time and stopping mid-wash to ask what makes it feel so different — that’s the flaxseed gel talking.
A perfectly crafted bar
What five secrets working together looks like
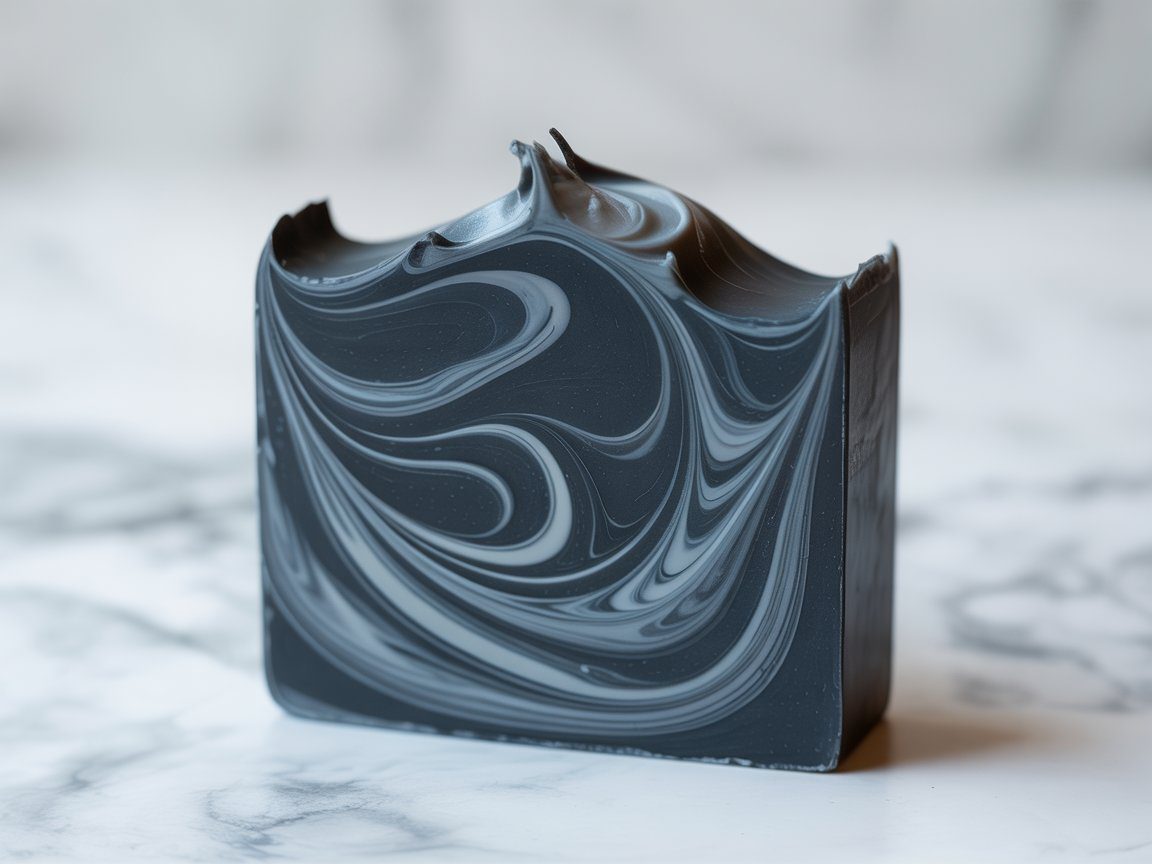
After 24 hours, thanks to the sodium lactate, the loaf will be firm and ready for the most satisfying moment: the cut. Slicing into a fresh loaf reveals a perfectly smooth, creamy interior — no air pockets, a gorgeous even white from the goat milk, and a dense, perfect texture.
But the real proof is in the lather. To test it, you’ll need a bar that has cured for 4 to 6 weeks, which allows water to evaporate and the bar to become mild and long-lasting. With just a little water, a properly made bar will explode into a thick, stable foam. You’ll notice the large bubbles from the castor oil and the creamy density from the goat milk. Your hands will feel moisturized, not stripped. This is that boutique-level lather — silky, conditioning, and completely luxurious.
🖼️ Picture this: slicing into your own cured loaf and finding a smooth, even, air-pocket-free interior — then working it into a lather so thick it looks like it came from a spa gift shop.
Your blueprint for incredible soap
There you have it: the five “secrets” that truly elevate your soap making. To recap:
- Alternative Liquids like goat milk for a creamy, conditioning base.
- Citric Acid to fight soap scum and improve shelf life — find citric acid.
- Sodium Lactate for a harder, longer-lasting, professional-feeling bar — get sodium lactate.
- Castor Oil for an insane, stable, bubbly lather — use castor oil.
- Flaxseed Gel for that final touch of silky, luxurious slip — make it with organic flaxseeds.
Use the recipe steps above as your guide, bookmark this post for your next batch, and when you try it, drop a comment and let us know how it went — we want to hear all about it!
💡 Picture this: your own five-ingredient cheat sheet taped inside a kitchen cabinet, ready every time you mix a new batch.
Loved this? Pin it.
Hover or tap the image and hit Save so you always have these five secrets on hand for your next batch.
Make your first boutique bar this weekend
You now have the blueprint pros don’t share. Grab the ingredients and turn your next batch into something people obsess over.
Shop my soap-making secrets →This website contains affiliate links. Some products are gifted by the brand to test. As an Amazon Associate, I earn from qualifying purchases. The content on this website was created with the help of AI.
