This website contains affiliate links. Some products are gifted by the brand to test. As an Amazon Associate, I earn from qualifying purchases. The content on this website was created with the help of AI.
Air dry clay is a fantastic medium for DIY crafters, but one common challenge is achieving a smooth, glossy, or even waterproof finish. Unlike traditional clay that gets fired in a kiln, air dry clay remains porous after drying, making it tricky to glaze. But don’t worry! I’ve got you covered with simple, effective techniques to help you glaze your air dry clay projects like a pro.
What You’ll Need
Before we dive into the glazing process, gather the following materials:
- Dried air dry clay project (fully cured for at least 24-48 hours)
- Sandpaper (fine grit)
- Acrylic paint or watercolor (optional for base color)
- Mod Podge, varnish, or PVA glue
- Resin or epoxy glaze (for a high-gloss finish)
- Soft paintbrushes
- Clear spray sealant (optional)
- Bowl of water and a sponge
Step-by-Step Guide to Glazing Air Dry Clay
1. Prep Your Clay Piece
Ensure your air dry clay creation is fully dried before applying any glaze. If it feels cold to the touch, it may still have moisture inside. Let it cure completely to avoid cracks and bubbles in the glazing process.
2. Smooth the Surface
Use fine-grit sandpaper to gently smooth any rough spots or imperfections on your clay piece. Wipe away dust with a damp sponge before moving to the next step.
3. Apply a Base Coat (Optional)
If you want a colored glaze effect, apply a base coat of acrylic paint or watercolor. Allow the paint to dry completely before glazing.
4. Choose Your Glazing Method
There are several ways to glaze air dry clay, depending on the finish you want:
A. Mod Podge or PVA Glue (For a Glossy, Budget-Friendly Finish)
- Use a soft paintbrush to apply a thin, even coat.
- Let it dry for about 15 minutes, then apply a second coat if needed.
- Once fully dry, your piece will have a subtle sheen.
B. Resin or Epoxy Glaze (For a High-Gloss, Waterproof Finish)
- Mix the resin according to the manufacturer’s instructions.
- Apply with a soft brush or pour it over the piece.
- Let it cure for at least 24 hours in a dust-free area.
- This method gives a glass-like shine and adds durability.
C. Clear Acrylic Spray Sealant (For a Quick and Easy Finish)
- Hold the spray can about 8-10 inches away and apply a light mist.
- Let it dry completely, then apply additional coats as needed.
- This method provides a satin or glossy finish with minimal effort.
5. Let It Cure
After applying your chosen glaze, allow your clay piece to fully dry or cure according to the product’s instructions. Avoid handling it too soon to prevent smudges or fingerprints.
6. Enjoy Your Glazed Creation!
Once dry, your air dry clay piece will have a beautiful, finished look—ready to display, gift, or even sell!
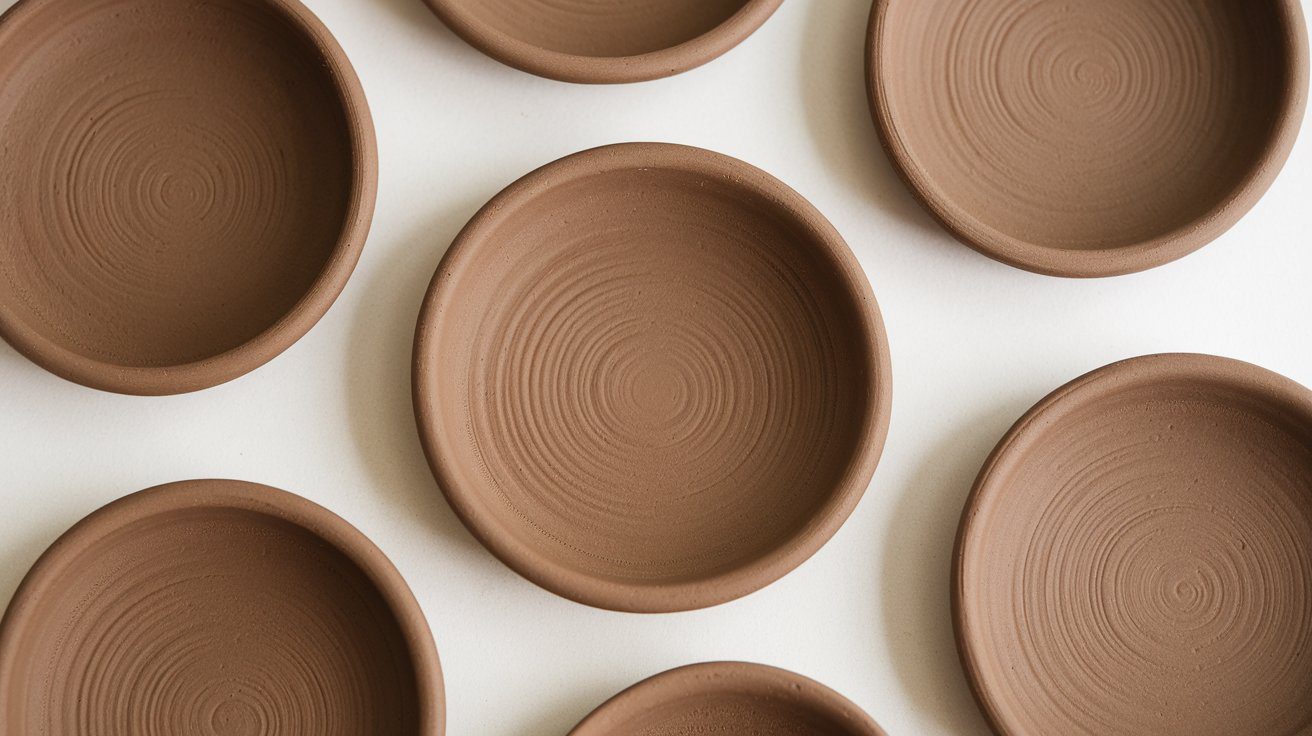
Picture This:
Imagine a set of handmade air dry clay dishes, each glazed with a soft, glossy sheen, catching the light as they sit atop a rustic wooden table. A pastel-colored jewelry tray, sealed with resin, sparkles under the glow of a cozy bedside lamp. Whether you’re creating pottery, figurines, or home decor, glazing adds that perfect final touch, making your work look polished and professional.
→ Air Dry Clay Finishing Supplies: Fine-Grit Sandpaper, Mod Podge Gloss Sealer, Epoxy Resin Glaze Kit, Soft Paintbrush Set, Clear Acrylic Spray Sealant, Acrylic Paint Set
Ready to try glazing your air-dried clay projects? Let me know how it goes, and don’t forget to share your beautiful creations!
This website contains affiliate links. Some products are gifted by the brand to test. As an Amazon Associate, I earn from qualifying purchases. The content on this website was created with the help of AI.
