This website contains affiliate links. Some products are gifted by the brand to test. As an Amazon Associate, I earn from qualifying purchases. The content on this website was created with the help of AI.
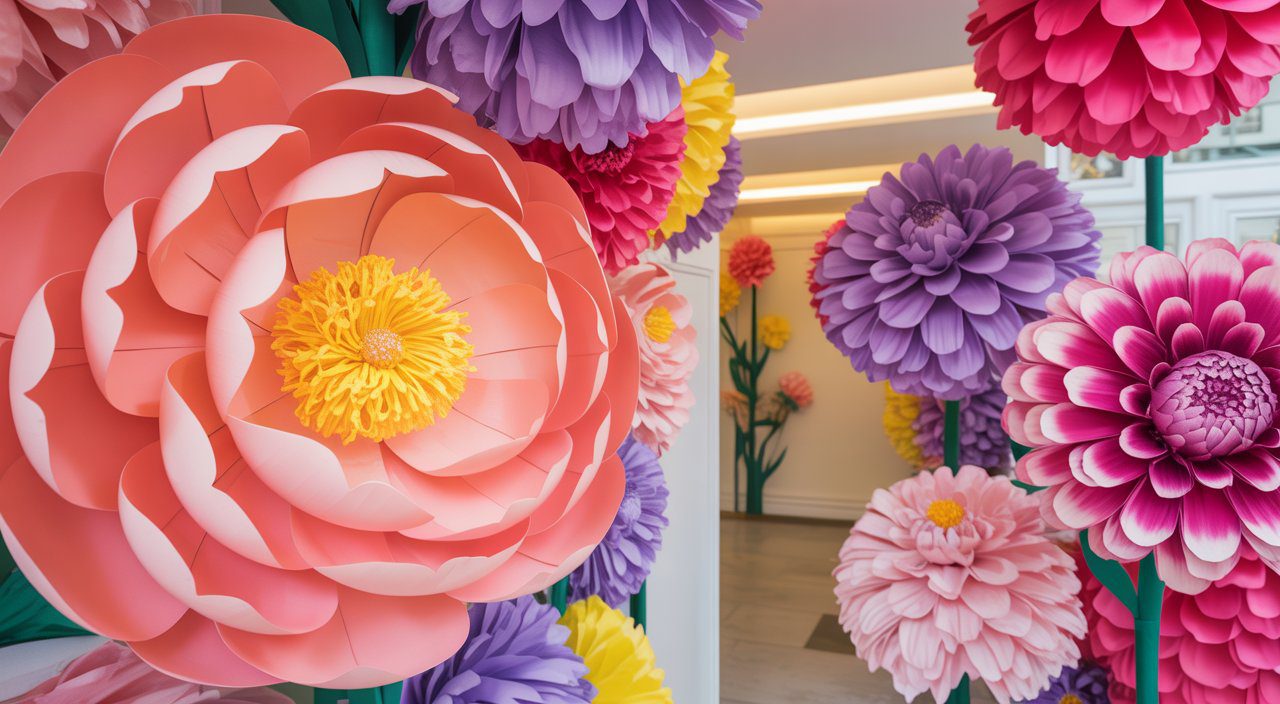
A fabric flower garden is one of those projects that looks high-end but is surprisingly easy to make. This guide walks you through the process of making a fabric flower garden, step by step.
Materials That Make the Difference
- Fabric: Start with fabric that has weight and texture like cotton or linen. Mixing materials creates depth.
- Buttons: Look for assorted craft buttons with different sizes and finishes.
- Stems: Use floral wire for a clean structure.
- Leaves: Green felt sheets provide good contrast against patterned petals.
- Glue Gun: A reliable hot glue gun kit keeps assembly fast and clean.
Step-by-Step Guide
Step 1: Cut Petals With Purpose
Choose petal shapes and spray with fabric stiffener for a sturdy look. Creating petals with precision and deliberate intention is crucial to achieving a professional look in your fabric flower garden. Here’s how to approach this step:
Apply Fabric Stiffener: Once cut, lay the petals flat and apply fabric stiffener to provide a sturdy structure and help the petals maintain their shape. Fabric stiffener will also prevent edges from fraying and add a crispness that mimics real flower petals. Allow them to dry completely before proceeding to the next step.
Select the Right Fabric: Begin by choosing fabrics that offer both texture and heft. Materials like cotton or linen are excellent choices because they hold their shape well after cutting. Patterns can add visual interest to the petals, while solid colors can provide a sophisticated, uniform appearance.
Decide on Petal Shapes: The shape of your petals will define the overall look of your flowers. You can create simpler, rounded petal shapes for more classic flower designs, or opt for elongated or pointed petals for a more exotic appearance. Create stencils from cardboard or stiff paper to trace onto the fabric for consistency.
Cut with Precision: Use sharp fabric scissors or a rotary cutter for clean edges. Cutting multiple layers at once can ensure uniformity across petals. Remember to follow your stencil outlines carefully to maintain size and shape consistency.
Step 2: Build Full, Layered Flowers

Lay and glue petals, then anchor them with a button.
- Layering Petals: Begin assembling your flower by layering the fabric petals you cut in Step 1. Place the petals in a circular pattern, starting with larger petals at the base and gradually adding smaller ones towards the top. This creates a natural, full look.
- Securing with Glue: Use a reliable hot glue gun to attach each layer of petals in place. Apply a small bead of glue at the base of each petal where it meets the previous layer. Ensure the glue is not visible on the edges to maintain a clean appearance.
- Add a Central Button: Once your petals are secured, choose a decorative button to act as the flower’s center. Buttons with unique colors or designs can add character to each flower. Secure the button in the center using glue. This not only enhances the aesthetic but also helps hold the petal layers firmly together.
- Creating Depth and Variation: For added visual interest, vary the shapes and sizes of your layered flowers. Consider mixing different colors and types of fabric within a single flower to mimic the diversity found in real gardens.
- Finishing Touches: Ensure that each flower is securely glued and inspect for any areas that might need additional adhesive. Allow the glue to set completely before moving to the next step in the flower assembly.
Step 3: Secure the Stem the Right Way
Attach floral wire securely to the back.
Select Appropriate Floral Wire: Choose floral wire that is sturdy enough to hold the weight of the fabric flowers yet flexible enough for easy manipulation. Typically, a gauge between 18 and 24 would be suitable, where lower gauge numbers indicate thicker wire.- Prepare the Wire Length: Cut the floral wire to your desired stem length, considering an extra inch or two to insert into the flower and container. Ensure the ends of the wire are not sharp, as this can damage the fabric or be hazardous.
- Attachment Method: To attach the wire to the back of your layered flower securely:
- Loop Method: Create a small loop or “U” shape at the end of the wire. Press the loop flat against the base of the flower, where the petals are glued together.
- Secure with Glue: Apply a generous amount of hot glue over the loop to anchor it to the flower. This acts as a strong adhesive bond that holds the wire in place.
- Reinforce with Fabric: If extra security is needed, consider adding a small fabric patch over the glued loop to fortify the attachment further. Use a matching or coordinating fabric circle that can blend with the flower’s back.
- Ensure Stability: Allow the glue to dry thoroughly before handling to ensure the wire is firmly fixed to the flower. Gently tug to test the strength of the connection.
Step 4: Add Leaves for Balance
Attach fabric leaves slightly below the flower head.
- Choose Your Leaf Material: Opt for green felt sheets or other sturdy fabric that can mimic the texture and appearance of real leaves. Felt is particularly good because it’s easy to cut and holds its shape well without fraying.
- Cut the Leaves: Decide on the size and shape of your leaves. Using a stencil or freehand drawing, cut leaves that are proportionate to the size of your flowers. Having a variety of leaf shapes can add more realism and interest to your arrangement.
- Placement Strategy: Position the leaves slightly below each flower head to replicate how leaves naturally support flowers. You can attach them singularly or in small clusters for a more natural appearance. Make sure the leaves complement and do not overwhelm the flowers.
- Attachment Method: Use a hot glue gun to attach the leaves to the stems. Apply a small amount of glue to the base of the leaf and press it against the floral wire or directly onto the flower’s back if needed for stability.
- Creating Movement and Texture: Position some leaves at varying angles to create the illusion of movement, as you would find in a natural setting. This can enhance the overall dynamic look and feel of your garden.
- Balance and Proportion: Ensure that the leaves are balanced with the flowers in terms of size, color, and placement to create a cohesive and visually appealing arrangement.
Step 5: Prep the Container Like a Stylist
Use floral foam blocks and cover them with decorative elements.
- Choose the Right Container: Select a container that complements the style and color scheme of your flowers. Options include decorative pots, vases, or baskets. The container should be sturdy enough to hold the weight of the arrangement and match the aesthetic you’re aiming for.
- Use Floral Foam Blocks: Floral foam blocks are crucial for maintaining the stability of your arrangement. They allow you to easily insert and rearrange stems to get the perfect look. You can find them in various sizes and shapes to fit your container.
- Cutting to Fit: Trim the floral foam to snugly fit inside your chosen container. This ensures that the foam stays in place and provides a stable base for your flowers.
- Cover the Foam: To hide the foam and enhance the presentation, use decorative elements such as moss, pebbles, or shredded paper to cover the surface. This not only conceals the mechanics but also adds an extra layer of texture and interest.
- Secure the Arrangement: If the container is deep and the foam moves, consider using glue or adhesive strips to secure the foam at the bottom of the container. This prevents tipping or shifting when arranging the flowers.
- Styling Tips: Consider the overall look you want to achieve with your arrangement. A minimalist style might require fewer coverings, while a rustic look could benefit from burlap or natural fibers around the edges.
Step 6: Arrange Like a Real Garden
Insert stems at different heights for a natural look.
By using these materials and steps, your fabric flower garden will have a polished and professional look that lasts for years. Enjoy creating your beautiful display!
Vary Stem Heights: Start by inserting the stems into the floral foam at different heights. This variation mimics the natural growth patterns of flowers in a garden, where some flowers grow taller than others. Make sure to have a balance of heights to create depth and interest in the display.
Distribute Flowers Evenly: Spread your flowers across the container to create a balanced look. Avoid clumping too many flowers together in one spot. This will ensure that each flower is visible and contributes to the overall aesthetic.
Create Focal Points: Choose a few standout flowers with unique colors or sizes to act as focal points. Place these strategically in areas where they draw the eye, adding intrigue and flow to the arrangement.
Add Natural Groupings: Consider using groupings of flowers to replicate how blossoms occur in nature. Cluster flowers in small groups while keeping in mind balance across the entire arrangement. These clusters can mimic the look of natural bunches or patches found in gardens.
Incorporate Leaves and Foliage: Position leaves and foliage around the flowers to add realism and context to your arrangement. Ensure the leaves complement the flower placement while enhancing the overall garden-like feel.
Adjust and Refine: Step back and observe your arrangement as a whole. Make any necessary adjustments to ensure that the heights, colors, and overall balance create a cohesive look. Fine-tune the arrangement until you are satisfied with its appearance.
This website contains affiliate links. Some products are gifted by the brand to test. As an Amazon Associate, I earn from qualifying purchases. The content on this website was created with the help of AI.