This website contains affiliate links. Some products are gifted by the brand to test. As an Amazon Associate, I earn from qualifying purchases. The content on this website was created with the help of AI.
Creating a DIY vertical pallet planter is an excellent way to add a touch of greenery to your space, especially if you’re limited by a small yard or balcony. This DIY project is cost-effective and environmentally friendly, as it repurposes old pallets that might otherwise end up in a landfill. Below, you’ll find a comprehensive step-by-step guide to creating your very own vertical pallet planter, complete with images to help you through each stage of the process.
Materials Needed
- One wooden pallet (standard size)
- Sandpaper or an electric sander
- Staple gun and staples
- Landscape fabric
- Potting soil
- Plants (succulents, herbs, or small flowers work best)
- Paint and brushes (optional, for decoration)
- Safety gear (gloves, goggles)
Tools Required
- Hammer
- Nails
- Saw (if cutting is required)
- Measuring tape
Step 1: Prepare Your Pallet
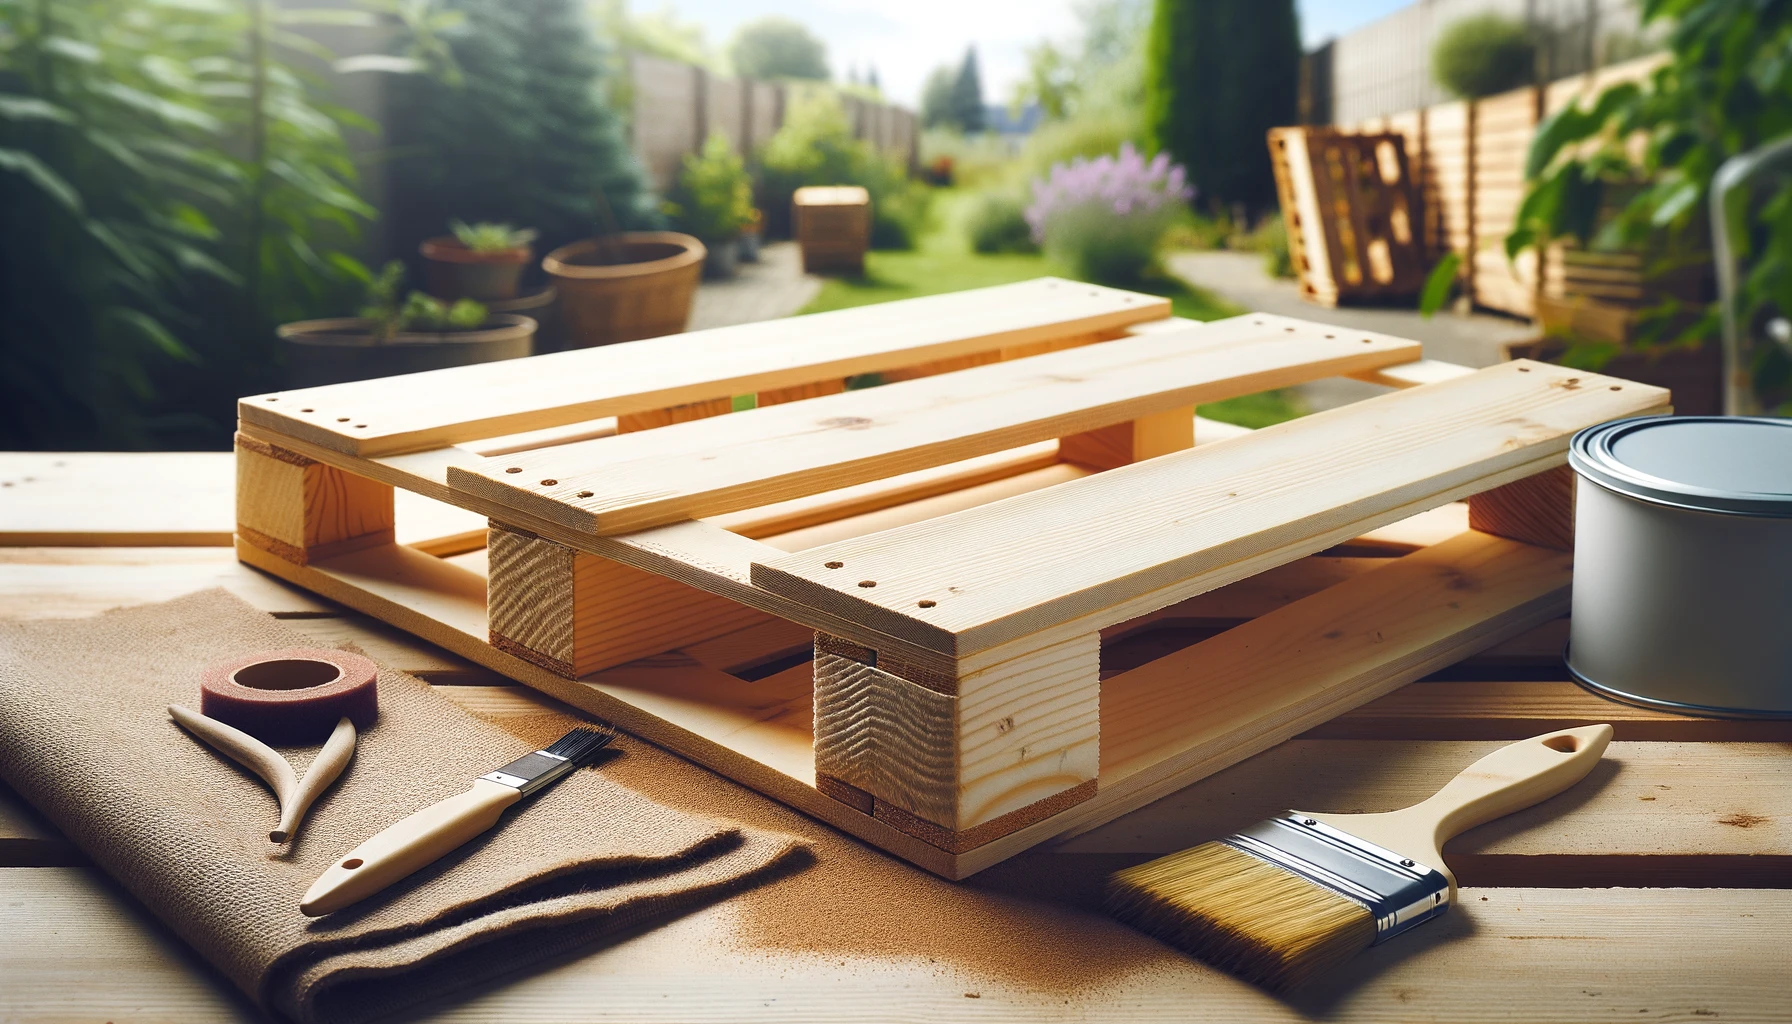
First, inspect and choose a pallet that is in good condition. You’ll want to ensure that it’s sturdy and free of harmful chemicals—look for the “HT” stamp, meaning it was heat-treated rather than chemically treated. Sand down rough edges to prevent splinters and make your pallet a smoother finish. If desired, you can also paint the pallet to match your décor.
Step 2: Staple Landscape Fabric
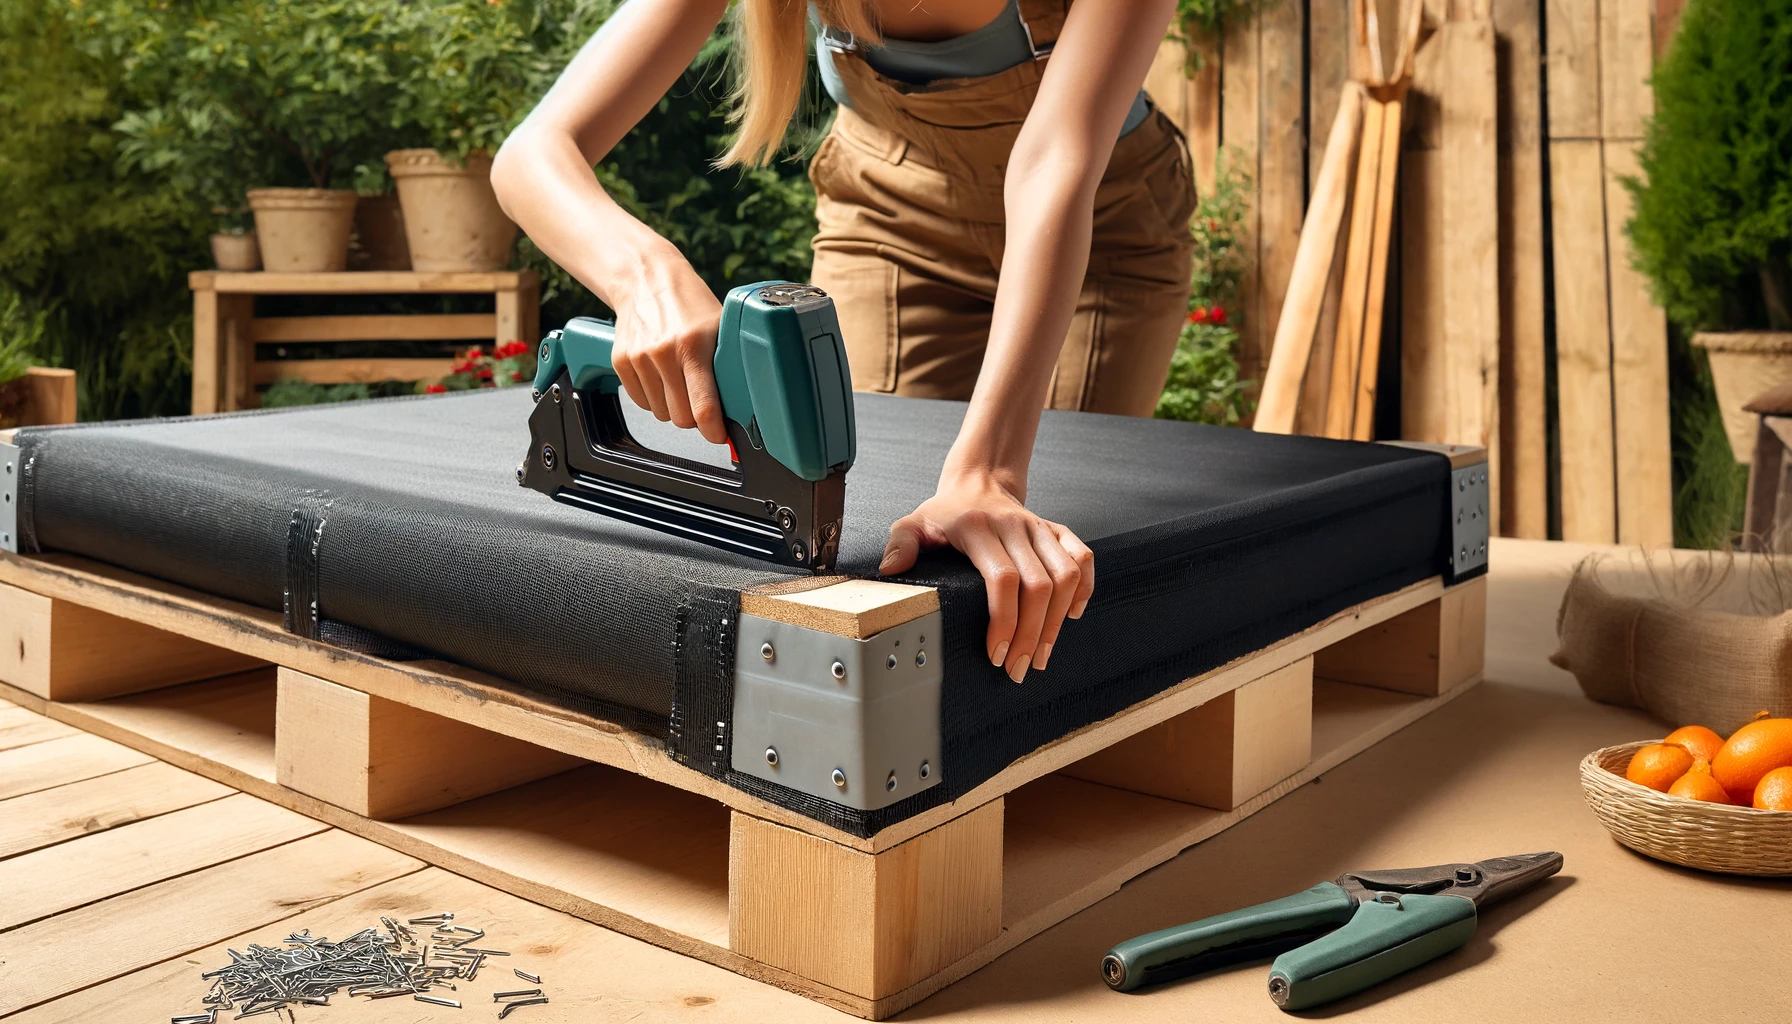
Cut the landscape fabric to cover the pallet’s back, bottom, and sides. This fabric will hold the soil in and prevent it from spilling out. Use a staple gun to attach the fabric securely, making sure there are no gaps for soil to leak through.
Step 3: Set Up the Pallet
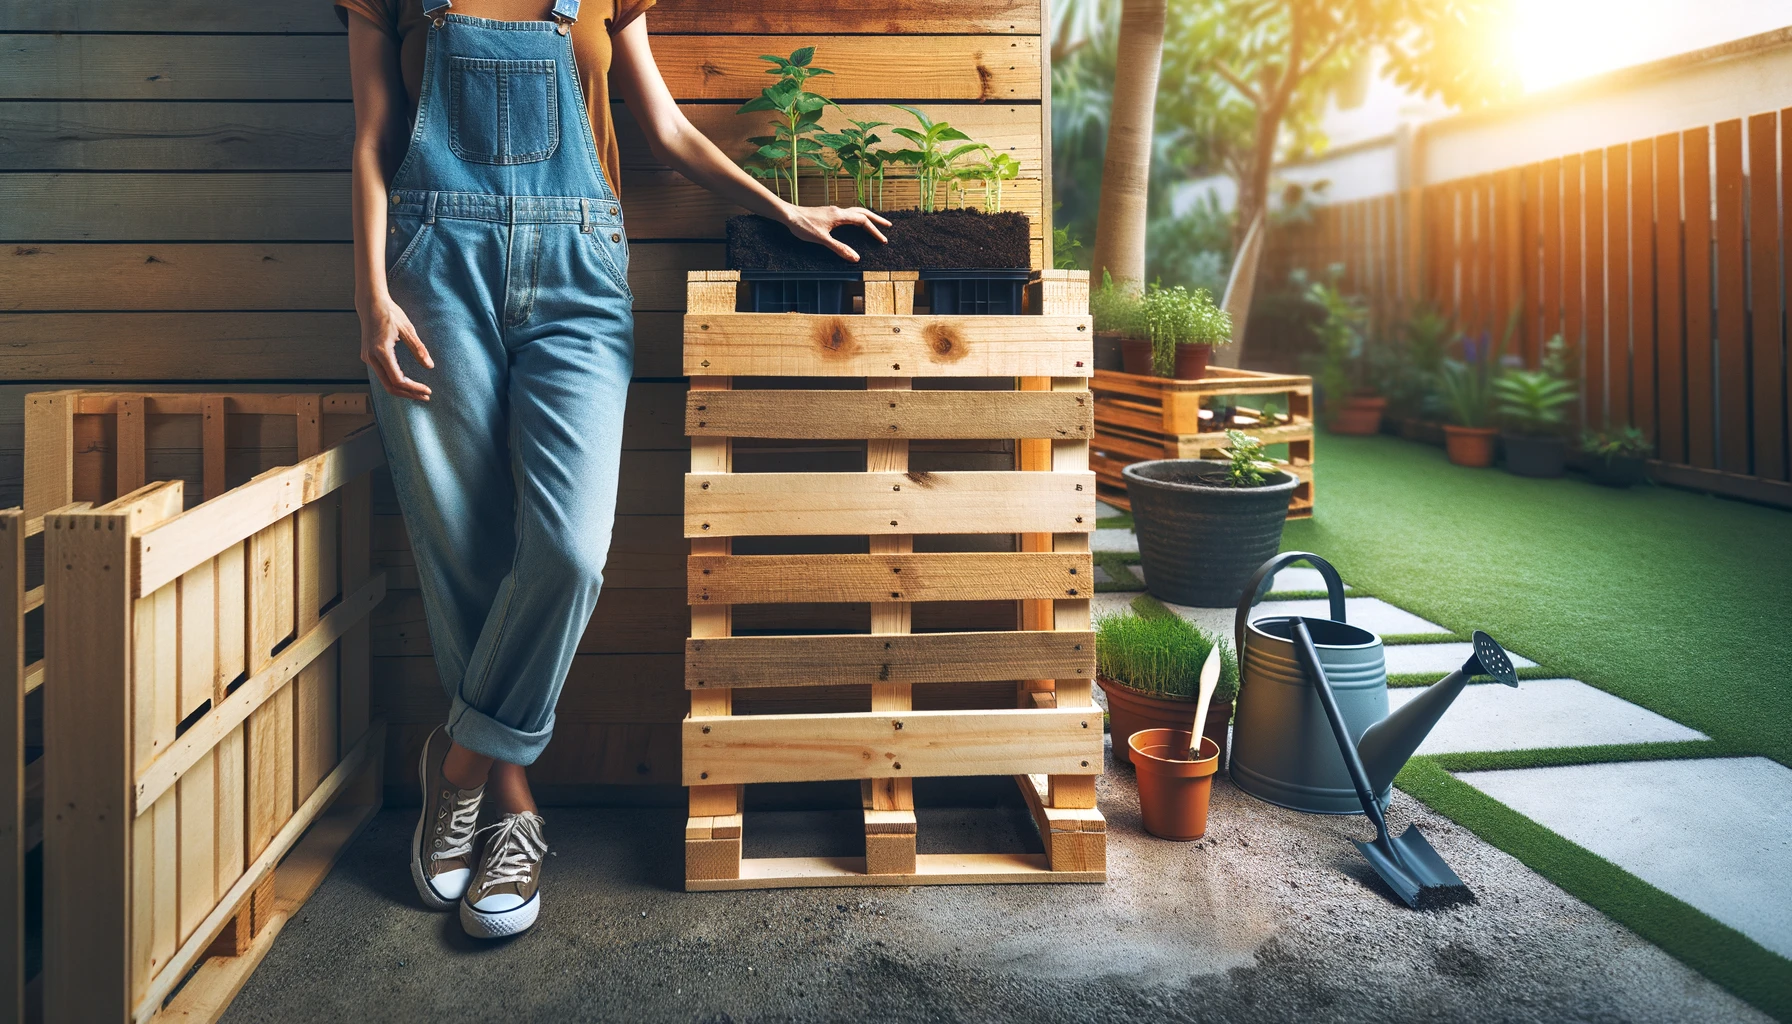
Position the pallet in its final location—once it’s filled with soil and plants, it will be heavy and difficult to move. Ideally, place it against a wall or fence where it will have support. Ensure the area gets adequate sunlight based on the types of plants you plan to use.
Step 4: Fill With Soil

Pour potting soil into the openings in the pallet, filling them to just below the top. Pack the soil down lightly to remove any air pockets but be careful not to compact it too much, as this can impede water drainage.
Step 5: Plant Your Plants
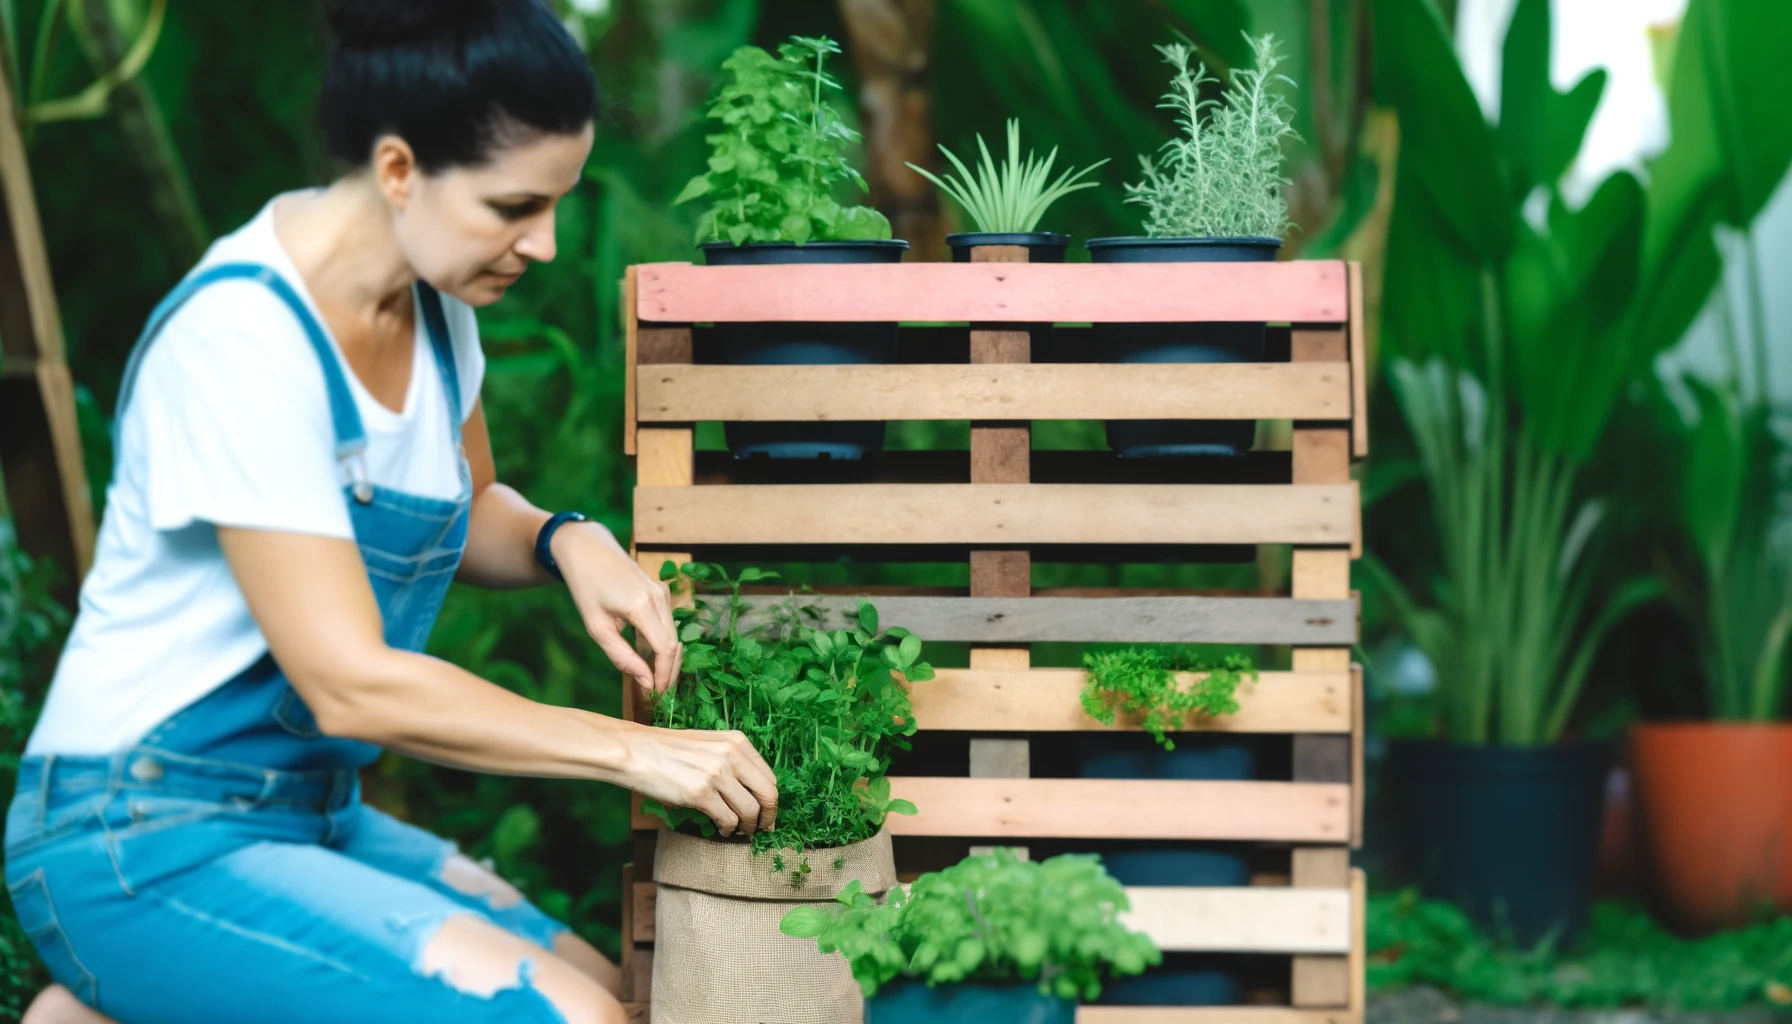
Choose a variety of plants that look good together and thrive in similar conditions. Insert the plants into the spaces between the slats. Succulents, herbs, and small annuals are great choices for a vertical garden because they have shallow root systems and require less water.
Step 6: Water Your Planter
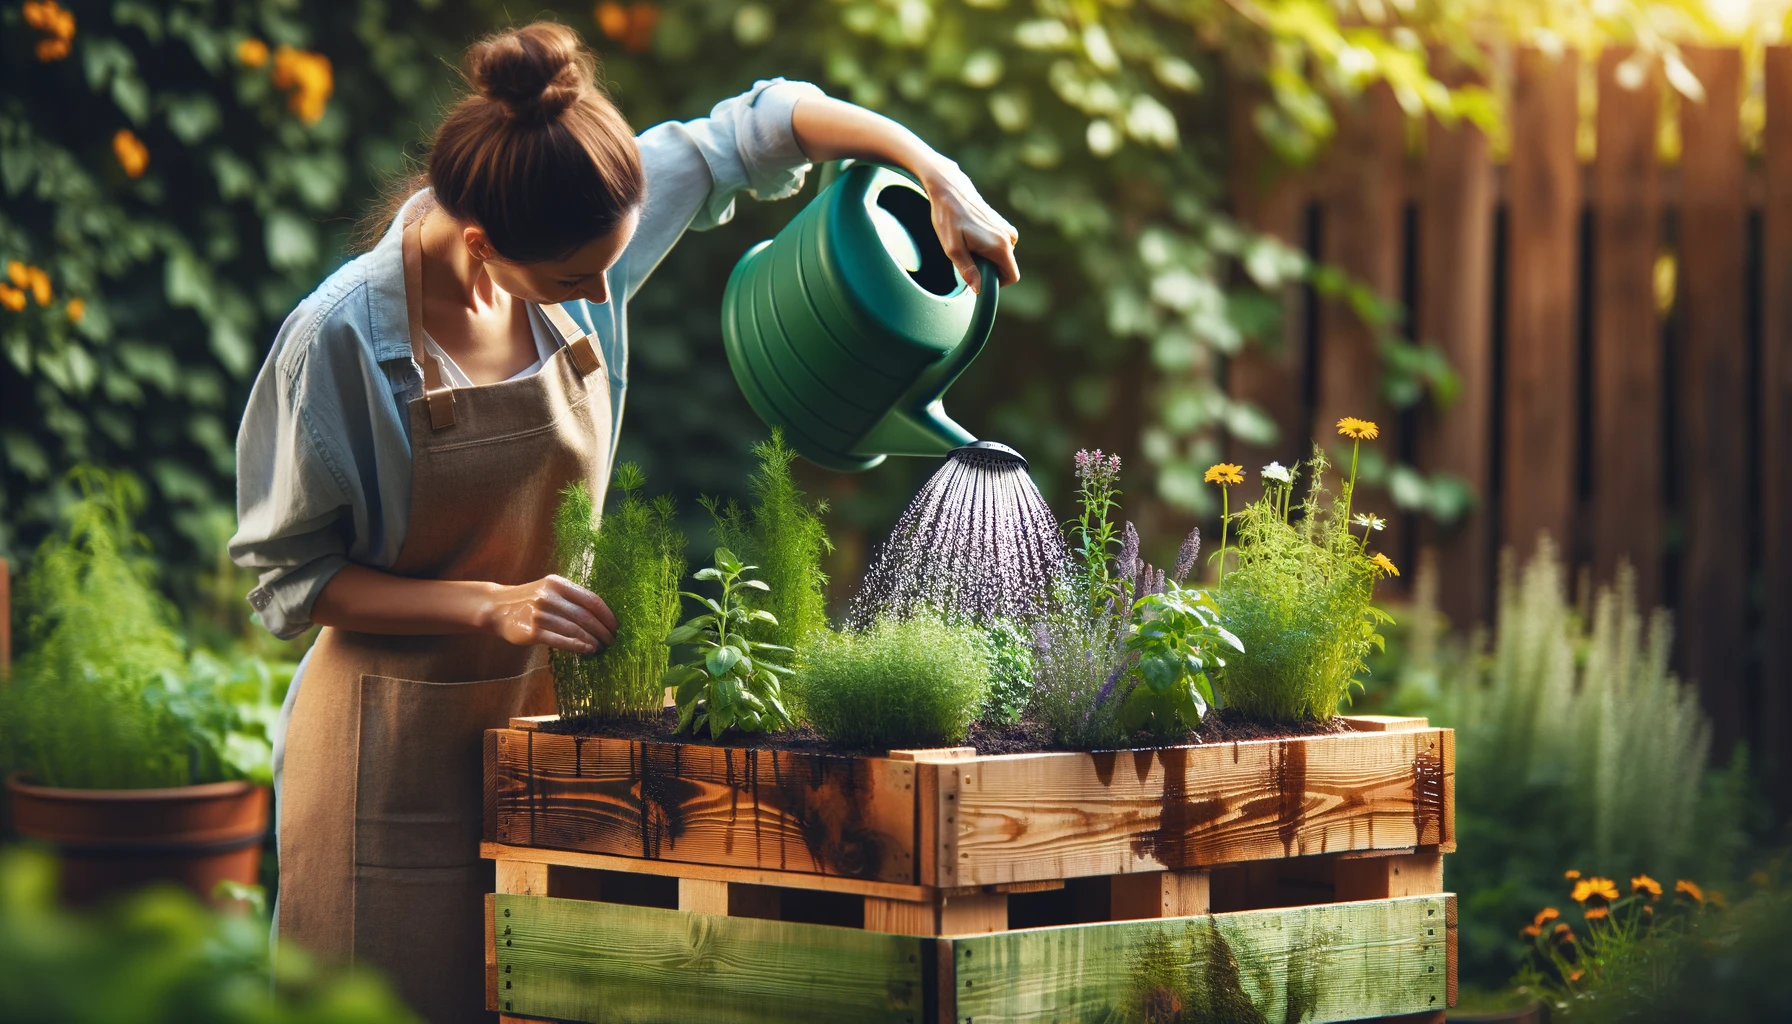
Give your new planter a good watering. The first watering should be thorough to help the plants settle in and spread their roots. Water according to the needs of the plants you have chosen.
Step 7: Maintenance

Water your pallet planter regularly. Since the soil in pallets can dry out quickly, especially in warmer weather, it might be necessary to water more frequently. Also, look for pests and diseases and treat them as necessary to keep your plants healthy.
This DIY project is perfect for gardeners of all levels and can be completed in a weekend, providing a rewarding and beautiful addition to any space. Happy planting!
This website contains affiliate links. Some products are gifted by the brand to test. As an Amazon Associate, I earn from qualifying purchases. The content on this website was created with the help of AI.
