This website contains affiliate links. Some products are gifted by the brand to test. As an Amazon Associate, I earn from qualifying purchases. The content on this website was created with the help of AI.
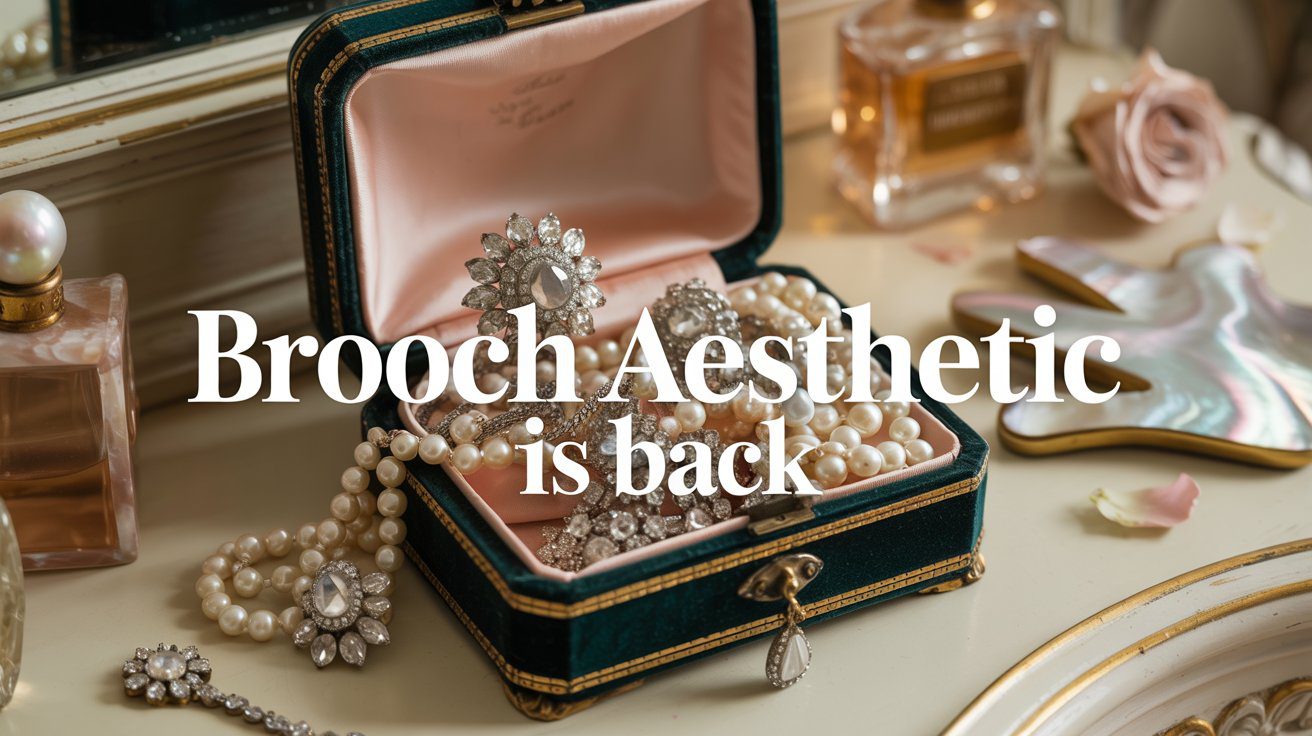
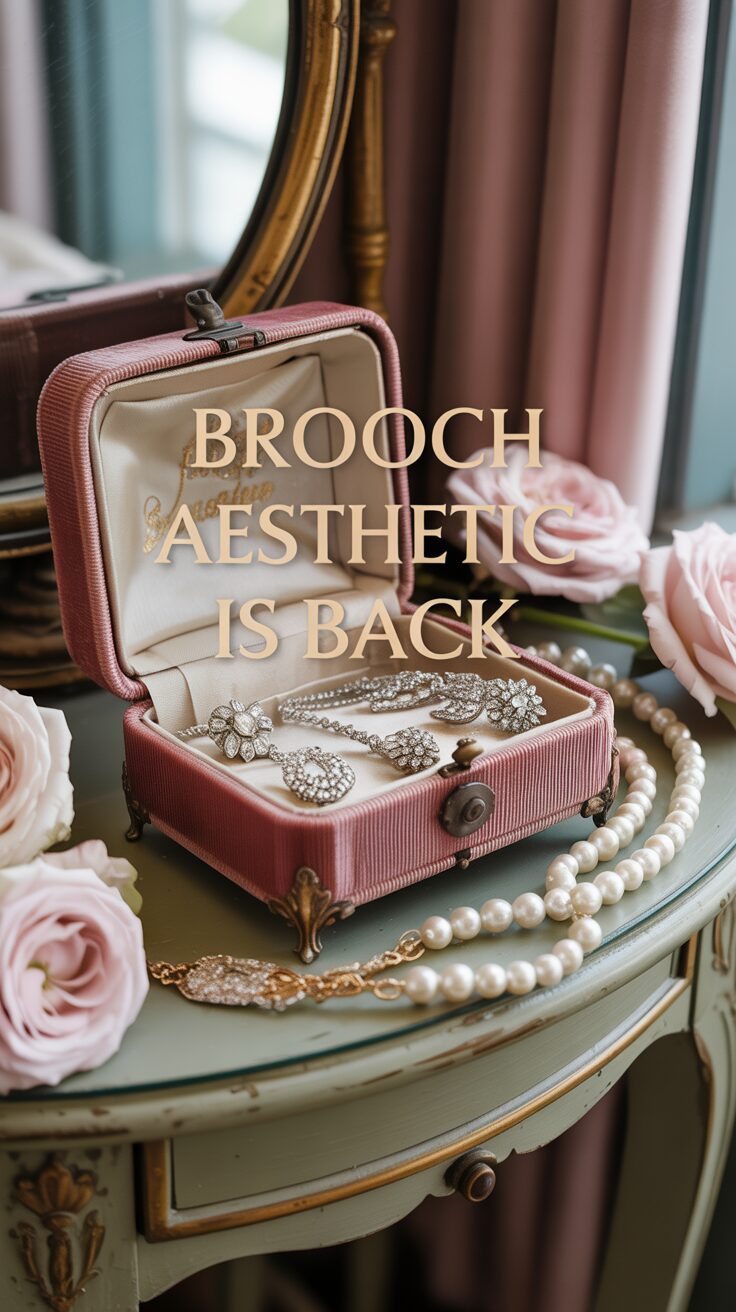
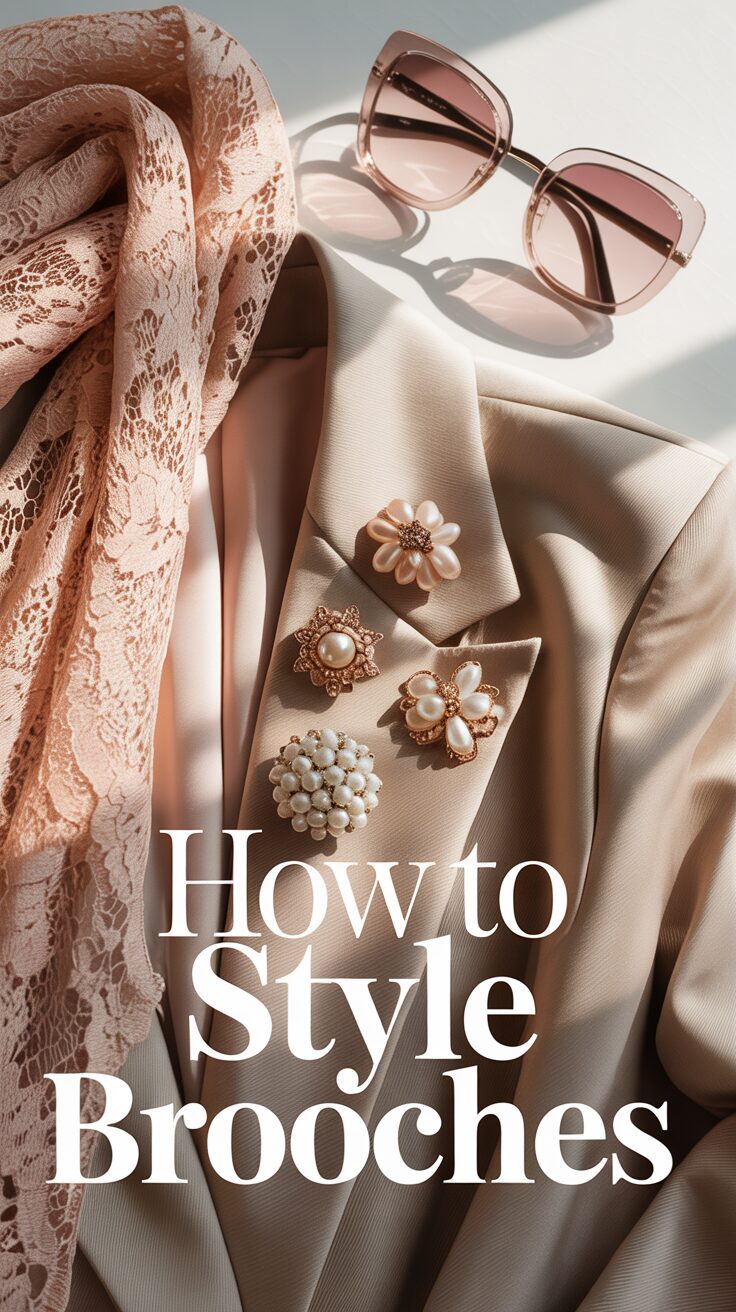
You know that one jewelry box, right? The little velvet or wooden one that holds grandma’s treasures—filled with gorgeous, sparkling things that just feel like they belong to another time. A time of quiet elegance, sure, but not our time. They’re accessories that feel too precious, too formal, or… let’s just be honest, a little too granny.
But what if I told you that the forgotten hero of that box is poised to be one of 2025’s biggest fashion trends? And what if you didn’t need an inheritance or have to scour vintage shops to get in on it? What if you could create your very own modern, vintage-glam brooches, right at home?
Seriously, Pinterest is seeing a massive spike in searches for “brooch aesthetic” and “maximalist accessories.” This isn’t just a flash in the pan; it’s a full-on movement. We’re seeing pins and brooches transforming outfits everywhere, from the high-fashion runways of Chanel and Tory Burch to the most creative street-style looks. So today, we are going to blow the dust off this amazing accessory, and I’ll show you ten modern DIY methods using clay, resin, and fabric to bring this vintage glam look straight into your wardrobe. We’re about to turn the old-fashioned into the fashion-forward. Get ready to raid your craft closet, because you’re about to become your own favorite jeweler.
Makeover & Tools Overview
Before we jump into our ten projects, let’s talk materials. The best part about these DIYs is how accessible they are. We’ll be focusing on three main things: polymer clay, UV resin, and fabric scraps—all easy to find and incredibly versatile.
For our clay projects, you’ll want polymer clay, which is amazing because it stays soft until you bake it in your home oven. It comes in every color imaginable, plus metallics and even cool stone finishes. You’ll also want a roller, some simple sculpting tools—honestly, household items work great for this—and of course, some brooch pin backs.
Next up, for our resin pieces, the star of the show is UV resin. Unlike traditional epoxy that takes ages to cure, UV resin hardens in minutes under a little UV lamp, making it perfect for quick, satisfying projects. You’ll need the resin, a lamp, some silicone molds, and fun things to put inside, like glitter, dried flowers, or faux crystals. Just a quick safety note: always work with resin in a well-ventilated space and wear gloves. Safety first, then glam.
Finally, for our fabric designs, the sky’s the limit. This is a perfect chance to upcycle. Dig out old lace, scraps of velvet, interesting printed cotton, or even parts of clothes you don’t wear anymore. You’ll need a good fabric glue or a hot glue gun, a little felt for backing, and your trusty brooch pins.
I’ll call out specific tools as we go, but those are the basics that will open up a whole world of creativity. Ready to make our first brooch? Let’s do it.
The 10 DIY Methods
Method 1: The Resin Crystal Heirloom
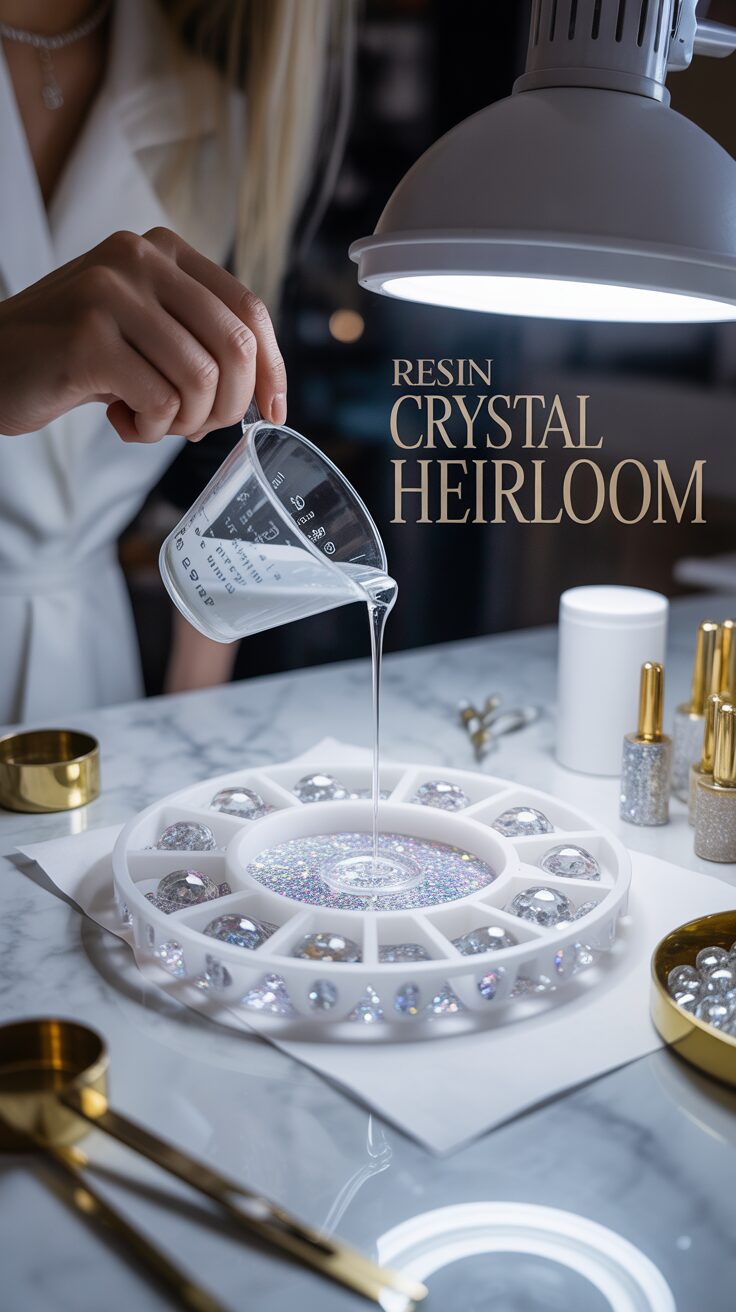
First up, a project that looks like a priceless family heirloom but—get this—takes less than 15 minutes to make. This is the Resin Crystal Heirloom, and it taps right into that bold, chunky, golden “Glamoratti” trend.
You’ll need your UV resin kit, a silicone mold—I love using Art Deco or geometric shapes for this—some faux crystals or chunky glitter, and a pin back.
Start by arranging a few faux crystals in the bottom of your mold. Think about your composition here; a small cluster in the middle or scattered asymmetrically can look super chic. Next, carefully pour your UV resin over the top, making sure it fills the mold and covers the crystals. If you see any air bubbles, just use a toothpick to gently pop them.
Now for the magic. Place the mold under your UV lamp. This will take anywhere from 60 seconds to a few minutes, depending on your lamp. Once it’s completely cured and hard, pop your gleaming new gem out of the mold. The last step is to use a strong craft glue or a dab of hot glue to attach a pin back. And that’s it. You have a stunning, crystal-clear brooch that looks like carved glass. These are perfect for clustering in groups of two or three on a jacket lapel for that maximalist feel.
Method 2: The Marbled Polymer Clay Pin

Alright, let’s get our hands dirty with some clay. This method uses a simple marbling technique to create a brooch that looks like a polished piece of stone. It’s seriously elegant.
You’ll need two or three colors of polymer clay—I’d suggest a white or cream, a metallic like gold or silver, and a bold color like emerald or navy. You’ll also need your roller and a shape cutter, like a simple circle or oval.
Start by taking a small piece of each color and rolling them into thin snakes. Twist the snakes together into one rope. Now, fold the rope in half, twist it again, and then roll it all into a ball. The key is not to overmix it, or the colors will just turn muddy. You want to see those distinct, gorgeous ribbons of color.
Now, use your roller to flatten the ball into a slab about a quarter-inch thick. You’ll see a beautiful, unique marbled pattern appear. Pick the most interesting part of your slab and use your cutter to punch out your shape. Smooth any rough edges with your finger.
Bake your clay piece following the package directions, usually around 275°F for about 15-20 minutes. Once it’s completely cool, you can add a coat of gloss varnish to make it really shine. Then, just glue the pin back on. This style looks so chic pinned right at the throat of a collared shirt.
Method 3: The Chanel-Inspired Fabric Flower

The runways have spoken, and fabric flowers are back in a big way, with designers from Chanel to Carolina Herrera embracing them. This DIY gives you that high-fashion look using just fabric scraps.
For this, you’ll need fabric that has a bit of body but also frays nicely, like taffeta, organza, or even a stiff cotton. You’ll also need a needle and thread, a small circle of felt, a hot glue gun, and a pin back.
Cut your fabric into a series of circles, each one a little smaller than the last. You’ll want at least five or six layers. Don’t stress about making them perfect; irregular edges are part of the charm. Now—and please be extremely careful with this step—take a candle or a lighter and gently singe the edges of each fabric circle. Just bring the fabric close enough to the flame for the edge to curl and melt a bit. This stops it from fraying and gives the petals a beautiful, natural curve.
Once all your circles are singed, stack them from largest to smallest. Use your needle and thread to sew a few stitches through the center to hold them all together. You can even add a small bead or a few seed pearls in the middle for an extra touch of glam.
Finally, take your felt circle and hot glue it to the back of the flower for a stable base. Then, glue your brooch pin onto the felt. This creates a gorgeous, textural piece that’s stunning on a trench coat lapel or used to cinch the waist of a simple dress.
Method 4: The Vintage Lace Upcycled Brooch
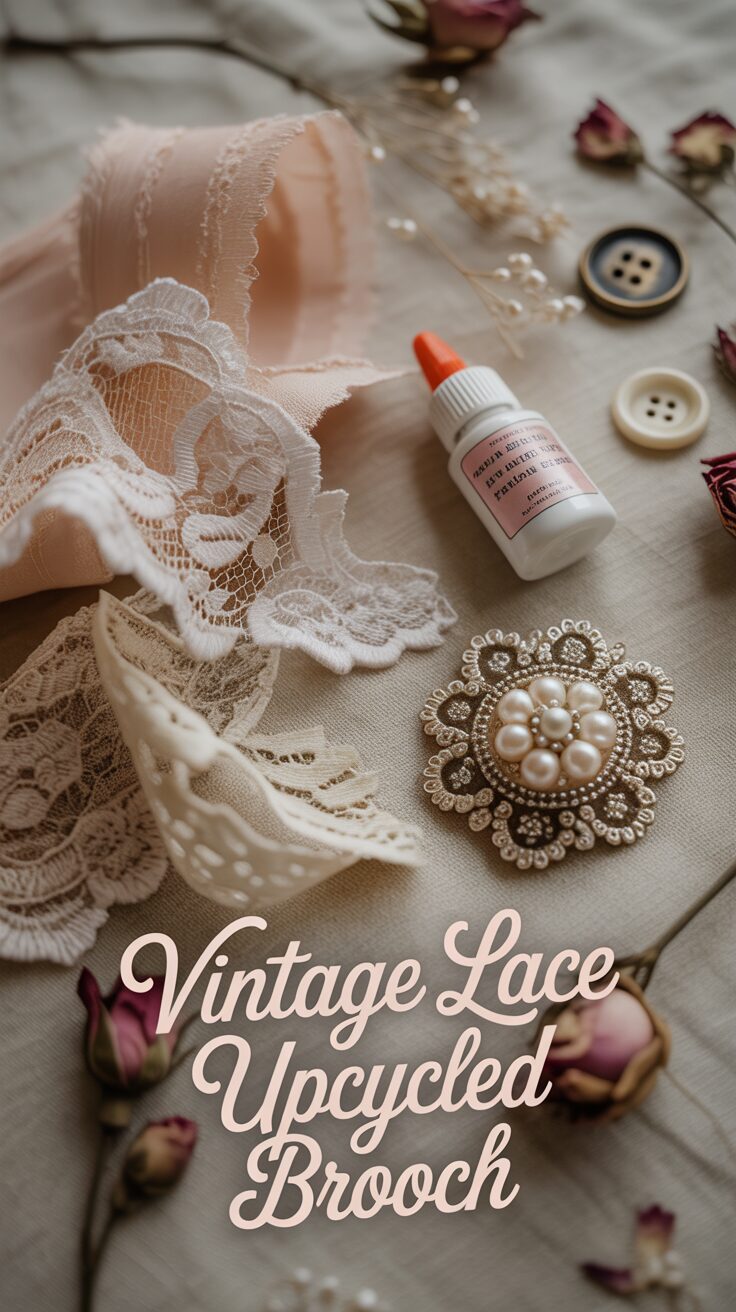
This next method is for anyone who loves that romantic, slightly nostalgic “Poetcore” aesthetic. It’s incredibly easy and a beautiful way to upcycle pieces of vintage lace, which is having a major comeback.
You’ll need a piece of lace with a clear motif, like a flower or a scalloped edge. You’ll also need a piece of stiff felt for backing, fabric glue, and a pin back. You might also want some small beads or embroidery thread for a little extra sparkle.
Start by carefully cutting a motif out of your lace. This will be the star of your brooch. Next, cut a piece of felt that’s slightly smaller than your lace motif, following its general shape. This felt backing is what gives the delicate lace some structure.
Apply a thin layer of fabric glue to the felt and carefully press your lace onto it. Let it dry completely. Now for the fun part: you can leave it as is for a clean, minimalist look, or you can add embellishments. A few decorative stitches with embroidery thread or some tiny glued-on seed pearls can really make it pop.
Once you’re happy with it, just glue the pin back onto the felt. These brooches are so delicate and look amazing pinned on a soft, oversized turtleneck or a classic blazer.
Method 5: The Extra Celestial Resin Brooch

Let’s head back to the world of resin for a trend that feels totally otherworldly—what Pinterest is calling “Extra Celestial.” This is all about opalescent sheens, holographic glitter, and a bit of alien-inspired glam.
For this ethereal brooch, you’ll need your UV resin, a simple mold (a circle or moon shape is perfect), opalescent flakes or iridescent glitter, and a tiny bit of dark blue or black resin pigment.
Start by mixing a very small amount of dark pigment into your UV resin. You want it to be translucent, like a night sky, not totally opaque. Pour a thin layer into your mold and cure it for about 30 seconds to create your background.
Next, sprinkle in your opalescent flakes and holographic glitter. Don’t be shy here; this trend is all about being extra! Create a little galaxy right there in your mold. Now, pour a final, clear layer of UV resin over the top to fill the mold. Pop any bubbles and cure it completely under your lamp.
When you de-mold this piece, you’ll have a stunning brooch with incredible depth, like you’re staring into a tiny nebula. Glue a pin back on, and you’ve got a piece that will transform a simple black dress or a denim jacket. It’s a true conversation starter.
Method 6: The Sculpted Clay Bumblebee
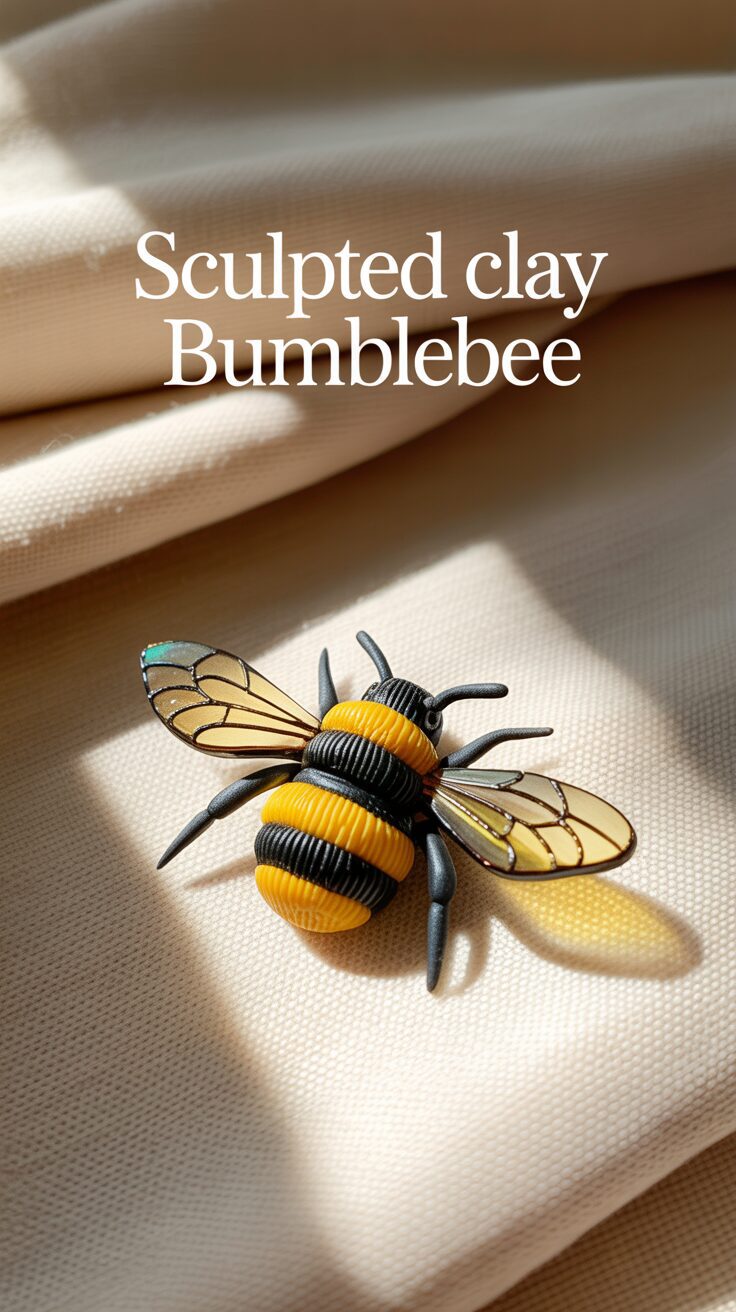
Nature has always been a huge inspiration for brooches, from Victorian beetles to Cartier panthers. Our take is a charming, stylized bumblebee sculpted from polymer clay.
You’ll need yellow, black, and white polymer clay, a sculpting tool or a toothpick, and a little translucent clay if you have it.
Start by rolling a small oval from the yellow clay for the bee’s body. Then, roll a super thin snake of black clay and wrap it around the body to create stripes. Roll a small ball of black clay for the head and attach it.
For the wings, you have two options. You can use white clay, or for a more delicate look, use translucent clay. Roll it very thin and cut out two small teardrop shapes. Gently press them onto the top of the bee’s body. Use a toothpick to add a little vein-like texture to the wings.
Bake your bee according to the clay’s instructions. Once it’s cool, you can add a dot of black paint for the eyes and coat the whole thing in a gloss varnish. Glue on your pin back, and you have an adorable little friend to pin on a cardigan, a hat, or even a canvas bag.
Method 7: The Geometric Layered Fabric Pin
This project is perfect for fans of modern design and abstract art, and it’s a fantastic way to use up even the tiniest fabric scraps. It’s all about playing with color and texture.
You’ll need scraps of different fabrics—felt, linen, cotton prints, maybe even a little velvet. You’ll also need stiff fusible interfacing, an iron, fabric glue, and a pin back.
First, iron the fusible interfacing onto the back of your fabric scraps. This will make them stiff, almost like paper, and keep them from fraying.
Now, start cutting geometric shapes from your stiffened fabrics—squares, triangles, rectangles, half-circles. The key here is to play with layering. Arrange the shapes on top of each other, overlapping them to create an interesting, abstract composition. Mix up the textures and colors. Maybe a smooth cotton square over a fuzzy felt rectangle.
Once you have a layout you love, use fabric glue to carefully secure all the layers together. Let it dry completely. Your finished piece will be like a small, wearable collage. Just glue a pin back on, and you’ve got a piece of modern art for your jacket. These look especially cool when you make a few in a similar color palette and wear them as a cluster.
Method 8: The Embedded Photo Resin Locket
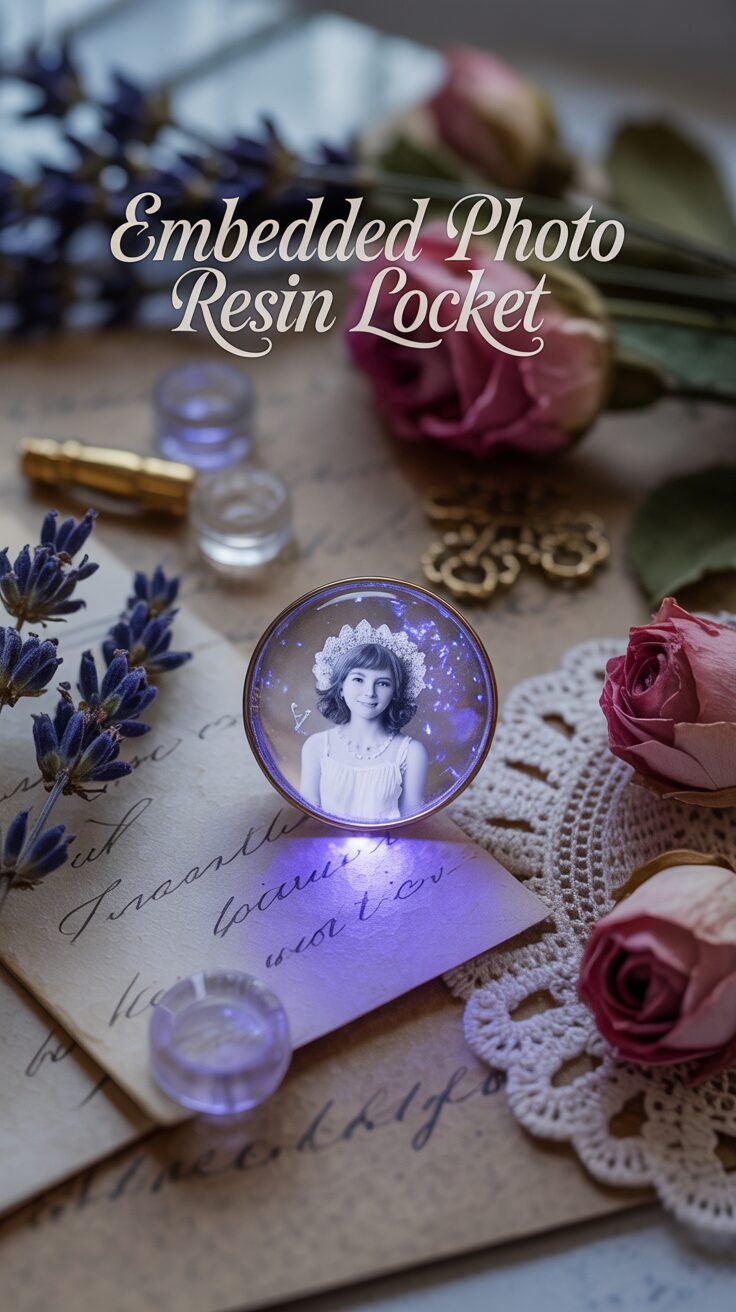
This method brings a deeply personal touch to the brooch trend, turning it into a modern-day locket. It’s a beautiful way to carry a memory with you.
For this sentimental piece, you’ll need a printed photo, your UV resin kit, a bezel-style pin back (which is just a pin with a small cup attached), and some clear packing tape.
First, you need to prep your photo. Find a tiny photo you love—of a pet, a person, a favorite place—and size it down to fit inside your bezel. Now, this next part is super important: you have to seal your photo. An easy way to do this is to carefully press clear packing tape over both the front and back of the photo and trim the excess. This creates a waterproof barrier.
Place your sealed photo inside the bezel. Now, slowly fill the bezel with clear UV resin. Watch as it magnifies the photo slightly, giving it a beautiful, glassy dimension. Pop any bubbles and cure it under your lamp. In minutes, you’ll have a permanent, wearable memory encased in a crystal-clear dome. This is more than just an accessory; it’s a story, perfect for pinning over your heart.
Method 9: The ‘Glitchy Glam’ Abstract Clay Shard

This one is for the avant-garde fashion lover. The ‘Glitchy Glam’ trend is all about embracing imperfection and asymmetry. We’re going to create a brooch that looks like a beautiful, broken piece of a larger ceramic sculpture.
You’ll need polymer clay in a few coordinating colors, plus gold or silver metallic leaf. You’ll also want a pasta machine or roller, and a sharp blade.
Create a slab of clay using the marbling technique from our second method, but this time, add in the metallic leaf. Tear off tiny pieces of the leaf and press them into the clay as you fold and roll it. You want bright flashes of metallic, not a uniform shimmer.
Roll your slab to about a quarter-inch thick. Now, instead of using a neat cutter, take your blade and break the slab apart into sharp, shard-like pieces. Don’t overthink it; the goal is to create interesting, fractured shapes. Pick your favorite shard. That raw, broken edge is part of the design.
Bake the piece as directed. Once it’s cool, you can even paint one of the broken edges with gold paint for a Kintsugi-like effect that celebrates the break. Glue a pin back on, and you have a piece that is truly one-of-a-kind and finds beauty in imperfection. It’s a stunning, edgy addition to a leather jacket or a structured blazer.
Method 10: The ’80s Gold Leaf Resin Dome

Our final project is a nod to ’80s luxury, a trend that is absolutely exploding right now. Think bold, gold, and unapologetically glamorous.
For this, you’ll need UV resin, a dome-shaped silicone mold, and gold leaf flakes. That’s it.
This is maybe the simplest design, but it has one of the biggest impacts. Start by filling your dome mold about halfway with clear UV resin. Now, be generous with your gold leaf flakes. Use a toothpick to gently swirl them around. You want them to look like they’re suspended within the resin, creating depth and movement.
Top off the mold with more clear resin and cure it under your lamp. The dome shape acts like a magnifying glass, making the floating gold leaf look incredibly luxe and dynamic. Once it’s cured, pop it out and attach your pin back.
This brooch is pure ’80s decadence. It looks incredible on the shoulder of a power blazer or used to gather the fabric at the waist of a silk blouse for a powerful, sculptural statement.
Styling Session
Okay, so you’ve just made ten amazing, unique brooches. But how do you wear them so they feel modern and fresh? Let’s officially banish the “granny” stigma for good.
First, the classic lapel. It’s a classic for a reason. A single, bold brooch like our Gold Leaf Dome on a black blazer is just timelessly chic. But don’t stop there. Try clustering! Take three smaller brooches—like the Lace Heirloom, the Clay Bee, and the Marbled Clay Pin—and arrange them in a little triangle on your lapel. It makes a much bigger statement and feels really intentional.
And think beyond the lapel. Pin a brooch at the very top of your shirt collar for an unexpected, edgy detail. Use one to close a cardigan instead of its buttons. Cinch the waist of a shapeless dress or even a T-shirt by gathering the fabric and pinning it with something sturdy like our Resin Crystal Heirloom.
Don’t forget your other accessories! A fabric flower looks amazing pinned on a simple beanie or a felt fedora. A cluster of our abstract pins can turn a plain canvas tote bag into a work of art. And for a truly fashion-forward move, as predicted by Pinterest trend-watchers, try pinning a brooch to your tie, the strap of a tank top, or even your socks! It’s all about reinvention and making your wardrobe your own. A brooch isn’t just decoration; it’s a tool for transformation.
So, which one are you going to make first? We’ve created ten incredible, unique brooches that prove this accessory is anything but old-fashioned. You’ve seen how easy it is to work with clay, resin, and fabric to create wearable art that is 100% you.
Hopefully, you’re looking at that old jewelry box a little differently now—or better yet, you’re feeling inspired to start your own collection from scratch. Fashion is all about self-expression, and what better way to do that than by making something completely and uniquely yours?
I would absolutely love to see what you create. Which of these ten methods was your favorite? Are you excited to try the glossy world of resin, or are you ready to get your hands on some clay? Let me know in the comments below. And if you make your own, please tag us on social media so we can see your amazing work!
This website contains affiliate links. Some products are gifted by the brand to test. As an Amazon Associate, I earn from qualifying purchases. The content on this website was created with the help of AI.