This post contains affiliate links. As a partner with Amazon and various brands, I am compensated when qualifying purchases are made through my referral links.
Is your stainless steel sink looking dull and lackluster? Are you struggling to remove stubborn stains and water spots? Don’t worry, we’ve got you covered!
In this comprehensive guide, we will reveal the best tips and tricks on how to clean your stainless steel sink and restore its shine to its former glory. Say goodbye to unsightly stains and hello to a sparkling clean sink that will elevate the look of your entire kitchen.
Key Takeaways:
- Learn effective techniques to clean and restore the shine of your stainless steel sink.
- Discover the essential maintenance tips for keeping your kitchen sink looking its best.
- Understand the unique properties of stainless steel and how to properly care for it.
- Address common problems and find troubleshooting solutions for your stainless steel sink.
- Explore everyday care and maintenance practices to prevent stains, scratches, and other issues.
Understanding Stainless Steel
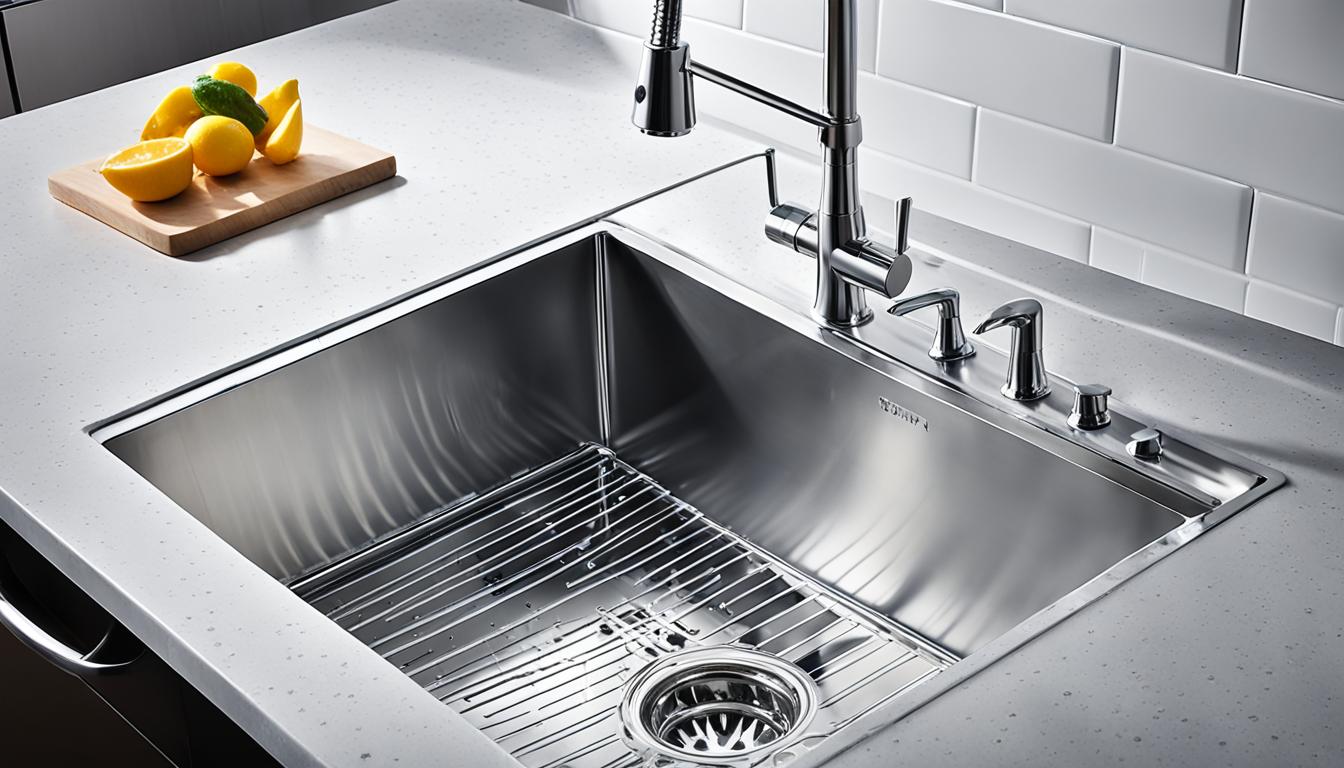
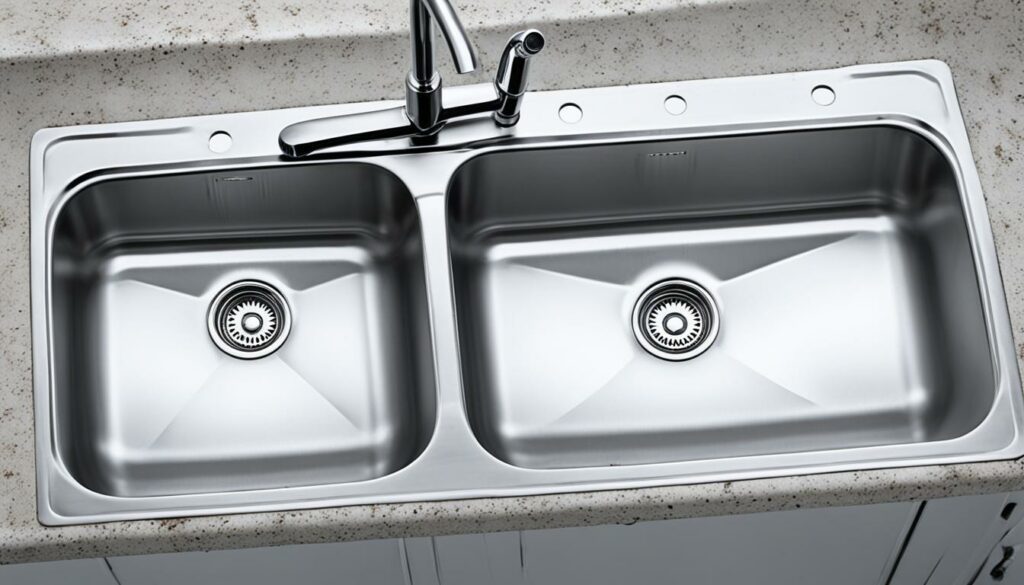
Before diving into the cleaning process, it’s important to understand the nature of stainless steel and how to properly care for it. Stainless steel is a popular choice for kitchen sinks due to its durability, resistance to corrosion, and sleek appearance. By following some essential maintenance tips, you can ensure that your stainless steel sink stays in great condition for years to come.
The Unique Properties of Stainless Steel
Stainless steel is an alloy of iron, chromium, and other elements that provide it with its remarkable properties. Its main characteristic is its resistance to corrosion and rust, making it ideal for use in wet environments like the kitchen. With its non-porous surface, stainless steel is also highly resistant to staining and does not harbor bacteria, making it a hygienic choice for your kitchen sink. Additionally, stainless steel is heat-resistant, which means it can withstand hot pots and pans without damage.
Benefits for Your Kitchen Sink
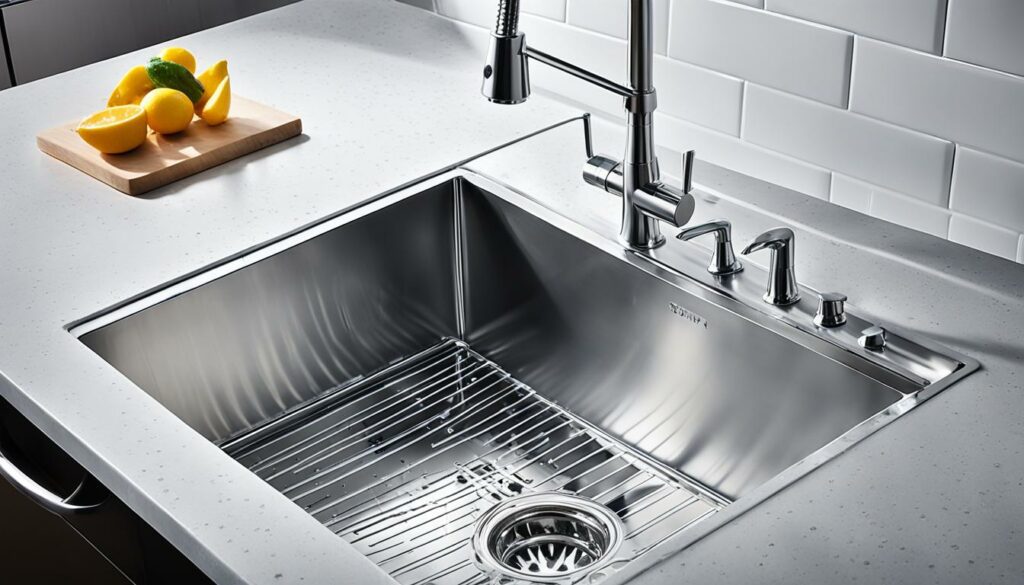
Investing in a stainless steel sink has numerous benefits. Firstly, stainless steel sinks are easy to clean, requiring just a gentle wipe with a cloth and some mild soap to remove dirt and grime. They also have a smooth, polished surface that adds a touch of elegance to any kitchen décor. Furthermore, stainless steel sinks are highly durable and can withstand heavy use, making them an excellent long-term investment for your kitchen.
Essential Maintenance Tips
To maintain the beauty and functionality of your stainless steel sink, regular care and maintenance are necessary. Here are some essential tips to keep in mind:
- Clean your sink regularly using a soft cloth or sponge and mild soap. Avoid using abrasive cleaners as they can scratch the surface of the sink.
- After each use, rinse the sink thoroughly to remove any leftover food particles or cleaning products.
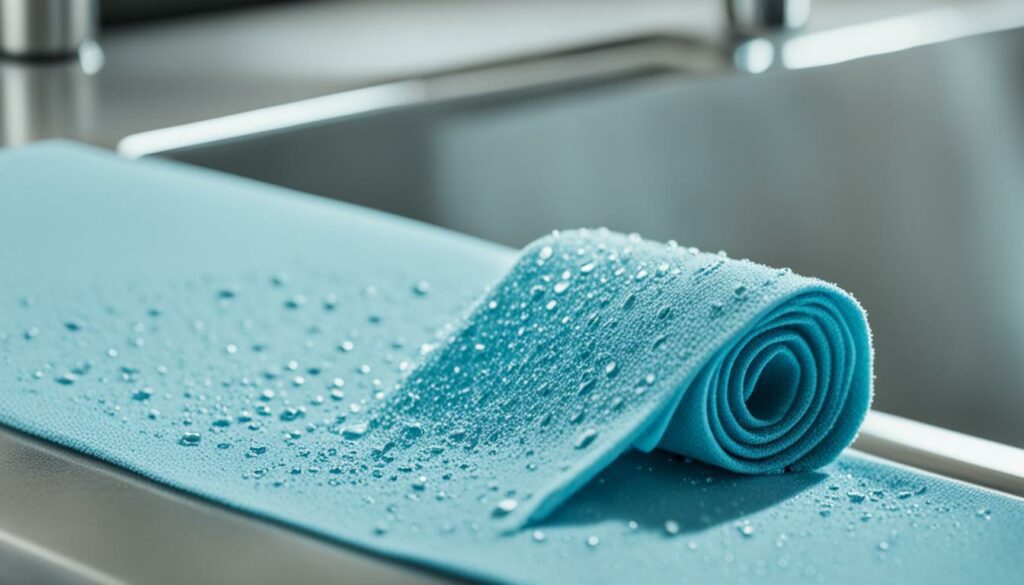
- Wipe the sink dry after each use to prevent water spots and mineral buildup.
- Avoid leaving wet sponges, dishcloths, or cleaning tools in the sink for prolonged periods as they can cause discoloration.
- Consider using a stainless steel cleaner or polish specifically designed for sinks to restore shine and remove any stubborn stains or marks.
Proper care and maintenance will not only keep your stainless steel sink looking its best but also extend its lifespan, ensuring that you enjoy its benefits for years to come.
In the next section, we will guide you through the process of preparing your stainless steel sink for a thorough cleaning and share some useful cleaning hacks to tackle stains and water spots.
Preparing Your Stainless Steel Sink
Before diving into the stainless steel cleaning process, it’s important to properly prepare your sink. By following these essential cleaning hacks and step-by-step instructions, you’ll achieve a sparkling clean stainless steel sink in no time.
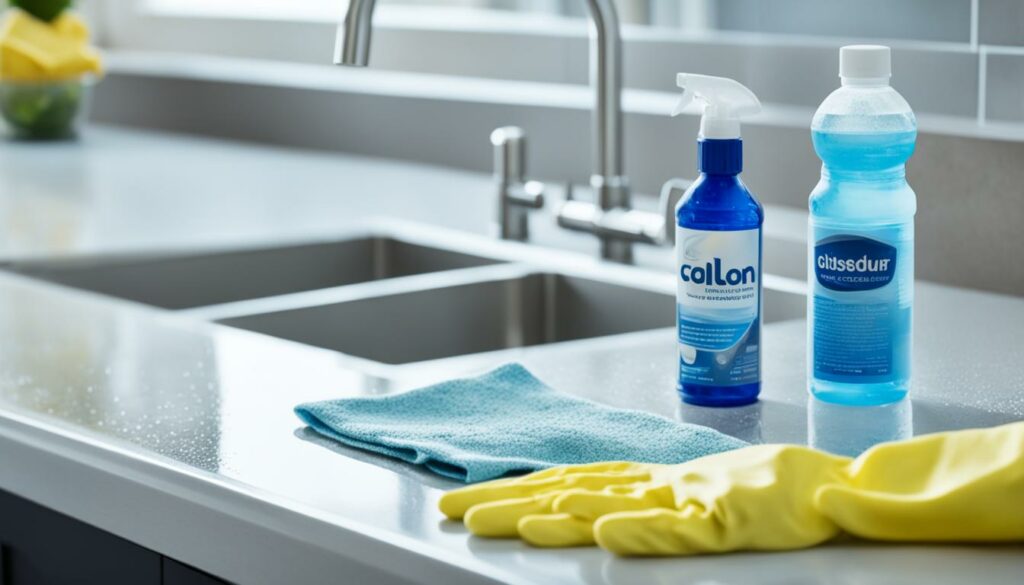
Gather Your Cleaning Supplies
Before you begin cleaning your stainless steel sink, make sure you have the following supplies:
- Mild dish soap
- White vinegar
- Baking soda
- Lemon
- Microfiber cloth or sponge
- Soft-bristle brush or toothbrush
Having these cleaning essentials ready will ensure a smooth cleaning process.
Remove Any Debris
Start by removing any debris, food particles, or utensils from your sink. This will make it easier to thoroughly clean the surface later on.
Pro Tip: To avoid scratches, use a plastic or silicone spatula to remove stuck-on food instead of abrasive tools.
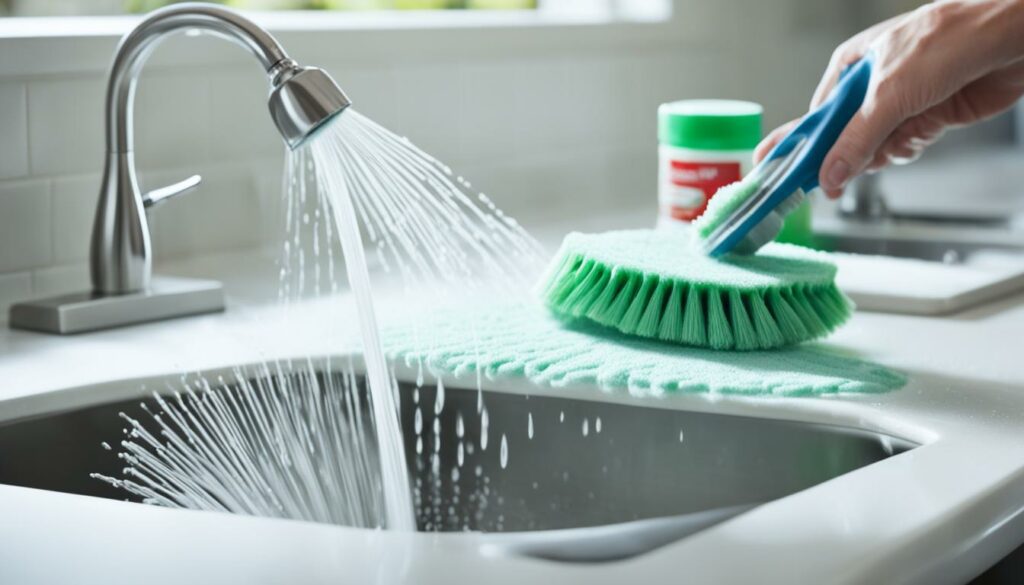
Scrub the Sink Surface
Next, give your sink a good scrub using a microfiber cloth or sponge and dish soap. Pay special attention to areas with built-up grime or stains. Rinse the sink thoroughly with warm water to remove the soap residue.
Tackle Stubborn Stains with Baking Soda and Vinegar
If there are any stubborn stains or mineral deposits in your stainless steel sink, create a paste using baking soda and vinegar. Apply the paste to the affected areas and gently scrub with a soft-bristle brush or toothbrush. Rinse the sink again with warm water.
Brighten and Freshen with Lemon
To give your sink a refreshing scent and a natural shine, cut a lemon in half and rub it all over the surface of your stainless steel sink. The citric acid in the lemon acts as a natural cleaner and brightener.
Pro Tip: Avoid using acidic cleaners or scrubbers like steel wool, as they can damage the stainless steel surface.
Ready for a Deep Clean
Now that your stainless steel sink is fully prepared, you’re ready to proceed with the deep cleaning process. Refer to the next section for step-by-step instructions on how to achieve a thorough clean and restore the shine of your sink.
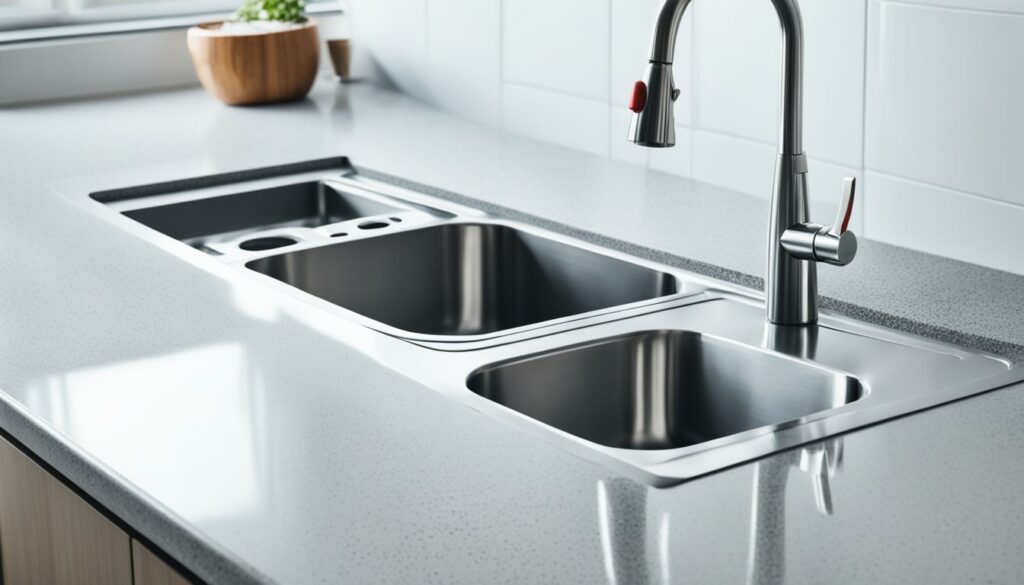
But before we move on, take a moment to appreciate the transformation of a properly prepared stainless steel sink:
| Before | After |
|---|---|
| Dirty and dull | Sparkling and shiny |
Removing Stains and Water Spots
Stains and water spots can be a headache when it comes to cleaning your stainless steel sink. But fear not! We’ve got you covered with effective techniques and products that will remove those stubborn marks and restore the shine of your sink.
When it comes to stainless steel cleaning, prevention is key. To minimize stains and water spots, make sure to rinse your sink thoroughly after each use and wipe it dry with a clean cloth. This simple step can go a long way in maintaining the pristine condition of your sink.
Effective Techniques to Remove Stains
If you’re dealing with tough stains, there are several techniques you can try:
- Baking Soda Paste: Create a paste by mixing baking soda with water. Apply the paste to the stained areas and let it sit for a few minutes. Scrub gently with a soft sponge or cloth, then rinse with warm water. Baking soda’s gentle abrasive properties help lift stains without scratching the surface of your sink.
- Vinegar Solution: Mix equal parts of vinegar and water in a spray bottle. Spray the solution onto the stained areas and let it sit for a few minutes. Wipe clean with a damp cloth or sponge, then rinse thoroughly with water.
- Lemon Juice: Cut a lemon in half and rub it directly onto the stains. The natural acidity of lemon juice helps break down stains and restore the shine of your sink. Rinse with water to remove any residue.
Removing Water Spots
Water spots can leave unsightly marks on your stainless steel sink. Here’s how you can get rid of them:
- Vinegar Soak: Fill your sink with a mixture of equal parts vinegar and hot water. Let it soak for several minutes to dissolve the water spots. Scrub gently with a sponge or cloth, then rinse with warm water and dry thoroughly.
- Toothpaste: Apply a small amount of non-gel toothpaste to a damp cloth. Rub the cloth onto the water spots in a circular motion. Rinse with water and dry with a clean cloth. The mild abrasiveness of toothpaste helps lift water spots and restore shine.
Pro Tip: For stubborn stains or water spots, you can use a soft-bristle toothbrush or a non-abrasive sponge to scrub the affected areas. Always remember to rinse the sink thoroughly with warm water after applying any cleaning solution.
Now that you have the knowledge and techniques to remove stains and water spots, you can restore the shine of your stainless steel sink with ease. Say goodbye to unsightly marks and hello to a sparkling clean sink!
Dealing with Scratches and Scuffs
Scratches and scuffs are common occurrences in a busy kitchen, and they can detract from the overall appearance of your stainless steel sink. However, there are simple techniques and product recommendations that can help you minimize their appearance and restore the shine of your sink. By following these tips, you can keep your kitchen sink looking its best.
Tackling Minor Scratches
If your stainless steel sink has minor scratches, there are a few methods you can try to reduce their visibility:
- Apply a stainless steel cleaner to the affected area and gently rub it in the direction of the grain using a soft cloth. Rinse with warm water and dry thoroughly.
- Create a paste using baking soda and water, then rub it onto the scratched area with a soft cloth. Rinse with warm water and dry thoroughly.
Addressing Deep Scratches
For deeper scratches that are more noticeable, consider the following options:
- Use a stainless steel scratch remover kit, following the instructions provided. These kits typically contain abrasive pads and a polishing compound to effectively reduce the appearance of deep scratches.
- Consult a professional stainless steel restoration specialist who can assess the severity of the scratches and provide expert advice on the best course of action.
Preventing Future Scratches
While it may be difficult to completely avoid scratches and scuffs, there are steps you can take to prevent further damage to your stainless steel sink:
- Avoid using abrasive cleaners or scrubbing pads that can cause scratching.
- Place a sink grid or a protective mat at the bottom of your sink to prevent direct contact with utensils and cookware.
- Handle knives and sharp objects carefully to minimize accidental contact with the sink surface.
By following these techniques and incorporating preventive measures, you can keep your stainless steel sink looking polished and pristine, restoring its shine and enhancing the overall aesthetic of your kitchen.
Deep Cleaning Your Stainless Steel Sink
Regular deep cleaning is essential to maintain the shine of your stainless steel sink. Over time, your sink can accumulate dirt, grime, and even hard water deposits that can dull its appearance. However, with the right cleaning solutions and tools, you can bring back that lustrous shine. Follow these step-by-step instructions to deep clean your stainless steel sink and restore its pristine condition.
Step 1: Clearing the Sink
Before you begin the cleaning process, remove any dishes, utensils, or debris from your sink. This will allow you to access all areas and clean them thoroughly.
Step 2: Preparing the Cleaning Solution
In a bowl, mix equal parts of warm water and mild dish soap. This gentle solution is safe for stainless steel and effective in removing grease and grime.
Step 3: Scrubbing the Sink
Dip a soft sponge or cloth into the cleaning solution and scrub the entire surface of your sink. Pay particular attention to areas with stains or buildup. For stubborn spots, you can use a non-abrasive scrub brush or a sponge with a built-in scrubbing pad.
Step 4: Removing Hard Water Spots
If your sink has hard water spots, you can remove them by soaking a cloth in white vinegar. Place the vinegar-soaked cloth over the affected areas and let it sit for a few minutes. Then, wipe away the spots with a clean cloth.
Step 5: Rinse and Dry
Once you’re satisfied with the cleanliness of your sink, rinse it thoroughly with warm water. Use a clean cloth or towel to dry the surface, ensuring there are no water spots left behind.
Pro Tip: To add an extra shine to your stainless steel sink, you can use a few drops of olive oil or baby oil. Apply the oil to a clean cloth and buff the surface of your sink in circular motions. This will leave a protective barrier and enhance its luster.
By following this deep cleaning process on a regular basis, you can keep your stainless steel sink looking pristine and extend its lifespan. Remember to avoid using abrasive cleaners or scrub brushes that can damage the surface. With simple yet effective cleaning hacks, you can enjoy a clean and shiny stainless steel sink in your kitchen.
Polishing and Protecting Your Stainless Steel Sink
Polishing your stainless steel sink not only enhances its shine but also helps protect it from future stains and marks. With the right techniques and products, you can keep your sink looking brand new for years to come.
There are several effective polishing techniques you can try:
- Stainless Steel Polish: Using a specialized stainless steel polish is an excellent way to restore shine and remove stubborn stains. Apply the polish to a soft cloth and gently buff the sink’s surface in circular motions. This will help restore its luster and remove any unwanted marks.
- Vinegar and Olive Oil: Create a homemade polishing solution by mixing equal parts white vinegar and olive oil. Dampen a cloth with the mixture and rub it onto the sink’s surface. The vinegar will help remove stains, while the olive oil will add shine and protection.
- Baking Soda Paste: Make a paste using baking soda and water. Apply the paste to a soft cloth and gently scrub the sink in circular motions. Baking soda is a natural abrasive that can remove stains and restore the sink’s shine.
To ensure maximum protection for your stainless steel sink, consider applying a protective layer:
- Stainless Steel Protective Coating: There are various protective coatings available that can create a barrier on the sink’s surface, preventing stains and marks. Follow the manufacturer’s instructions to apply the coating evenly, and enjoy the added protection it provides.
Remember to always read the manufacturer’s instructions and test any products or techniques on a small, inconspicuous area of your sink before applying them to the entire surface.
| Polishing Technique | Benefits | Recommended Products |
|---|---|---|
| Stainless Steel Polish | – Restores shine – Removes stubborn stains | – Brand A Stainless Steel Polish – Brand B Stainless Steel Cleaner |
| Vinegar and Olive Oil | – Natural cleaning solution – Adds shine and protection | – Brand C White Vinegar – Brand D Extra Virgin Olive Oil |
| Baking Soda Paste | – Natural abrasive – Removes stains and restores shine | – Brand E Baking Soda – Brand F Water |
| Stainless Steel Protective Coating | – Creates a protective barrier – Prevents stains and marks | – Brand G Protective Coating – Brand H Stainless Steel Sealant |
By incorporating regular polishing into your stainless steel sink maintenance routine, you can enjoy a gleaming, protected sink that adds elegance and functionality to your kitchen.

Everyday Care and Maintenance
Consistent care and maintenance are essential for keeping your stainless steel sink in top condition. By following these practical tips and tricks for everyday care, you can prevent stains, scratches, and other common issues, ensuring a clean and beautiful stainless steel sink that lasts for years.
1. Clean Spills and Stains Immediately
Accidents happen, and spills are inevitable in any kitchen. To prevent stains and discoloration, make sure to clean up spills immediately. Use warm water, mild dish soap, and a soft cloth or sponge to gently wipe away any residue. Avoid abrasive cleaners or scrubbing brushes, as they can cause scratches.
2. Avoid Harsh Chemicals and Abrasive Tools
When cleaning your stainless steel sink, it’s important to avoid using harsh chemicals and abrasive tools that can damage the surface. Instead, opt for non-abrasive cleaners specifically formulated for stainless steel. You can also make a natural cleaning solution using equal parts water and vinegar.
3. Regularly Rinse and Dry
After each use, rinse your sink with warm water and dry it to prevent water spots and mineral buildup. Standing water can also contribute to the development of stains and rust. A quick rinse and dry will help maintain the shine of your stainless steel sink.
4. Use a Sink Grid or Mat
Protect the bottom of your sink from scratches and dents by using a sink grid or mat. These accessories act as a barrier between your dishes, utensils, and the sink’s surface, reducing the risk of damage. Make sure to clean the grid or mat regularly to prevent the buildup of food particles and bacteria.
5. Remove Hard Water Deposits
If you notice unsightly hard water deposits on your sink’s surface, you can remove them using a mixture of vinegar and water. Apply the solution to the affected areas, let it sit for a few minutes, then scrub gently with a soft brush or sponge. Rinse thoroughly and dry the sink to restore its shine.
| Everyday Care and Maintenance Tips | |
|---|---|
| Clean spills and stains immediately | Prevent stains and discoloration |
| Avoid harsh chemicals and abrasive tools | Protect the surface from damage |
| Regularly rinse and dry | Prevent water spots and mineral buildup |
| Use a sink grid or mat | Protect against scratches and dents |
| Remove hard water deposits | Restore the sink’s shine |
By incorporating these everyday care and maintenance practices into your routine, you can keep your stainless steel sink looking pristine and extend its lifespan. Now, let’s move on to troubleshooting common problems that you may encounter with your sink.
Troubleshooting Common Problems
While maintaining a stainless steel sink is generally a straightforward process, there are times when unexpected issues arise. Don’t worry! In this section, we will address some common problems that you may encounter and provide effective troubleshooting solutions. By following these tips, you’ll be able to overcome any challenges and keep your stainless steel sink looking its best.
1. Dealing with Hard Water Stains
Hard water stains can leave unsightly marks on your stainless steel sink, making it look dull and lacking its shine. To remove these stains:
- Mix equal parts white vinegar and water in a spray bottle.
- Spray the solution onto the stained areas.
- Let it sit for a few minutes, then scrub gently with a soft sponge or cloth.
- Rinse the sink thoroughly with warm water and dry it with a clean towel.
2. Tackling Rust Spots
Rust spots can sometimes appear on stainless steel sinks, especially if they come into contact with certain metals or acidic substances. To remove rust spots:
- Dampen a cloth with a small amount of lemon juice or vinegar.
- Gently rub the rust spots in a circular motion until they start to fade.
- Rinse the sink with water and dry it with a soft cloth.
3. Removing Stubborn Food Residue
Food residue can build up over time and become difficult to remove. To tackle stubborn food residue:
- Mix baking soda and water to create a paste.
- Apply the paste to the affected areas and let it sit for 15 minutes.
- Gently scrub the residue with a sponge or soft brush.
- Rinse the sink thoroughly with warm water and dry it with a clean towel.
4. Dealing with Scratches
While scratches are inevitable on a stainless steel sink, you can minimize their appearance and restore the sink’s shine:
- Use a non-abrasive cleaner or stainless steel polish.
- Apply the cleaner/polish to a soft cloth and gently rub it onto the scratched areas.
- Follow the manufacturer’s instructions for application and buff the sink to a shine.
“A clean and shiny stainless steel sink adds a touch of elegance to any kitchen.” – [Brand Name]
By following these troubleshooting tips, you’ll be equipped to handle common problems and restore the shine to your stainless steel sink. Remember, regular maintenance and proper care are essential to keeping your sink looking its best.
Conclusion
Congratulations! You are now equipped with the knowledge and techniques needed to bring back the shine to your stainless steel sink. By implementing the tips and tricks shared in this guide, you can achieve a clean and sparkling sink that adds both beauty and functionality to your kitchen.
Remember to always use the appropriate cleaning solutions and tools to avoid scratching or damaging your stainless steel sink. Regular maintenance, including deep cleaning and polishing, will help you preserve its lustrous appearance for years to come.
Utilize the everyday care and maintenance tips to prevent stains, scratches, and other common issues from tarnishing the shine of your sink. And in case you encounter any problems, refer to the troubleshooting solutions provided to overcome them effectively.
With proper care and attention, your stainless steel sink will continue to impress you and elevate the overall look of your kitchen. Enjoy the clean and gleaming surface that invites you to tackle daily kitchen tasks with ease. So go ahead, bring back the shine to your stainless steel sink and revel in its beauty!
FAQ
How often should I clean my stainless steel sink?
It is recommended to clean your stainless steel sink at least once a week to prevent the buildup of dirt, stains, and bacteria. Regular cleaning will help maintain its shine and prolong its lifespan.
Can I use bleach or abrasive cleaners on my stainless steel sink?
No, it is not advisable to use bleach or abrasive cleaners on your stainless steel sink. These harsh chemicals can damage the finish and leave scratches. Instead, opt for gentle cleaners or natural solutions like vinegar and baking soda.
What should I use to remove water spots from my stainless steel sink?
To remove water spots, you can use a mixture of equal parts white vinegar and water. Apply the solution to a soft cloth or sponge, then gently scrub the affected areas. Rinse thoroughly and dry with a clean towel.
How can I prevent scratches on my stainless steel sink?
To prevent scratches, avoid using abrasive scrubbers or sharp objects directly on the surface of your sink. Instead, use soft sponges or microfiber cloths for cleaning. You can also place a protective mat or rack at the bottom of the sink to minimize contact with utensils and dishes.
Can I use olive oil to polish my stainless steel sink?
Yes, olive oil can be used as a natural and effective polish for stainless steel sinks. Apply a small amount of olive oil to a soft cloth and buff the sink in circular motions. This will help restore its shine and create a protective barrier against stains.
How do I remove stubborn stains from my stainless steel sink?
For stubborn stains, you can create a paste using baking soda and water. Apply the paste to the stained areas and let it sit for a few minutes. Then, scrub gently with a soft sponge or cloth until the stain is removed. Rinse thoroughly and dry with a clean towel.
Can I use stainless steel cleaner on other kitchen appliances?
Yes, stainless steel cleaner can be used on other stainless steel surfaces in your kitchen, such as refrigerators, ovens, and dishwashers. Just make sure to follow the manufacturer’s instructions and test the cleaner on a small, inconspicuous area first.
How can I restore the shine of my stainless steel sink?
To restore the shine of your stainless steel sink, you can use a commercial stainless steel polish or make a homemade solution using vinegar and water. Apply the polish or solution to a soft cloth and buff the sink in circular motions. Rinse thoroughly and dry with a clean towel for a sparkling finish.
Can I use lemon juice to clean my stainless steel sink?
Lemon juice can be used as a natural cleaner for your stainless steel sink. The citric acid in lemon juice helps remove stains and adds a fresh scent. Simply cut a lemon in half, rub it over the sink’s surface, and rinse thoroughly with water.
How can I prevent rust from forming on my stainless steel sink?
To prevent rust, avoid leaving wet sponges or dishcloths in the sink for extended periods. Make sure to dry the sink thoroughly after each use. If rust spots appear, you can remove them using a mixture of baking soda and water. Gently scrub the rusted areas and rinse thoroughly.
