This website contains affiliate links. Some products are gifted by the brand to test. As an Amazon Associate, I earn from qualifying purchases. The content on this website was created with the help of AI.
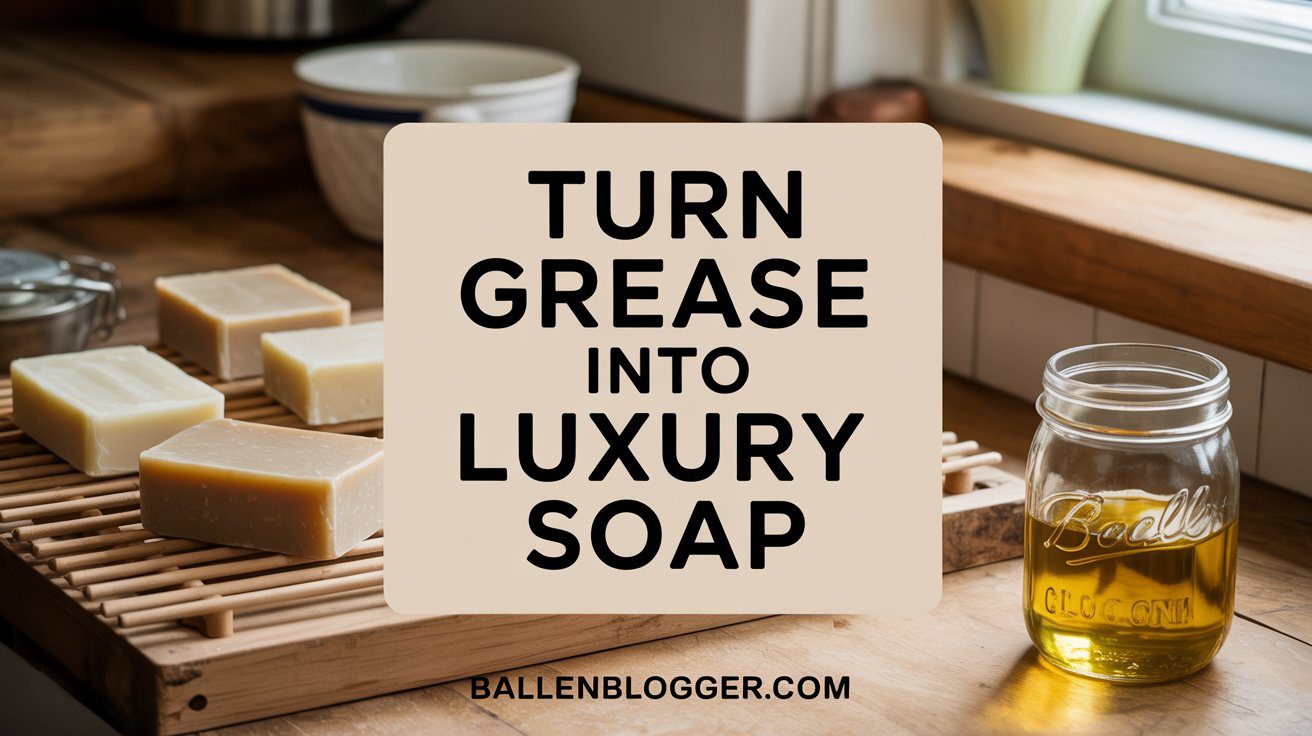
That bucket of cold, congealed, leftover french fry grease? It’s disgusting. It’s a gloopy mix of vegetable oil, maybe some animal fats, and all those tiny, forgotten scraps of burnt potato. It has a faint aroma of old food and regret. Most people would look at this, gag a little, and haul it straight to the dump. In fact, that’s exactly where it was headed. But what if you could see something different? A challenge. Potential. And believe it or not… luxury.
Because inside this bucket of what most would call trash, is the main ingredient for a premium, handcrafted, skin-friendly bar of soap. And not just any soap. A soap that can, and does, sell for twenty dollars a bar. It sounds impossible, maybe even a little insane. Turning something destined for a landfill into a high-end artisanal product feels like modern-day alchemy. But today, you’re going to learn exactly how it’s done. You are going to take this greasy mess on a journey from gross to gorgeous and prove that with a little bit of science and a lot of creativity, you can literally wash your hands with what was once waste.
Shopping List
– Sodium Hydroxide (Lye)
– Distilled Water
– Cheesecloth
– Fine Mesh Sieve
– Digital Kitchen Scale
– Safety Goggles
– Nitrile Gloves
– Stick Blender
– Silicone Soap Loaf Mold
– Lemongrass Essential Oil
– Cedarwood Essential Oil
– Raw Shea Butter
– Thermometer for Soap Making
– Soap Curing Rack
Step 1: The Great Grease Cleanup
Before you can even dream of making soap, you have to deal with… well, this. The first, and maybe the most important step in this whole process, is purification. You can’t just dump this sludge into a pot and hope for the best. If you don’t get this step right, your soap will be gritty, it’ll probably smell like a late-night diner, and it will be completely unusable. So, the transformation starts with a serious deep clean.
First, you have to filter out all the solid junk. We’re talking about those little crispy floaters, sediment, and who knows what else that’s settled at the bottom. To do this, attack it in layers. Start by pouring the whole mess through a regular kitchen sieve to catch the big stuff. It is not a pretty sight. The oil is thick and slow, and the gunk left behind is… let’s just say you don’t want to look too closely.
But that’s just round one. To get this oil truly clean, you need to go finer. Much finer. Your next line of defense is a few layers of cheesecloth draped over a big, clean pot. Slowly pour the strained oil through it, and this step is all about patience. The cool, thick oil takes its sweet time seeping through the cloth, catching all the much smaller particles that the sieve missed. What’s left is an oil that looks much cleaner, but you’re not done yet. There are still microscopic impurities and a lingering smell that need to be tackled.
The secret to getting this oil even cleaner is surprisingly simple: water. It seems backward, right? Oil and water don’t mix. But that’s exactly the property you’re going to use to your advantage. Add about the same amount of water to your pot of filtered oil and bring the whole concoction to a gentle boil. As it heats up, the water helps pull out the remaining water-soluble impurities. It’s like giving the oil itself a bath.
After a twenty-minute simmer, kill the heat and let the magic happen. As the pot cools, the oil and water separate, with the less-dense oil floating neatly on top. All the gunk you just washed out of the oil settles into the water below or gets trapped at the boundary between them. Let this cool completely—you can even stick it in the fridge overnight to speed things up.
The next morning, what you have depends on the original oil. Because this batch had a lot of saturated or animal fats, it solidified into a hard disc floating on a layer of murky, disgusting brown water. If your oil was mostly a vegetable blend, it might still be liquid, but the principle is the same. Carefully lift the solidified fat, scraping off any sludge clinging to the bottom, and toss the dirty water. Just to be safe, repeat this whole washing process one more time. It’s a lot of work, but it’s non-negotiable. What you’re left with is a block of hard, pale yellow, and nearly odorless fat. This is your gold. This is the foundation for your $20 soap, and it’s finally ready.
Step 2: The Science of Saponification
This is where the real alchemy happens. You’re about to kick off a chemical reaction that’s thousands of years old: saponification. Put simply, saponification is just the process that turns fats and oils into soap when they react with a strong alkali. For a hard bar of soap, that alkali is sodium hydroxide, better known as lye.
Now, let’s address the elephant in the room. Lye is serious business. It’s a caustic chemical that can cause severe burns, so this is not the time to get careless. Always be geared up with safety goggles, long sleeves, and gloves. Also, make sure your workspace is well-ventilated to avoid the fumes that kick up when lye is mixed with water.
Safety is everything, and so is precision. Soap making is basically kitchen chemistry, and that means you have to measure accurately. You can’t just eyeball the amount of lye. Different fats need a specific amount of lye to turn completely into soap. To get it right, use an online “soap calculator.” You punch in the exact weight of your cleaned-up grease, and it tells you the precise amount of lye and water you need. This ensures all the lye gets used up in the reaction, making the final bar of soap perfectly safe for skin.
With your safety gear on, prepare the lye solution. Here’s the number one safety rule: Always add the lye to the water, never the other way around. Adding water to lye can cause a mini volcano of caustic liquid. Slowly pour the lye crystals into your container of cool, distilled water, stirring gently until they’re dissolved. This reaction is exothermic, meaning it creates its own heat—and a lot of it. This solution will get close to 200°F, so set it aside somewhere safe to cool down.
While the lye solution cools, gently melt your block of purified fat in a separate pot. The goal is to have both the lye solution and the melted fats cool to around 100-110 degrees Fahrenheit before you introduce them.
This is the moment of truth. Slowly pour the lye solution into the melted fats, and you can see the reaction start instantly. The mixture turns cloudy and begins to change color. Grab a stick blender and start mixing. The blender speeds up the saponification process by making sure the lye and oil are constantly interacting.
For the next few minutes, alternate between blending and stirring as the liquid slowly thickens. You’re looking for a stage called “trace.” That’s when the mixture is thick enough—like a thin pudding—that drizzling some on the surface leaves a visible trail, or “trace,” before sinking back in. Hitting trace tells you the emulsification is stable and you are well on your way. The liquid grease has officially become raw, liquid soap.
Step 3: The Art of Patience and Curing
You’ve reached trace, and the soap is chemically on its way, but it’s not exactly winning any beauty contests. This is the “awkward teenage phase.” The mixture is an opaque, beige, pudding-like glop. It’s not pretty, but it’s full of promise. This is also your last chance to customize it. While the purified oil is almost odorless, you’ll want this to be a truly premium product. Now is the time to add a blend of lemongrass and cedarwood essential oils for a fresh, clean, earthy scent—the total opposite of where you started. You can also add a little shea butter. This is a technique called “superfatting.” Most of the oil will turn into soap, but this extra butter will remain as a free-floating oil in the final bar, giving it extra moisturizing properties.
After stirring in your additives, it’s time to pour the thick soap into a silicone loaf mold. Scrape the pot clean—waste not, want not!—and tap the mold on the counter to get rid of any air bubbles. Smooth out the top, and then comes the hardest part of the entire process: waiting.
The soap now has to cure. This is a crucial resting period for two main reasons. First, it allows the saponification process to fully complete, ensuring the soap is gentle and the pH has settled. Second, and more importantly, it lets the water inside slowly evaporate. This is what turns a soft loaf into a hard, durable bar of soap that will last a long time and produce a great lather.
Cover the mold with cardboard and wrap the whole thing in a towel. This insulation traps the heat from the ongoing reaction and helps the soap go through what’s called the “gel phase.” Over the next 24 hours, the soap will heat up, become a bit translucent, and then cool down into a solid, opaque block.
After a full day, the soap is hard enough to pop out of the mold and slice into individual bars. But you still can’t use it. At this stage, it could be harsh on the skin. These fresh bars now need to sit on a curing rack in a cool, dry place for four to six weeks. Yes, a month and a half. Patience really is the final, secret ingredient. Over this time, you can practically feel them changing—getting harder, milder, and just plain better every day. It’s a final, slow transformation that you simply can’t rush.
The Reveal: Is It Worth $20?
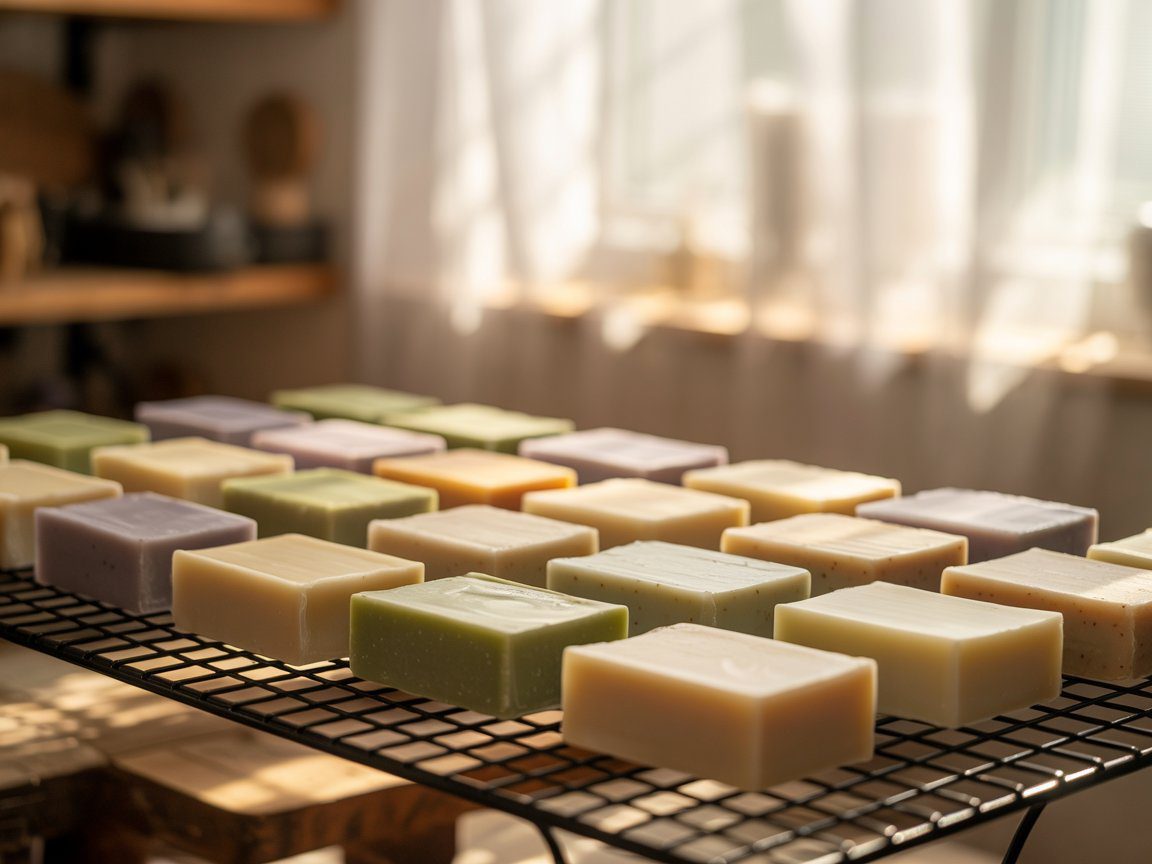
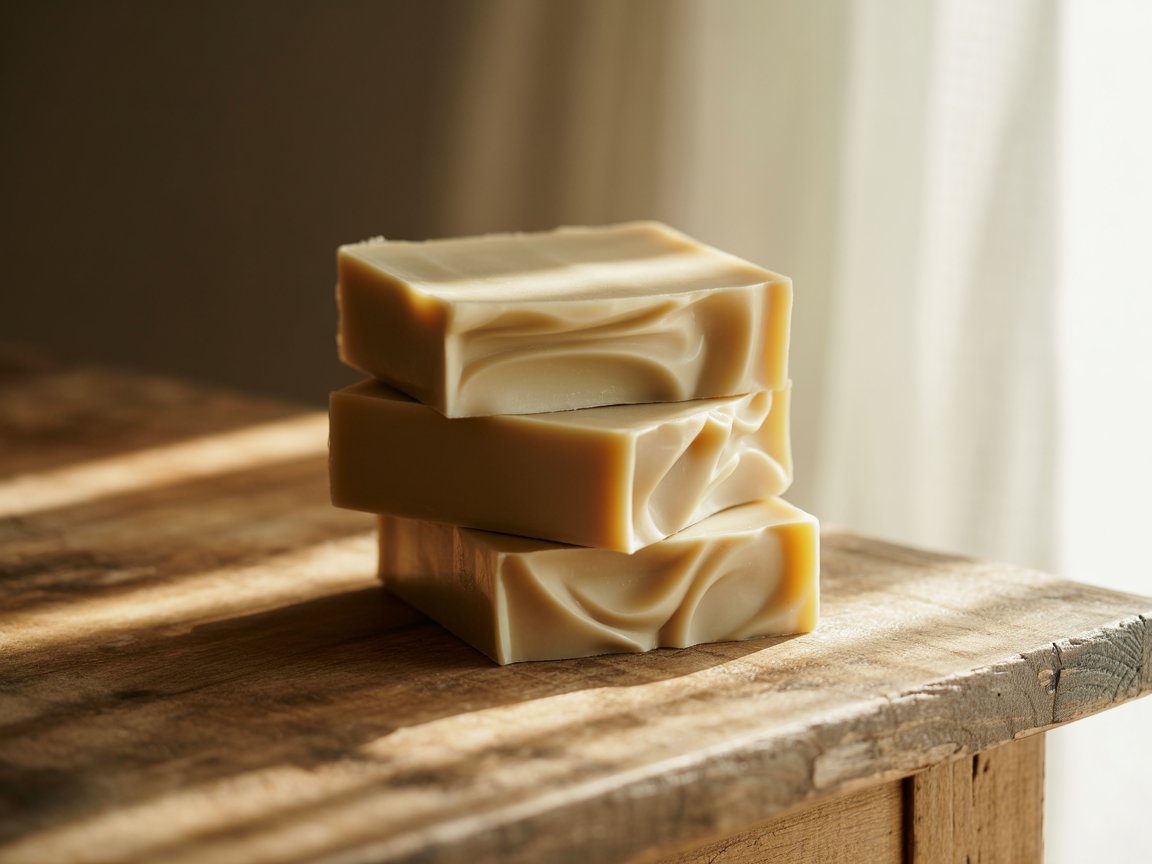
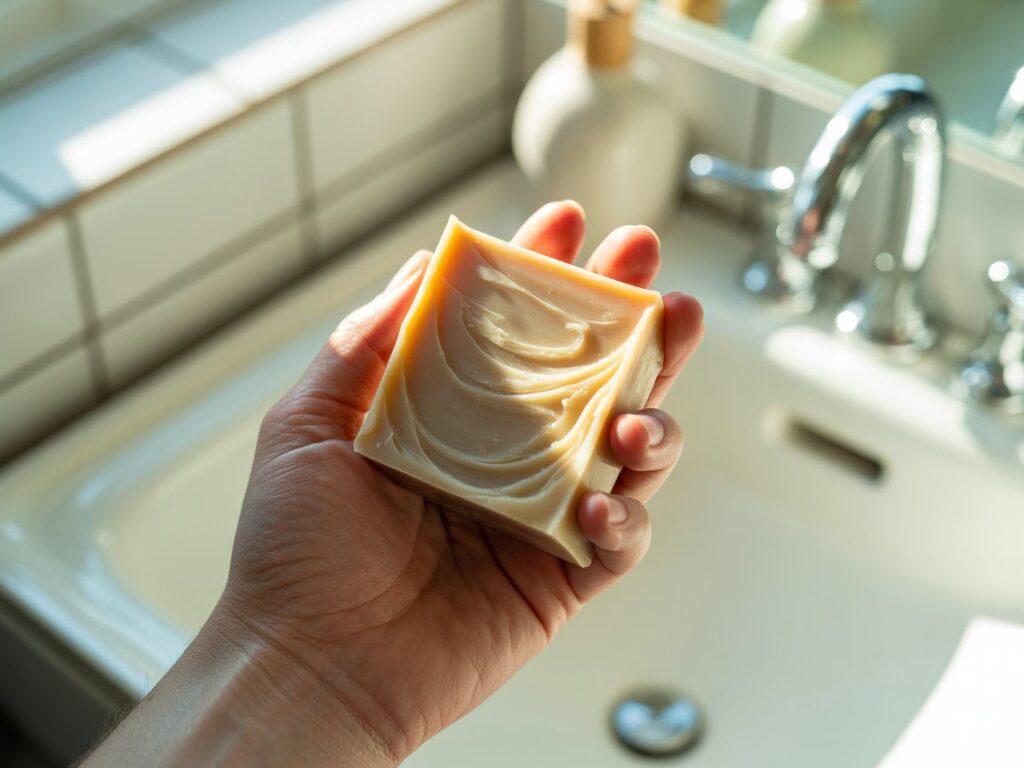
After six long weeks, the wait is finally over. The transformation is complete. What started as a bucket of disgusting, discarded fryer grease is now a stack of beautiful, rustic, handcrafted soap. The color is a natural, creamy off-white. The bar is hard and smooth to the touch. And the scent? It’s incredible. A bright, clean burst of lemongrass with a deep, woody undertone. There is absolutely no hint—not even a whisper—of its former life.
The lather is rich and creamy, with thick, luxurious bubbles. This isn’t just soap; it’s a testament to transformation.
So, this brings us to the big question: the $20 price tag. How can you justify selling soap made from literal garbage for twenty dollars? The answer is all about how you define value. Your customer isn’t just paying for the ingredients; they’re paying for the craftsmanship, the story, and the final product.
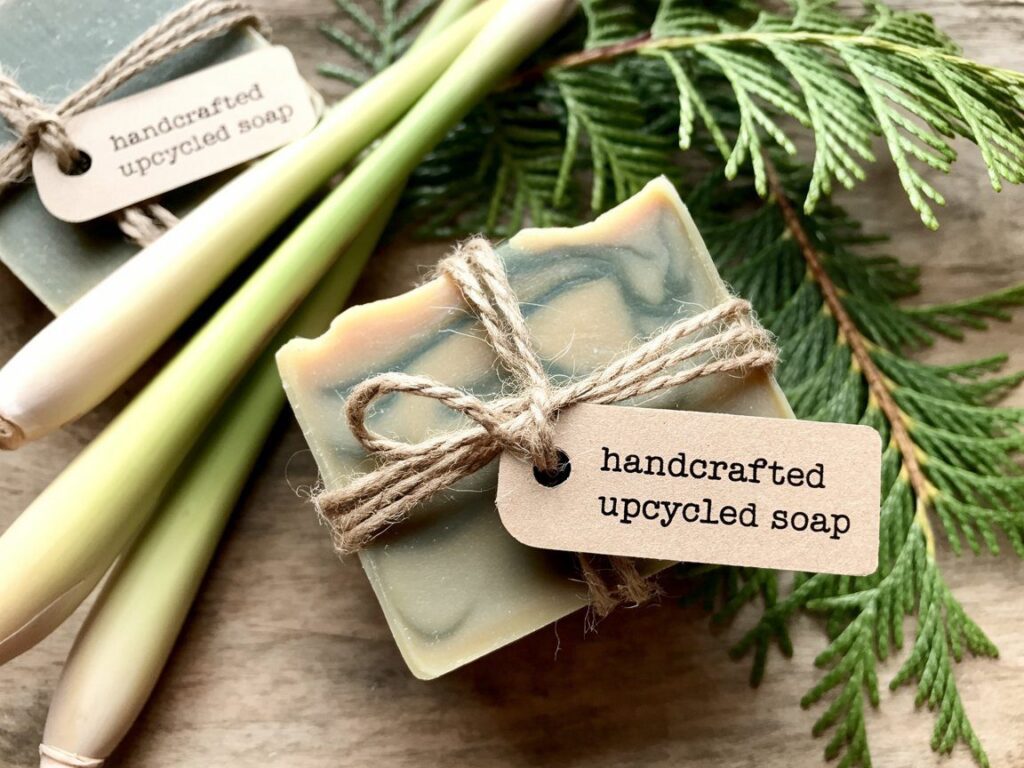
First, there’s the labor. This wasn’t quick. It involved hours of filtering, rendering, careful chemical work, and weeks of patient curing. Second, it’s a story of sustainability. This is an upcycled product that diverts waste from landfills or from clogging city drains. Many people are willing to pay a premium for products that align with their eco-conscious values. Third, the quality is genuinely there. Because it’s handmade this way, the soap retains all its natural glycerin, which is a humectant that helps draw moisture to the skin. Paired with the superfatted shea butter, it’s a high-quality, moisturizing soap that feels amazing.
When someone buys this soap, they’re not buying fried food waste. They’re buying a unique, artisanal product with an incredible backstory. They are buying a piece of functional art that is sustainable, handcrafted, and feels luxurious. And in the world of high-end, handmade goods, that combination can certainly command a $20 price tag.
Conclusion
So there you have it. You’ve taken a bucket of something utterly worthless and, through purification, chemistry, and a whole lot of patience, turned it into a premium product. It just goes to show you that with a little knowledge and a different perspective, one person’s trash can absolutely become another person’s treasure. What most people throw away without a second thought, you’ve turned into something beautiful, useful, and valuable. And now, if you’ll excuse me, it’s time to go wash your hands.
This website contains affiliate links. Some products are gifted by the brand to test. As an Amazon Associate, I earn from qualifying purchases. The content on this website was created with the help of AI.