This website contains affiliate links. Some products are gifted by the brand to test. As an Amazon Associate, I earn from qualifying purchases. The content on this website was created with the help of AI.
Quilted pot holders are back—and they’re not just for grandma’s kitchen. Today’s makers are turning these everyday kitchen essentials into personalized, aesthetic statement pieces that look just as good on a peg rack as they work under a hot dish. Whether you’re decorating for the season, building a handmade gift box, or selling custom crafts online, here’s how to create modern quilted pot holders that feel fresh, functional, and scroll-stopping.
You’re making modern quilted pot holders — stylish, functional kitchen accessories made from cotton fabric and insulated batting. They’re heat-resistant, customizable, and perfect for gifts, Etsy shops, or seasonal home decor.
What You’ll Need (Updated for Trendy DIY Kits & Styles)
- Cotton Fabric – Modern Prints
- Insul-Bright Heat Resistant Batting
- Pellon Insul-Fleece
- Coordinating Thread Set
- Fabric Scissors
- Rotary Cutter
- Sewing Clips or Quilting Pins
- Sewing Machine
- Leather Loops or Twill Tape
- Bias Tape – Various Colors
- Iron for Pressing Seams
- Embroidery Starter Kit
- Fabric Labels – Hand Stamped
How to Make Modern Quilted Pot Holders (Step-by-Step Instructions)
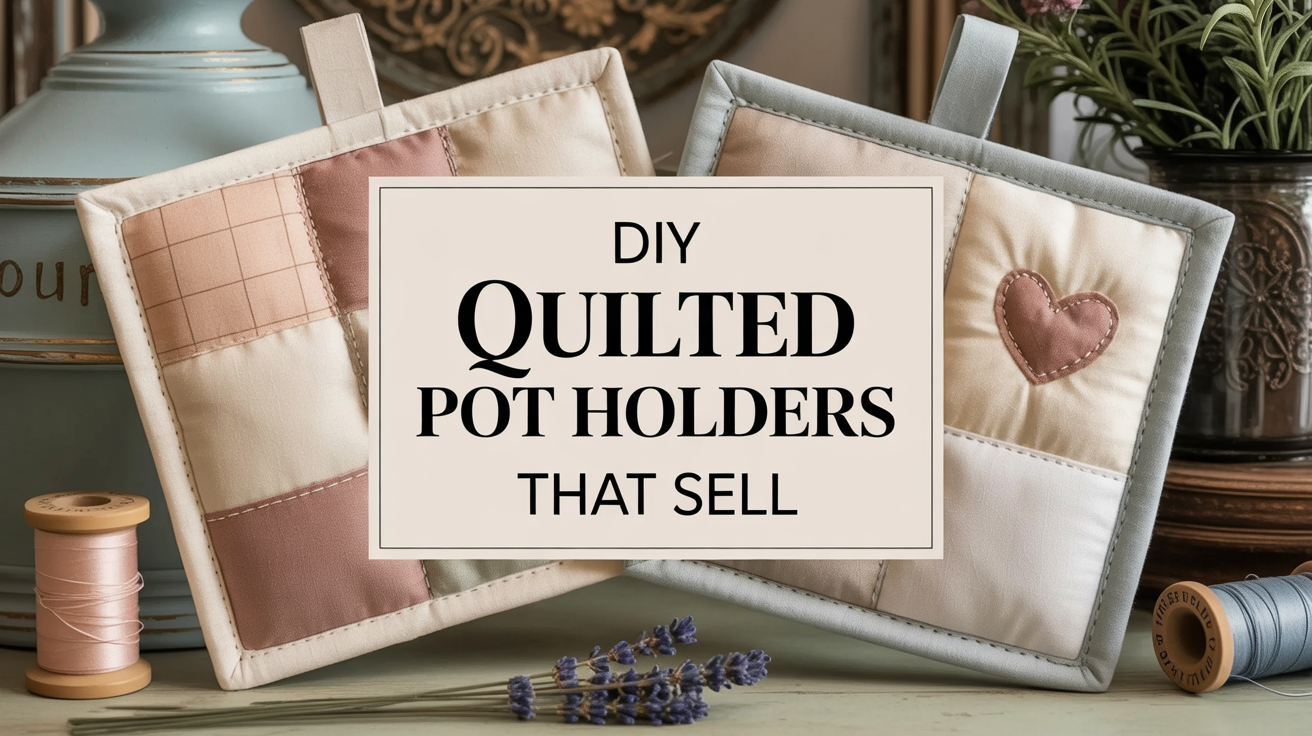
When done, the potholders will look like small, square quilted mats — about 8×8 inches — with clean, even stitching in either straight or crisscrossed lines across the surface. The texture would be soft but thick, with visible quilted channels. The edges would be neatly finished with bias tape in a coordinating or contrasting color, and one corner might have a small hanging loop made of twill or leather. Depending on your design choices, you might see modern prints (florals, stripes, or solids), embroidered details, or a hand-stamped fabric label for a custom, handmade finish.
1. Cut Your Fabric and Batting
- Cut (2) 8″x8″ squares of cotton fabric – one for the front, one for the back
- Cut (1) 8″x8″ square of Insul-Bright or Pellon Insul-Fleece (this is the heat barrier)
- Optional: Cut (1) 8″x8″ piece of thin cotton batting for extra thickness
- Optional: Cut a 2″ x 5″ strip of fabric or twill for a hanging loop
2. Layer Everything Together
For step 2 — layering everything together — the key is structure and alignment. You’re essentially building a sandwich of fabric and insulation that gives the pot holder its shape and heat protection.
Lay one fabric square face-down as your base. Center the Insul-Bright or Insul-Fleece directly on top; this metallic, slightly crinkly layer reflects heat away from your hand. If you’re adding cotton batting for softness, place it right above the Insul-Bright before finishing with your top fabric square, face-up.
Take your time smoothing each layer so there are no wrinkles or bubbles. The alignment here matters — clean edges mean easier stitching and a professional look later. If you’re including a hanging loop, you can also tuck it between the top and bottom layers in one corner before pinning everything together.
- Bottom layer: one fabric square (right side facing down)
- Middle layer: Insul-Bright
- Optional: cotton batting
- Top layer: second fabric square (right side facing up)
3. Pin the Layers
Use sewing clips or straight pins to secure all four edges. Keep it smooth—no puckering. Once your layers are stacked and smooth, use sewing clips or straight pins to secure all four edges. Place them every couple of inches so the fabric doesn’t shift while sewing.
If you’re using thicker layers or Insul-Bright, clips work better because they won’t bend or distort the layers. Start from the center and smooth outward before pinning each side to keep everything flat and wrinkle-free. This step is key to avoiding puckering later when you quilt — clean, even tension here leads to crisp, professional stitching lines in step 4.
4. Quilt the Block
Using your sewing machine, stitch straight lines across the whole block. Set your sewing machine to a medium stitch length and begin 1 inch from the edge. Sew straight, evenly spaced lines across the surface to lock the layers together and create that classic quilted texture.
You can go vertical, diagonal, or create a crisscross grid depending on your style. For a minimalist, modern look, diagonal lines work beautifully. For a cozier farmhouse feel, try a tighter crosshatch pattern. Always backstitch at the beginning and end of each line to secure your seams, and keep the fabric smooth as you sew. The goal is a uniform quilted pattern that feels padded, sturdy, and visually balanced when finished.
- Start 1″ from the edge and sew lines 1″ apart
- Go in one direction (vertical or diagonal), or crisscross for a quilted look
- Backstitch at the beginning and end of each line to lock your stitches
5. Square It Up
Trim all sides evenly with a rotary cutter or scissors. Make sure your edges are clean and square. After quilting, your edges may look uneven from fabric shifting slightly during stitching. Use a rotary cutter and ruler to trim all four sides, keeping the shape perfectly square—8×8 inches is ideal.
Make sure to align your ruler with the quilted lines rather than the fabric’s raw edge so your final piece looks balanced and professional. This cleanup step ensures your binding goes on smoothly later without puckering or gaps. A clean square edge gives your finished pot holder that crisp, store-quality appearance.
6. Add the Loop (Optional)
Take your pre-cut 2″ x 5″ fabric strip or twill tape and fold it in half lengthwise, wrong sides together. Press it flat with your iron for a clean crease.
Position the folded strip in one corner of your squared block, with the raw ends aligned to the edge and the folded loop pointing inward toward the center. Secure it in place with a clip or pin — you’ll stitch over it later when attaching the bias tape. Once the binding is complete, the folded end will extend outward, forming a sturdy hanging loop perfect for displaying your finished pot holder on a hook or peg.r loop strip in half. Pin the raw edges into one corner of the potholder (facing inward). The loop should stick out once the binding is finished.
7. Bind the Edges
Start by opening your bias tape and aligning one raw edge with the edge of your quilted square, right sides together. Begin in the middle of one side (not a corner) and leave about two inches of bias tape loose at the start so you can overlap it later.
Sew around the perimeter using a ¼-inch seam allowance, gently curving or mitering the corners as you go to keep them crisp. When you reach the end, overlap your starting point by an inch and trim any excess tape. Fold the bias tape over the raw edge to the back side, tuck in the open edge, and stitch it down neatly by hand or machine. This clean, wrapped edge not only hides raw seams but adds durability and a professional finish to your handmade pot holder.
- Open the bias tape and align the raw edge with the edge of the potholder
- Sew around the entire potholder, mitering corners as you go
- Fold over the bias tape to the back, tuck the raw edge under, and sew again to secure
8. Finish It Off
Once your binding is stitched and edges are smooth, give the entire piece a final press with your iron to set the seams and flatten any bulk. This helps the quilting lines pop and gives the pot holder a crisp, professional shape.
If you want to personalize it, now’s the time to add extras — a few hand-stitched embroidery details, a contrasting corner patch, or a custom fabric label to mark it as handmade. You can also experiment with color-block stitching or decorative thread for an elevated finish. The goal here is polish: clean lines, pressed edges, and small details that make each piece feel intentionally crafted.
- Give it a final press with your iron
- Add optional extras like embroidery, hand-stamped labels, or color-block stitching
Why Quilted Pot Holders Are Trending Again
They’re the perfect small-batch project. Easy to make. Easy to gift. Easy to sell. These days, creators are pairing them with bread-making kits, farmhouse kitchen decor, or adding them to Etsy bundles. Plus, you can upcycle leftover fabric scraps and turn them into useful home accessories.
Creative Uses for Your Pot Holders
- Seasonal kitchen decor
- Hostess or holiday gifts
- Farmers market or Etsy best-sellers
- DIY bundles with matching dish towels or aprons
Final Tip
Care & Maintenance
To keep your quilted pot holders looking fresh and functional, spot clean as needed or hand-wash gently with mild detergent. Avoid machine washing and high heat, as these can break down the insulation. Lay flat to dry and re-press with a warm iron if needed.
Shop the Supplies
Get everything you need to make your own set of modern quilted pot holders:
- Cotton Fabric – Modern Prints
- Insul-Bright Heat Resistant Batting
- Pellon Insul-Fleece
- Coordinating Thread Set
- Fabric Scissors
- Rotary Cutter
- Sewing Clips or Quilting Pins
- Sewing Machine
- Leather Loops or Twill Tape
- Bias Tape – Various Colors
- Iron for Pressing Seams
- Embroidery Starter Kit
- Fabric Labels – Hand Stamped
As an Amazon Associate, I earn from qualifying purchases.
Before you go, check out this cozy kitchen DIY: Quick Tips for Designing a Cozy Homestead Kitchen — perfect if you’re looking to style your space to match your handmade pot holders.
This website contains affiliate links. Some products are gifted by the brand to test. As an Amazon Associate, I earn from qualifying purchases. The content on this website was created with the help of AI.
