This website contains affiliate links. Some products are gifted by the brand to test. As an Amazon Associate, I earn from qualifying purchases. The content on this website was created with the help of AI.
You know that moment when your cotton pads are spilling everywhere, your Q-tips are in a sad plastic bag, and your brushes are doing the absolute most on your vanity? Yeah—no. Let’s fix that. We’re turning basic tin cans into a boho-chic bathroom organizer set that looks like it came from a boutique (but nope, it’s just you, a napkin, and some glue).

This is one of those crafts that’s crazy simple but looks like you actually know what you’re doing. Plus, it’s the easiest way to add a little handmade charm to your bathroom without breaking anything (except maybe the hot glue gun rules). Let’s do it.
What You Might Need
- 3–5 clean tin cans (different sizes = more visual interest)
- Decorative napkins, tissue paper, or patterned wrapping paper
- Matte Mod Podge or decoupage glue
- Foam brush or paintbrush
- Scissors
- Lace trim, twine, or ribbon (optional but highly recommended)
- Acrylic paint or spray paint (for undercoat if desired)
- Clear sealant (optional but helps with bathroom steam)
- Cotton pads, Q-tips, brushes = the pretty payoff
Prep the Cans
First, strip those labels like you’re opening a surprise birthday gift. Soak the cans in warm soapy water, scrub off any adhesive, and dry thoroughly. If you’re going with paint underneath the decoupage, now’s your moment. A light ivory, blush, or matte sage makes a gorgeous base.
Let them dry fully before adding anything else. Trust the process. Damp cans + glue = sliding disaster.
Cut and Layer Your Paper
Choose a pattern that’s giving boho energy—think florals, botanicals, vintage text, or anything with a soft, washed look. Napkins with separate ply? Peel them! You want one thin layer.
Cut the paper to fit around each can, leaving a little extra overlap just in case. Don’t overthink it. Boho is meant to be imperfect and artsy.
Brush a thin layer of Mod Podge directly onto the can, then gently place your paper, smoothing it out as you go. Then go over it again with a top coat of Mod Podge to seal. If it wrinkles? Great. That’s texture. That’s charm.
Add the Boho Details
Once your paper layer is dry (give it a few hours or overnight if you’re a patient queen), it’s time for the accessories. Wrap lace trim around the top, tie twine or ribbon around the middle, maybe hot glue on a wooden bead or pressed flower. You’re crafting now, baby.
Want to match your set? Use the same paper across all three cans but vary the trim. Or mix and match paper with the same color palette for that curated, but not try-hard vibe.
Seal the Deal
If these are going to live in a steamy bathroom (which, like, obviously they are), go ahead and give them a final coat of Mod Podge or a spray clear sealant. This helps keep everything crisp and cute long-term—even when the hot water is fogging up the mirror.
Picture This
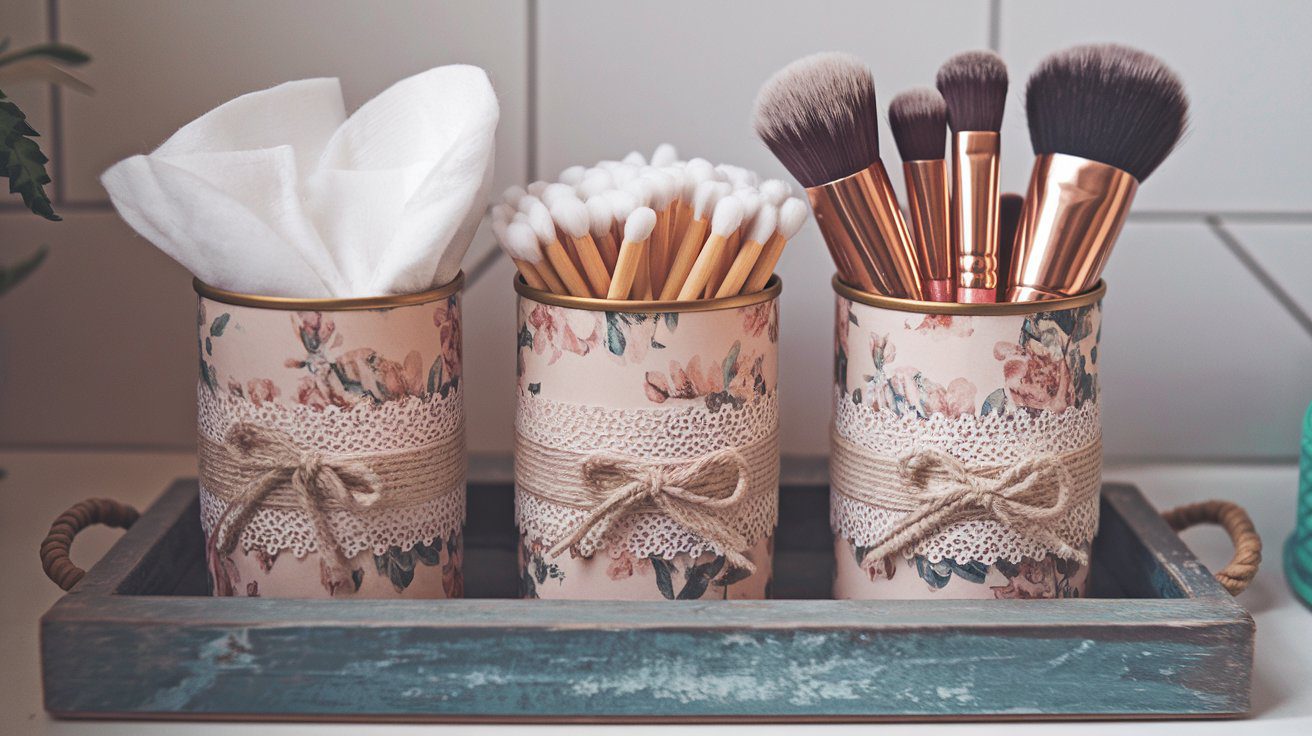
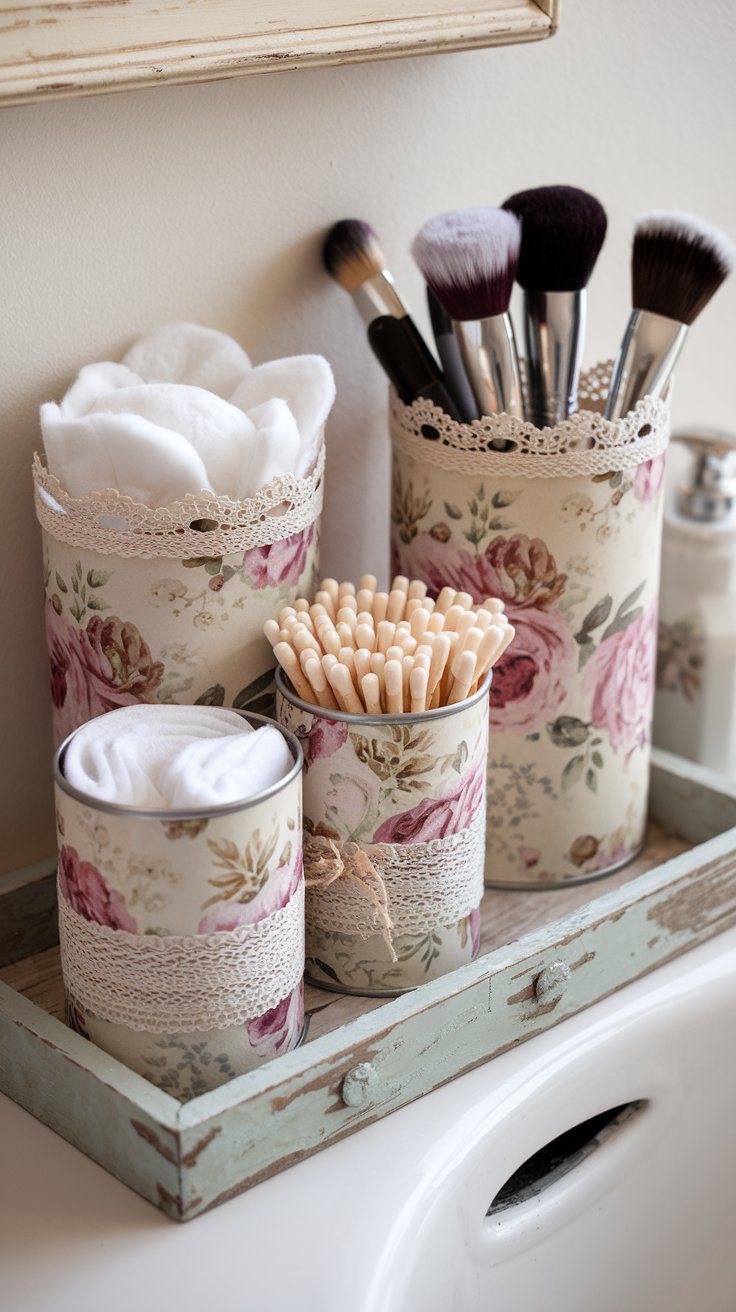
You’ve got three dreamy, decoupaged tin cans lined up on a reclaimed wood shelf or a tray next to your sink. One is holding fluffy cotton pads like a little cloud puff. The next has Q-tips standing in perfect little rows. And the third has your favorite makeup brushes fanned out like a boho bouquet. The paper has that soft vintage floral look, with tiny touches of lace and twine giving it that lived-in, loved-on finish. It’s giving boutique, it’s giving “you totally made this,” and honestly—it’s making your bathroom look expensive.
This website contains affiliate links. Some products are gifted by the brand to test. As an Amazon Associate, I earn from qualifying purchases. The content on this website was created with the help of AI.
