This website contains affiliate links. Some products are gifted by the brand to test. As an Amazon Associate, I earn from qualifying purchases. The content on this website was created with the help of AI.
You’ve seen them all over your Pinterest boards and Instagram feeds—these absolutely gorgeous, elaborate bloom bars. They promise this whimsical, interactive experience for your guests. But let’s be real for a second. What is it actually like to host one? Is it a beautiful, memorable activity that doubles as a party favor? Or is it just a chaotic, wildly expensive, and sticky mess waiting to happen?
I decided to put this massive party trend to the test. I put my own time, money, and sanity on the line to see if it’s truly worth the hype. And I’m taking you along for the entire ride—from the initial idea and the flower shopping, to the setup, the actual party, and the final, honest verdict. I made all the mistakes so you don’t have to. Let’s find out what happened.
Section 1: The Dream vs. The Reality

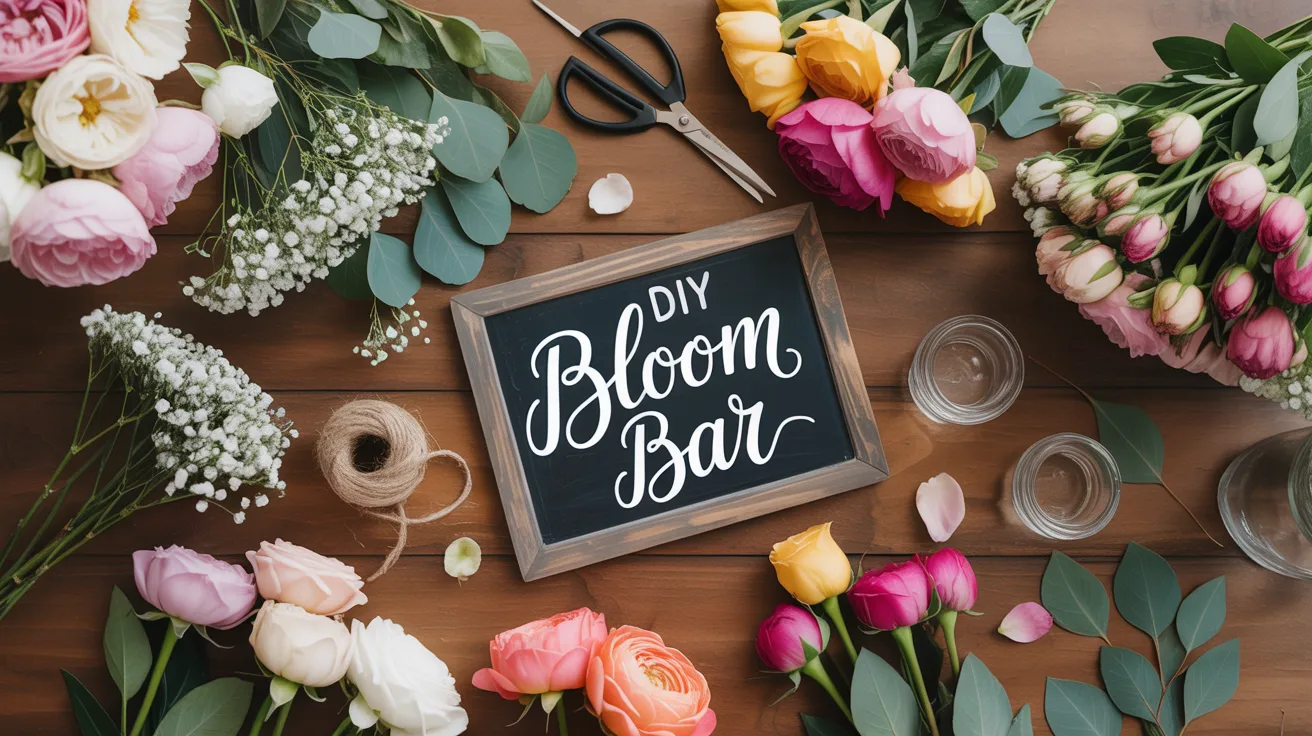
So, the idea was born where all great, and potentially terrible, party ideas are born: late-night, deep in a Pinterest rabbit hole. I saw picture after picture of these stunning floral setups. You might hear them called a bloom bar, a flower bar, or a bouquet bar, but the concept is simple: you provide a spread of beautiful flowers and all the supplies, and your guests get to play florist and create their own custom bouquets to take home. In theory, it’s brilliant. It’s an activity, a decoration, and a party favor all rolled into one beautiful, photogenic package.
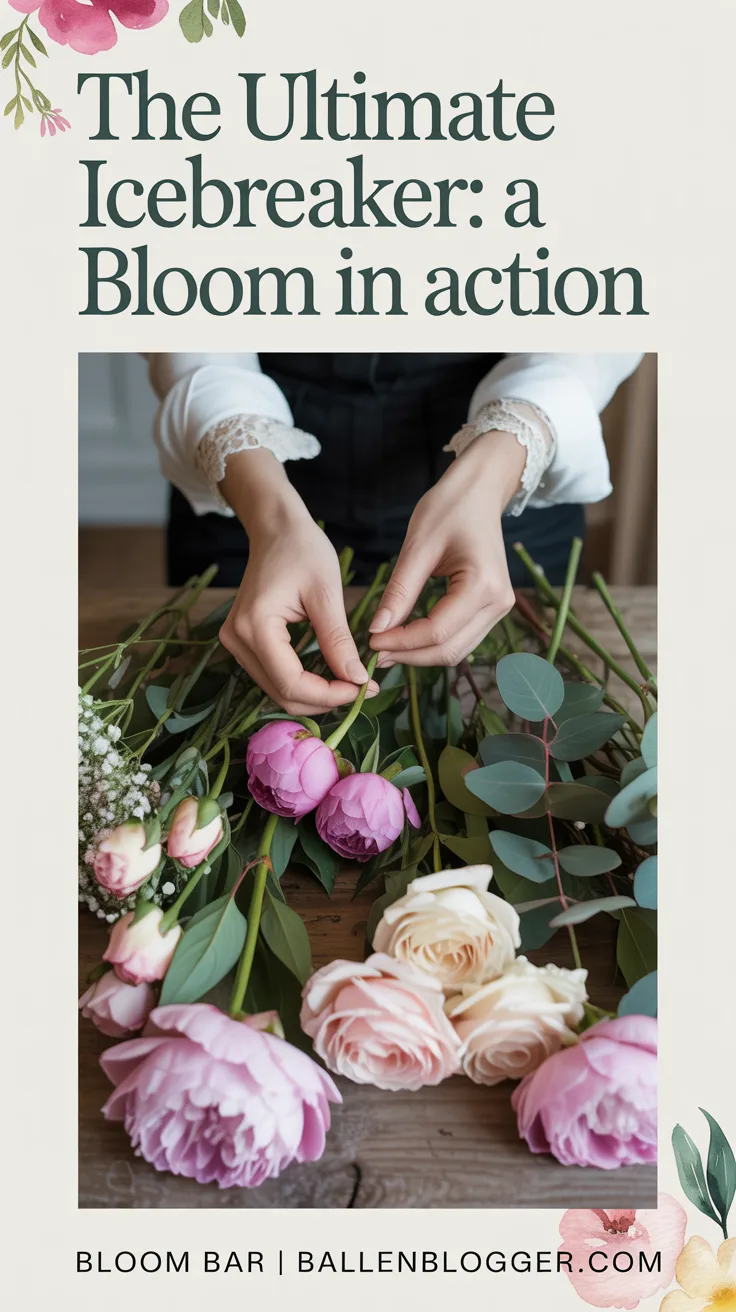
The dream—the Pinterest version—is a vision of pure bliss. My friends, bathed in golden hour light, creatively and calmly selecting stems. There are no arguments over the last pretty flower, no water spilled on the floor, just serene, creative energy. It’s supposed to be this incredible icebreaker and a way to give my guests something personal and handmade to remember the day by. That’s the dream.
But then, reality started to creep in, and my mind started spiraling. First, the cost. Flowers aren’t cheap. How many do I even buy? What if I don’t get enough and people are left with three sad-looking daisies and a single fern? Or what if I buy way too many, and I’m left with a small jungle in my living room and a very empty bank account? The research I did suggested a small event for 15-20 guests could easily cost $150 or more, and that was a number I needed to seriously plan for.
Then, the logistics. Where do you even get that many flowers? Do I just raid my local grocery store? Do I need to find a wholesale market? And what about the setup? It looks so effortless in the photos, but I had a feeling it was anything but. I pictured buckets tipping over, stems and leaves creating a mulch pile on my floor, and my guests just staring at the flowers with total confusion. Is it an intuitive activity, or does it require a level of floral knowledge that most people just don’t have?
My central question was this: could I, a person who loves hosting but is by no means a professional florist, pull off a Bloom Bar without it becoming a stressful, expensive disaster? I decided there was only one way to find out.
Section 2: The Flower Haul – Sourcing and Budgeting
Alright, the first and most intimidating step: getting the flowers. The success of a bloom bar literally rests on your blooms. My research showed a few options: professional wholesalers, bulk-buying from places like Sam’s Club, or the fan-favorite for DIY projects: Trader Joe’s. For a one-off party of about 15 people, going full wholesale felt a bit intense. So, I went with the most accessible and budget-friendly option that was consistently recommended: a massive Trader Joe’s haul.
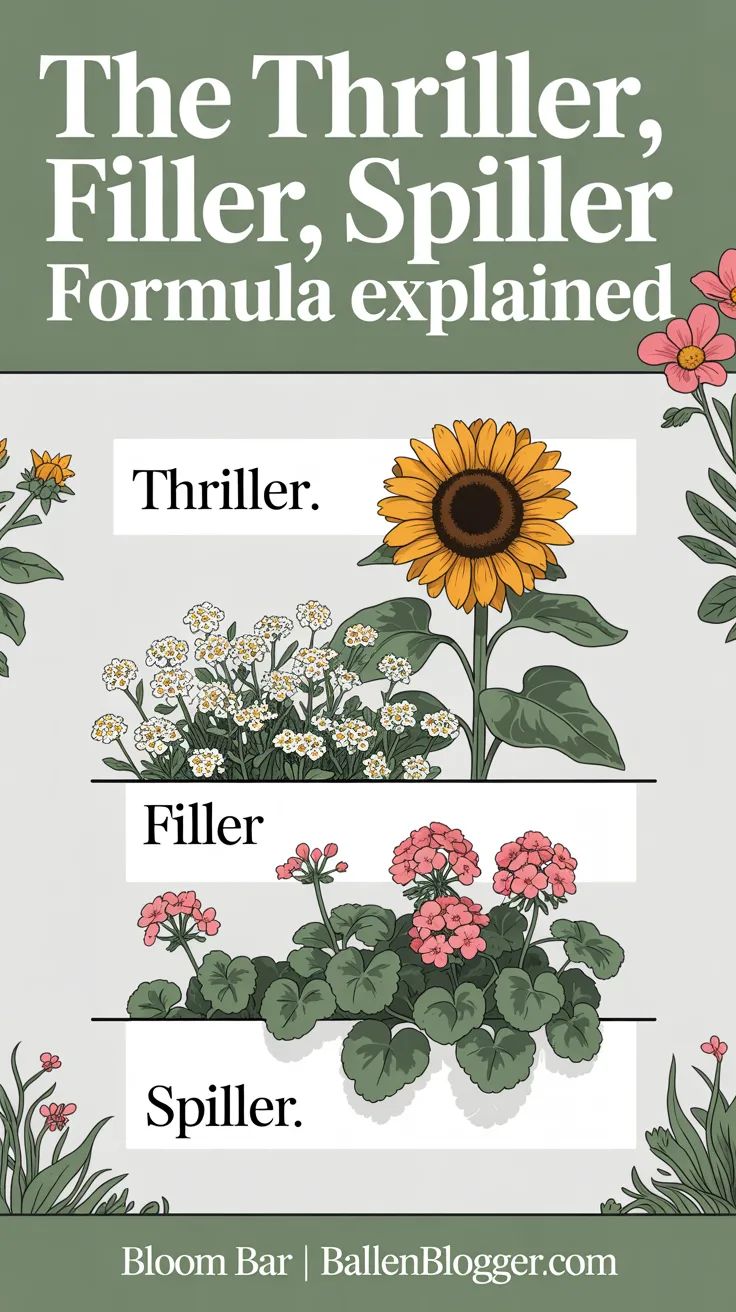
But before I even set foot in the store, I had to figure out the math. How many flowers is enough? The key, I learned, is a helpful little formula florists often use, sometimes called the “Thriller, Filler, and Spiller” method. The idea is to provide enough stems for each guest to have a balanced bouquet, and a good rule of thumb is to plan for each person to take about 8 to 10 stems total.
Here’s how it breaks down:
First, you have your “Thrillers.” These are your focal flowers, the big, statement blooms that draw the eye—think roses, ranunculus, or big sunflowers. You’ll want to plan for about 2 to 3 of these per guest.
Next, you have “Fillers.” This is your supporting cast that adds texture and fills out the bouquet, like daisies, carnations, or baby’s breath. You’ll want about 2 to 3 stems of these per guest, too.
Finally, the “Spillers,” which is mostly greenery. This gives the bouquet shape and that professional look. Eucalyptus and ferns are popular choices. Plan for about 3 to 4 greenery stems per person to make the bouquets feel lush and full.
So, for my party of 15 guests, the math looked like this:
- Thrillers: 15 guests x 3 focal flowers = 45 stems
- Fillers: 15 guests x 3 filler flowers = 45 stems
- Spillers: 15 guests x 4 greenery stems = 60 stems
That’s a grand total of around 150 stems. Seeing it written down was daunting, but having this formula gave me a clear plan and a sense of control.
Okay, so we’re in Trader Joe’s and the flower section is looking incredible today, which is a huge relief. I have my list and my formula. I started with greenery, grabbing several bunches of Silver Dollar Eucalyptus. Now for the fillers… I saw some really pretty white daisies and lovely pink carnations. And finally, the main event, the thrillers. I was hoping for peonies but they’re not in season, which is a great reminder to be flexible! Flower availability can vary a lot by season and location, so you have to be ready to pivot. Instead, they had these gorgeous garden roses and vibrant orange ranunculus. My cart was literally overflowing. Time to check out.
Now, let’s talk budget. Here’s the exact breakdown for my party of 15. The flowers and greenery from Trader Joe’s came to about $135. Next, the display and tools. I found a bunch of simple galvanized pails at a craft store for about $20. Finally, the wrapping station. I got a big roll of brown kraft paper, twine, and rubber bands for about $20. I also grabbed some water tubes to make sure the bouquets survived the car ride home.
The grand total came out to approximately $175. When you break that down, it’s a little under $12 per guest. For an activity AND a pretty substantial party favor, that felt incredibly reasonable. So far, the “expensive” fear was manageable. But the “chaotic mess” part? That was yet to be determined.
Section 3: The Prep Work – It’s All in the Details
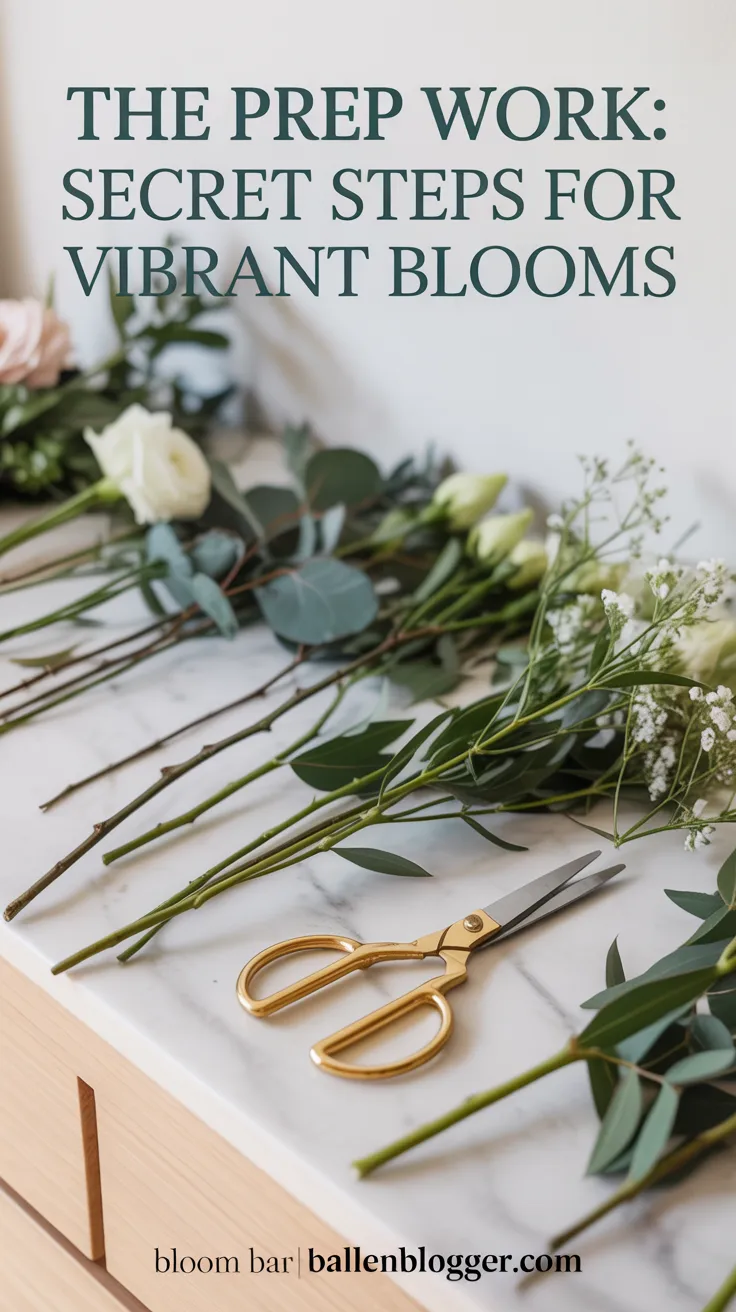
It’s the day before the party, and this is where the real work begins. You can’t just throw the flowers on a table. The prep work is what separates a sad, wilted flower bar from a vibrant, professional-looking one. This step is a non-negotiable, and it’s something most people probably don’t think about.
The first thing you have to do as soon as you get your flowers home is process them so they’re fully hydrated for the party. I filled up all my buckets with cool water and a little flower food. Then, for every single stem, I trimmed the ends at a sharp angle, about an inch from the bottom. This gives the stem more surface area to absorb water and helps the flower last longer. You also have to remove any leaves from the bottom half of the stem. Any leaves left below the waterline will just rot and create bacteria that kills your flowers.
I’m not going to lie, this part was time-consuming. It took a solid hour of standing at my sink, trimming and plucking leaves. But as I placed each bunch into its bucket, I could almost see them perking up. I then stored all the buckets in a cool, dark place overnight to let them hydrate.
With the flowers prepped, I moved on to gathering the supplies. I laid out my flower shears, my kraft paper pre-cut into large squares, spools of twine, and a bowl of rubber bands. I also created a little instructional sign—a huge tip I picked up from my research. You can’t assume your guests will know what to do. I got a little chalkboard and wrote out the “Thriller, Filler, Spiller” formula in a simplified way:
“Welcome to the Bloom Bar!
- Start with a base of Greenery (3-4 stems).
- Add your Fillers for texture (2-3 stems).
- Choose your focal ‘Thriller’ flowers (2-3 stems).
- Trim all stems to the same length.
- Head to the wrapping station to finish!”
Having the sign, the pre-cut paper, and all the tools ready to go made me feel infinitely more prepared. By breaking down the process, the whole thing felt less like a potential disaster and more like a well-oiled, floral machine.
Section 4: Setting the Scene

It’s party day! The flowers have been hydrating overnight and they look absolutely incredible—so much more open and vibrant. That prep work was one hundred percent worth it. Now it’s time to transform this table into the Pinterest-worthy bloom bar of my dreams.
I set up a table against a blank wall where it would get good light—because let’s be real, photos are a huge part of the fun. The key to a great setup is creating varying heights. A flat table just doesn’t have the same impact. So, I used some wooden crates to create different levels, which helps display the flowers and makes it easier for guests to see everything.
Now for the fun part: arranging the flowers. The flow of the table is really important. I organized the buckets following the formula on my sign. I started with all the greenery and “spiller” options at the beginning of the table. Next, I placed all the “filler” flowers. And at the very end, as the grand finale, I set up the “thriller” focal flowers. Arranging the flowers like this creates a foolproof path for your guests to follow.
To really elevate the experience, I placed my little chalkboard sign right at the start of the table. Beside it, I created a small example bouquet and put it in a pretty vase. This serves as a tangible guide and gives people a boost of confidence. Finally, I set up the wrapping station at the very end with the pre-cut paper, ribbons, and tools. The idea is that a guest can move down the line, build their bouquet, and then have everything they need to finish it off right there.
Standing back and looking at the finished setup, I have to say, it looked even better than the pictures on Pinterest. It was a riot of color and texture, and it just looked so inviting. Now all I need are the guests.
Section 5: The Bloom Bar in Action
The first guests have arrived, and the moment of truth is here. Their initial reaction was exactly what I had hoped for. Eyes went wide, and the first thing I heard was a collective, “Wow, what is this?!” They immediately gravitated towards the table, pulling out their phones to take pictures. That was a good sign.
I gave everyone a quick tour, explaining the flow from greenery to fillers to thrillers. Having the example bouquet and the sign was a game-changer; people immediately understood the concept.
At first, everyone was a little hesitant, almost too shy to be the first one to take a stem. But once the first person bravely picked up a piece of eucalyptus, the dam broke. Suddenly, the area around the bloom bar was buzzing with energy.
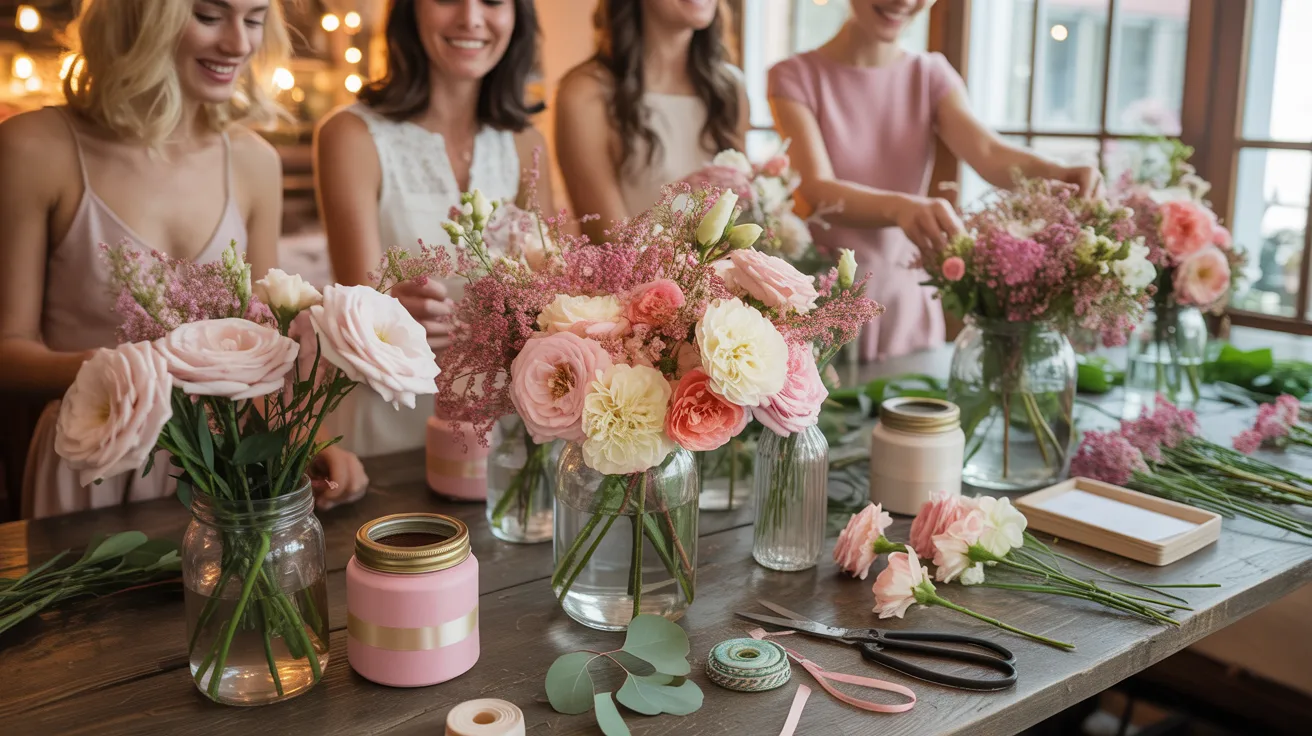
And it wasn’t chaotic. It was… collaborative. That was the most surprising thing. I heard people saying, “Ooh, that rose would look so good with the daisies you picked!” or, “Which greenery are you using? I love that one.” People were comparing choices, giving each other advice, and holding up their budding bouquets for feedback. It became this beautiful, communal creative project.
I floated around, offering little tips, but for the most part, people were just having fun experimenting. There was so much laughter. Everyone’s personality came out in their bouquet. Some were wild and colorful, others were minimalist and monochromatic. The wrapping station was also a huge hit. And the best part? As they left, they each had this gorgeous, professional-looking bouquet to take home. The mess was minimal—just a few stray leaves and stems on the floor. My fears of a chaotic mess were completely unfounded. It was pure, unadulterated, floral-fueled joy.
Section 6: The Aftermath & The Verdict
The last guest has gone home, bouquet in hand, and my apartment is quiet again. The bloom bar is a little sparse, but the lingering scent of eucalyptus and roses is incredible. Cleanup was surprisingly easy—a quick sweep of the floor and washing out the buckets. It was far less mess than a typical dinner party.
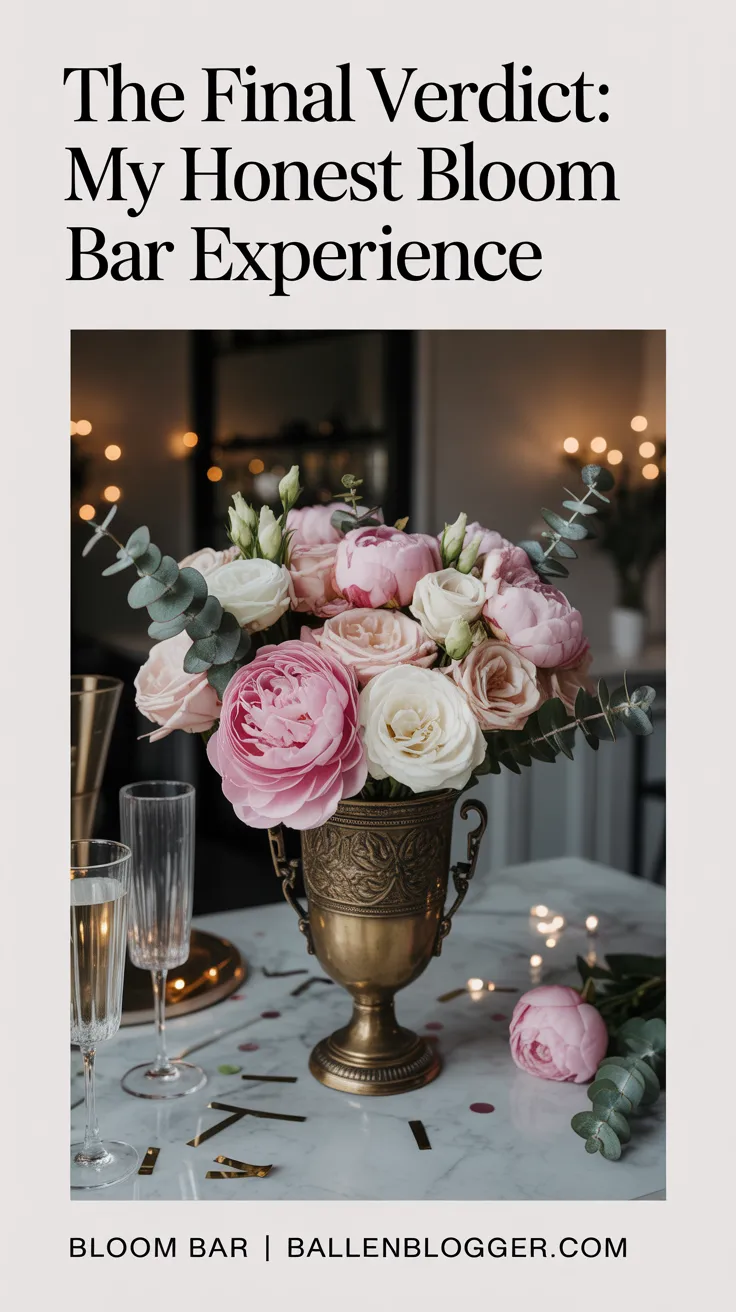
So, it’s time for the final verdict. I started this with one question: Is a bloom bar a beautiful, interactive experience, or is it a chaotic, expensive mess?
I can say with 100% confidence that it is a beautiful, interactive, and deeply memorable experience. It was, without a doubt, one of the most successful party activities I have ever hosted.
The “expensive” fear was manageable. At under $12 a person for an activity and a favor, it feels like a steal. The key is smart sourcing and using a formula to avoid over-buying. The “chaotic mess” fear was completely unfounded. The prep work was the secret weapon here.
What I didn’t expect was the connection it would foster. It wasn’t just an activity; it was a conversation starter and a bonding experience. It gave my friends a space to be creative, compliment each other, and walk away with something they made themselves.
So, would I do it again? In a heartbeat. And I think you should too. It’s perfect for a bridal shower, a birthday, or just because. My key takeaways for you are simple:
- Use the Formula: Don’t just guess on flowers. Use the Thriller, Filler, Spiller method (2-3 thrillers, 2-3 fillers, 3-4 greenery per person).
- Don’t Skip Prep: Trimming and hydrating your flowers the day before is the most important step to ensure they look amazing.
- Guide Your Guests: Don’t assume people know what to do. A simple sign and an example bouquet make all the difference.
This Pinterest trend is one hundred percent worth the hype.
Conclusion
Thank you so much for coming along on this floral adventure. Hosting this bloom bar was so rewarding, not just because it looked beautiful, but because of the joy it brought to my friends. It’s a reminder that the best parties are the ones that invite people to connect and create something together. I hope this inspired you to bring a little more creativity to your next event. Thanks for watching, and I’ll see you in the next one.
This website contains affiliate links. Some products are gifted by the brand to test. As an Amazon Associate, I earn from qualifying purchases. The content on this website was created with the help of AI.